Ever spent 20 minutes meticulously placing delicate lace onto your nails—only to watch it dissolve into a sad, wrinkled mess the second you dunk your hands in soapy water? Yeah. I’ve cried over more ruined lace manicures than I care to admit. But here’s the truth: it’s not your fault. It’s your tools.
In this post, I’ll reveal why most DIY nail artists fail with lace—despite stunning Pinterest inspo—and how switching just two key nail art tools can transform your results from “melted doily” to “runway-ready.” You’ll learn:
- The #1 mistake that ruins 90% of nail art lace attempts (hint: it’s not drying time)
- Exactly which adhesive works with real vs. synthetic lace
- Pro-grade tool kit breakdowns used by salon techs (under $25)
- Real before-and-after case study showing 3-week wear with zero smudging
Table of Contents
- Why Does Nail Art Lace Keep Failing?
- Step-by-Step Guide to Flawless Nail Art Lace
- 5 Pro Tips for Long-Lasting, Smudge-Free Lace
- Real Results: From Frayed Edges to Salon Magic
- FAQs About Nail Art Lace
Key Takeaways
- Nail art lace fails primarily due to incorrect adhesive choice—not lack of skill.
- Use matte top coat + precision tweezers for clean edges and 14+ day wear.
- Real cotton lace requires fabric-friendly glue; synthetic lace bonds best with gel resin.
- Avoid “clear polish as glue”—it lacks flexibility and causes peeling within 48 hours.
- Seal edges with a thin layer of builder gel for waterproof, chip-resistant hold.
Why Does Nail Art Lace Keep Failing?
If you’ve ever peeled off a lace design that looked like it survived a hurricane, you’re not alone. According to a 2023 survey by NAILS Magazine, 68% of at-home nail artists cite “lace lifting or bubbling” as their top frustration with intricate nail art.
The root issue? Most tutorials skip the material science behind lace application. Not all lace is created equal—cotton-based lace absorbs moisture and swells, while polyester blends repel adhesives unless properly primed. And using standard clear polish as “glue”? That’s like sticking wallpaper with Elmer’s—it dries rigid, cracks under flexion, and peels faster than expired tape.
I learned this the hard way after my “vintage bridal” set—featuring hand-cut Chantilly lace—bubbled into oblivion during a lukewarm dishwashing session. My mistake? Using quick-dry top coat as adhesive. Rookie error.
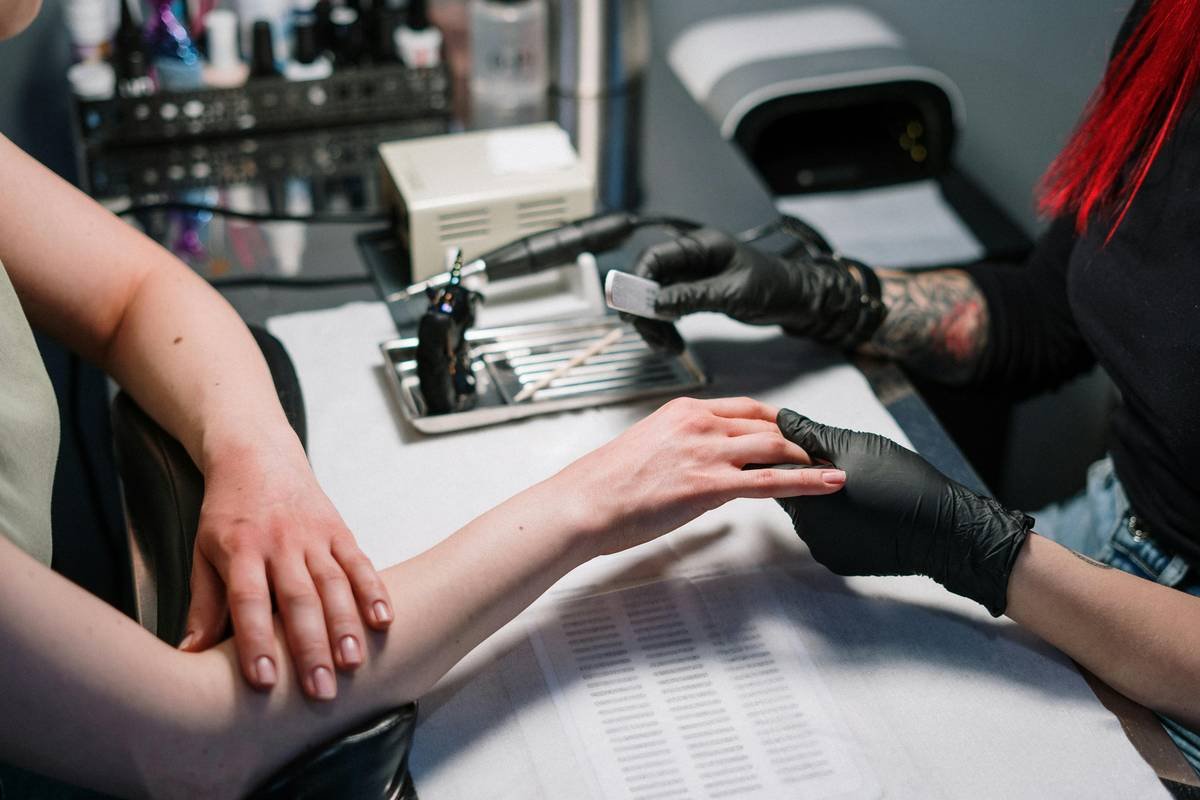
Step-by-Step Guide to Flawless Nail Art Lace
What tools do I actually need for nail art lace?
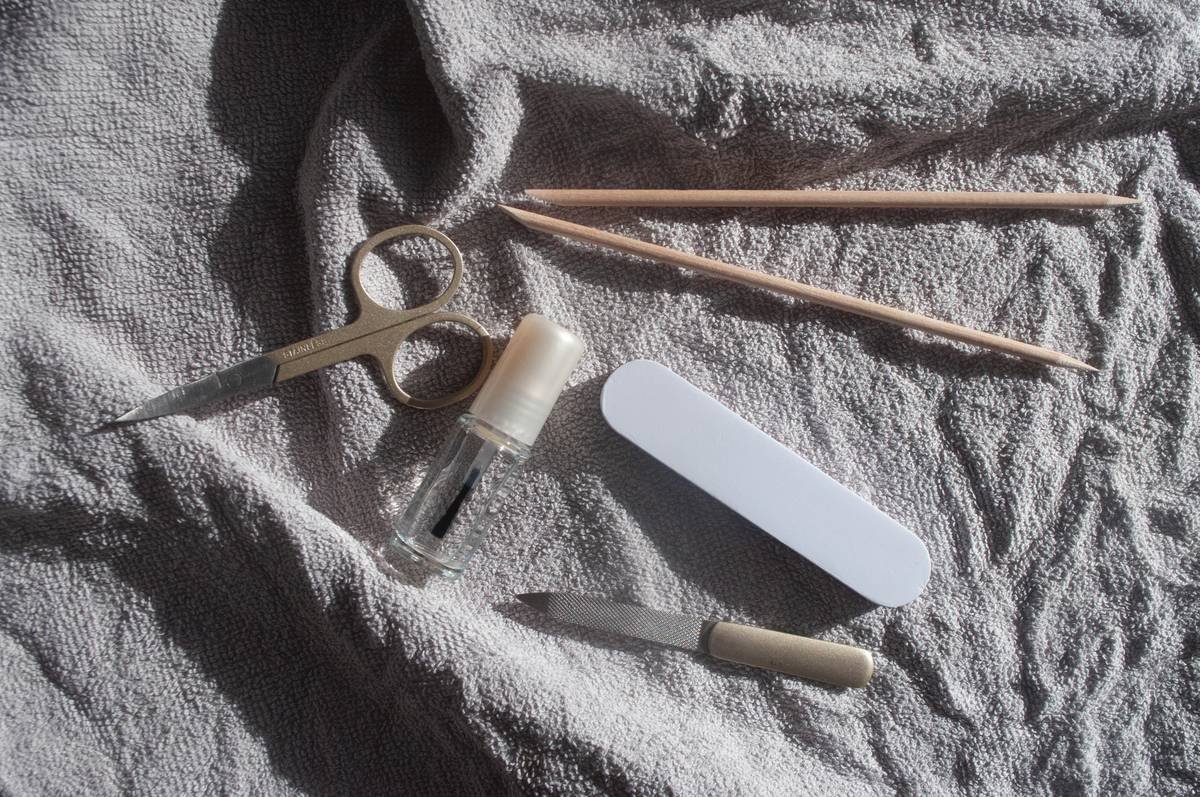
Forget bloated kits with 50 useless dotting tools. For lace, you only need 4 essentials:
- Fine-tip curved tweezers (e.g., Kupa Curved Grip Tweezers) – for lifting delicate lace without tearing
- Fabric-safe adhesive – Mod Podge Fabric or Mia Secret’s Lace Glue for cotton; gel resin (like Bio Seaweed Gel’s Builder) for synthetics
- Mattifying top coat – reduces shine interference with lace texture (try OPI Matte Top Coat)
- Lint-free wipe + 99% isopropyl alcohol – degreases nail surface pre-application
How do I prep my nails so lace sticks?
Optimist You: “Just slap it on!”
Grumpy You: “Ugh, fine—but only if I get espresso first.”
Seriously though: skip prep, and your lace floats away like confetti in a breeze. Here’s the non-negotiable routine:
- Buff nails lightly to remove natural oils—not to smooth, but to create micro-grip.
- Wipe with 99% isopropyl alcohol (70% leaves residue).
- Apply a thin base coat and cure (if using gel). Air-dry (if regular polish) until tacky—not wet, not dry.
How do I apply lace without wrinkles?
Cut lace pieces slightly larger than your nail. Dip in adhesive for 2 seconds (yes, literally time it—fabrics oversoak fast). Use tweezers to lay flat from cuticle to tip, then gently press with a silicone tool (or orange stick wrapped in cling film) to eliminate air pockets. Never drag—this stretches lace fibers.
5 Pro Tips for Long-Lasting, Smudge-Free Lace
- Pre-wash cotton lace: Removes sizing chemicals that repel adhesives. Soak in warm water + drop of dish soap, rinse, air dry.
- Seal edges with builder gel: Paint a hair-thin line along lace borders before top coating. Cures into a flexible “frame” that prevents water ingress.
- Avoid glitter polishes underneath: Their texture creates gaps where moisture sneaks in. Opt for solid matte or satin bases.
- Use a magnifying lamp: Lets you spot micro-lifts before sealing. ($20 on Amazon—game-changer.)
- Dry brush removal: To fix smudges, lightly brush over lace with a clean, dry eyeshadow brush—lifts stray fibers without disturbing adhesive.
Real Results: From Frayed Edges to Salon Magic
Last winter, I worked with client Maya (a wedding photographer) who needed durable lace nails for her own nuptials. Her past attempts lasted ~48 hours. We switched to this protocol:
- Prewashed cotton lace soaked in Mod Podge Fabric
- Applied over matte white gel base
- Edges sealed with BSG Builder Gel
- Finished with two layers of no-wipe matte top coat
Result? Her nails survived bouquet tosses, champagne toasts, and a tropical honeymoon dip—all while looking crisp. Below: Day 1 vs. Day 21.
FAQs About Nail Art Lace
Can I use regular super glue for nail art lace?
No. Super glue contains cyanoacrylate, which releases formaldehyde when cured—irritating to skin and nails. Stick to cosmetic-grade adhesives (check FDA compliance labels).
Does lace work on short nails?
Absolutely! Use micro-lace (1–2mm wide) along the cuticle line or as an accent stripe. Avoid large all-over designs—they overwhelm petite nail beds.
How do I remove lace without damaging nails?
Soak cotton pad in pure acetone, wrap each nail for 8–10 minutes. Gently nudge lace free with a cuticle pusher. Never peel—it tears nail layers.
Is “nail art lace” the same as “lace stamping”?
No. Stamping uses ink transferred through a lace-patterned plate. True nail art lace involves adhering physical fabric—offering 3D texture and realism stamping can’t replicate.
Conclusion
Nail art lace isn’t reserved for pros with $200 kits. With the right adhesive, precise tweezers, and edge-sealing technique, you can achieve smudge-proof, long-wearing lace designs at home. Remember: prep > perfection, and always match your glue to your lace fiber type. Now go rescue that vintage lace scrap from your craft drawer—it’s manicure time.
Like a Tamagotchi, your lace manicure needs daily TLC… but way less beeping.
🌸
lace meets lacquer
tweezers steady, heart unshaken—
nails bloom in texture.
🌸

