“Ever tried creating a nail art masterpiece, only to end up with smudges and uneven lines? You’re not alone.” Nailing the perfect design requires more than just creativity—it demands the right tools and techniques. Whether you’re starting out or leveling up your skills, this guide will walk you through mastering nail art technique, choosing the best tools, and avoiding rookie mistakes. By the end of this post, you’ll have all the secrets for flawless nails.
Table of Contents
- Why Nail Art Tools Matter
- Step-by-Step Guide to Mastering the Basics
- Pro Tips for Perfect Nail Designs
- Examples of Inspiring Nail Art Creations
- FAQs About Nail Art Techniques and Tools
Key Takeaways
- The right nail art tools elevate your technique dramatically.
- Practice fundamentals like line consistency and dotting before moving on to advanced designs.
- Avoid cheap brushes and polish—they can ruin even the most skilled attempts.
- Inspiration comes from trial and error; embrace experimentation without perfectionism.
Why Nail Art Tools Matter
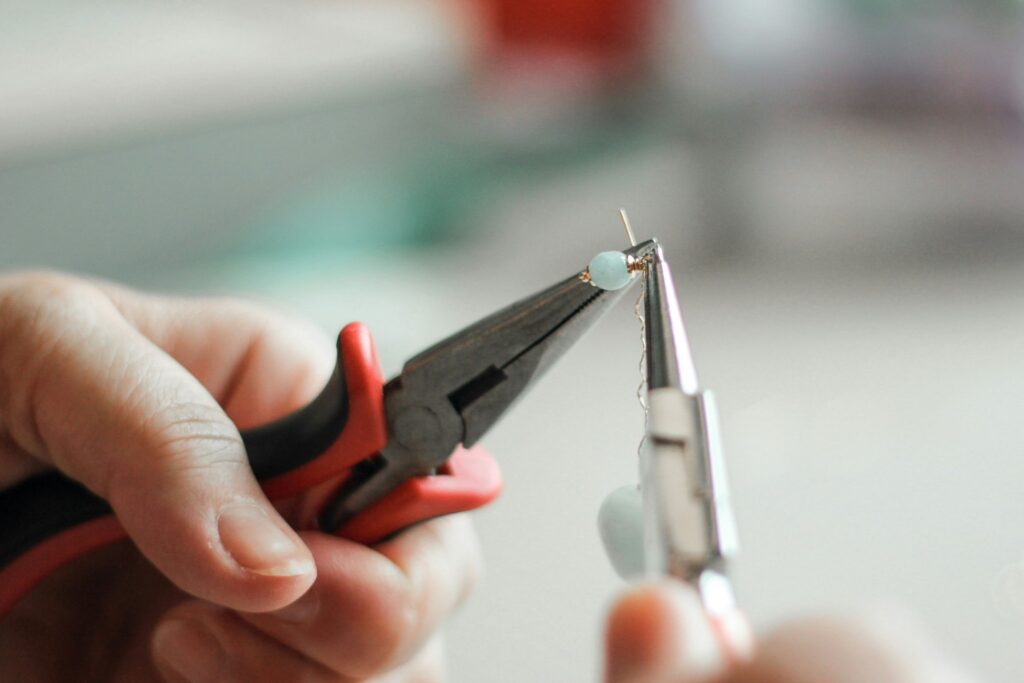
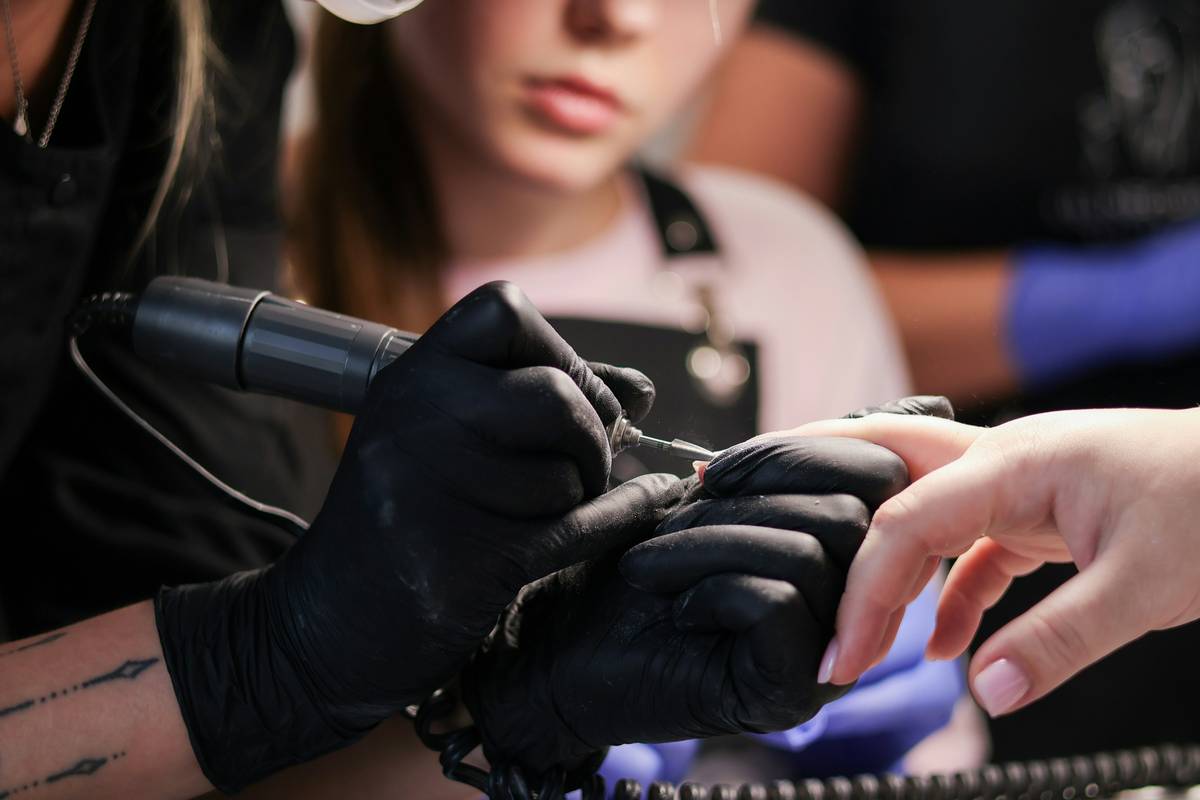
Let’s be honest—nail art technique isn’t solely about talent. I once thought I could freehand an intricate leopard print using nothing but a toothpick. Spoiler alert: It looked like a toddler’s finger painting gone wrong. That’s when I realized how crucial quality tools are. A steady brush, precise dotting tool, and reliable striping tape make all the difference.
Imagine trying to sculpt clay with a butter knife instead of proper tools. Sounds absurd, right? Similarly, the wrong equipment can sabotage your creative vision. The good news? There are affordable yet high-quality options tailored specifically for nail artists at every skill level. Below is an infographic illustrating essential nail art tools:
Step-by-Step Guide to Mastering the Basics
If you’re new to nail art, don’t dive straight into Picasso-level creations. Start simple by mastering foundational techniques:
Step 1: Prep Like a Pro
Cleanse your nails thoroughly with acetone-free remover and shape them evenly. Use a base coat to prevent staining and ensure smooth application.
Step 2: Choose Your Weapon (aka Tool)
Optimist You:* “I’ll conquer any design!”*
Grumpy You: “Ugh, stick to one technique first, okay?” For beginners, start with dotting tools. They offer control and versatility for polka dots or small accents.
Step 3: Practice Lines and Shapes
Use thin brushes to draw straight lines or curves. If it feels shaky, practice on paper until you gain confidence. Remember, muscle memory takes time!
Pro Tips for Perfect Nail Designs
Now that you’ve got the basics down, here’s how to level up:
- Layer Strategically: Apply lighter colors as base layers and darker shades for detailed work.
- Work Fast: Nail polish dries quickly. Have your tools ready and minimize downtime between strokes.
- Embrace Mistakes: If something goes awry, use a cleanup brush dipped in remover to fix edges.
Terrible Tip Disclaimer: Don’t buy glitter pens online marketed as “miracle nail art solutions.” Trust me—I wasted $20 on sparkly disasters that wouldn’t adhere properly.
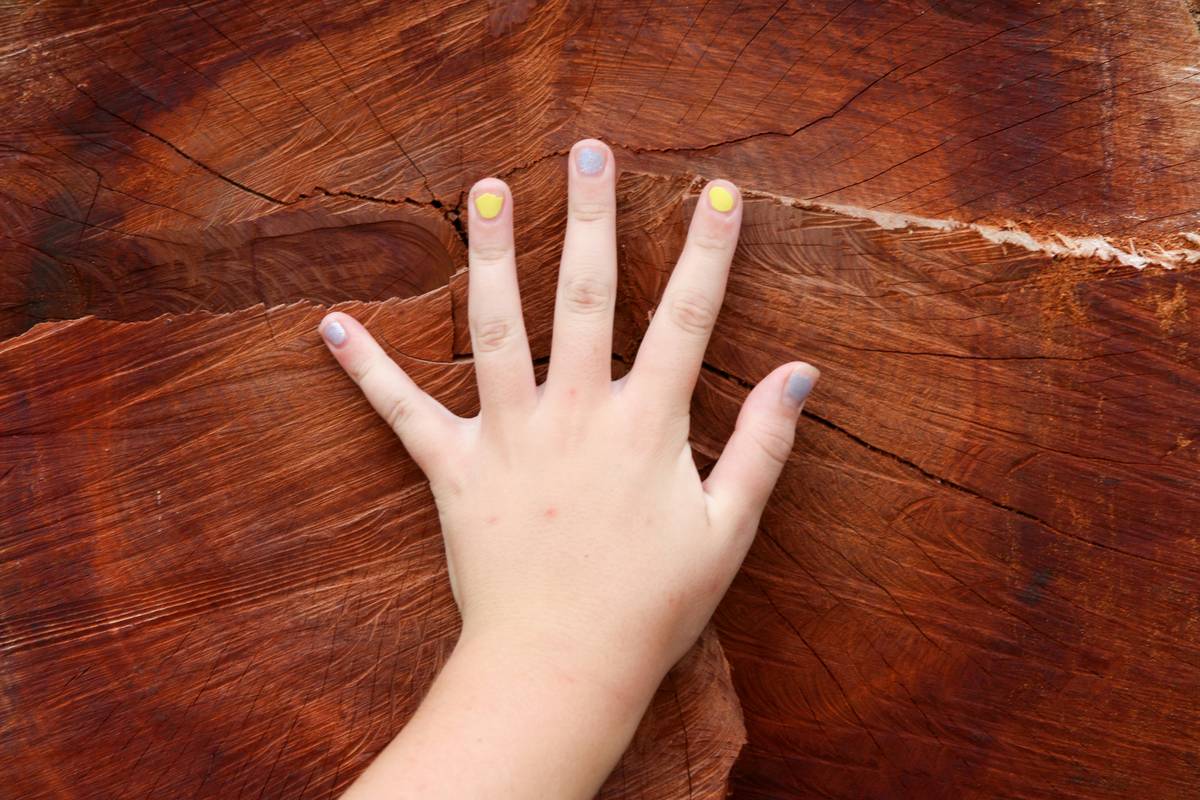
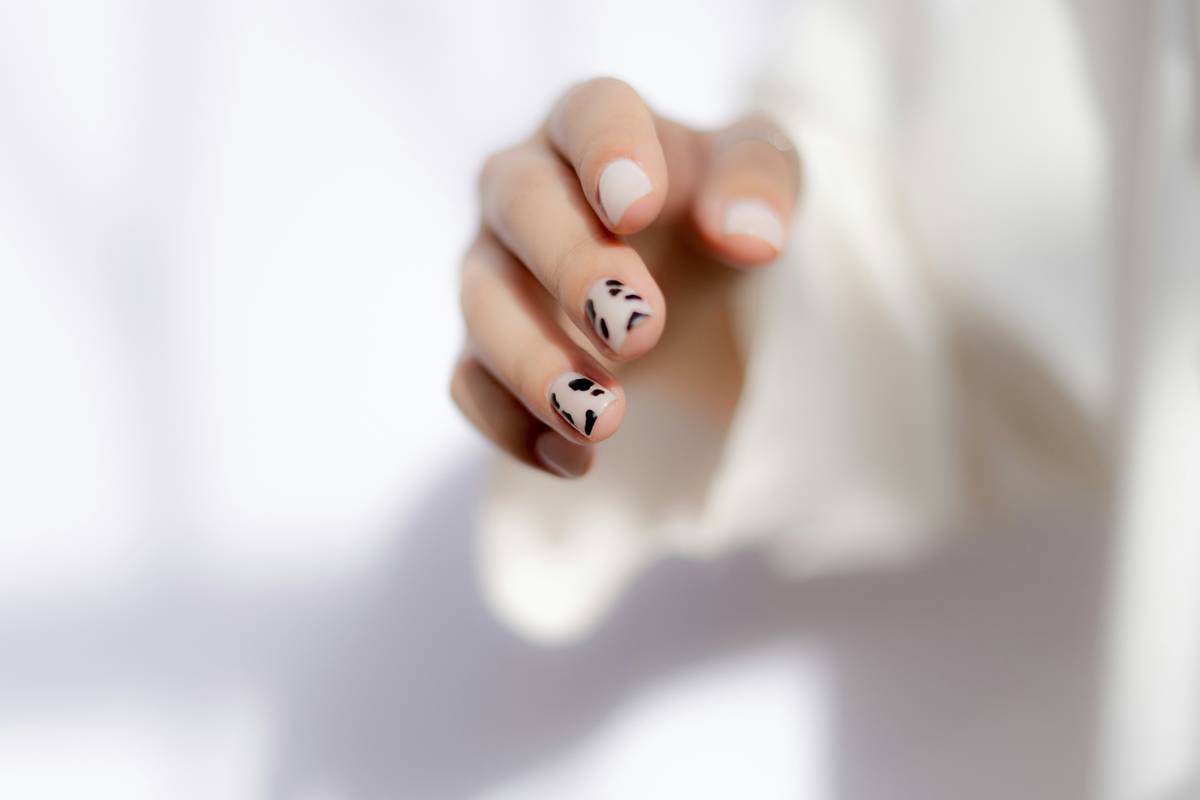
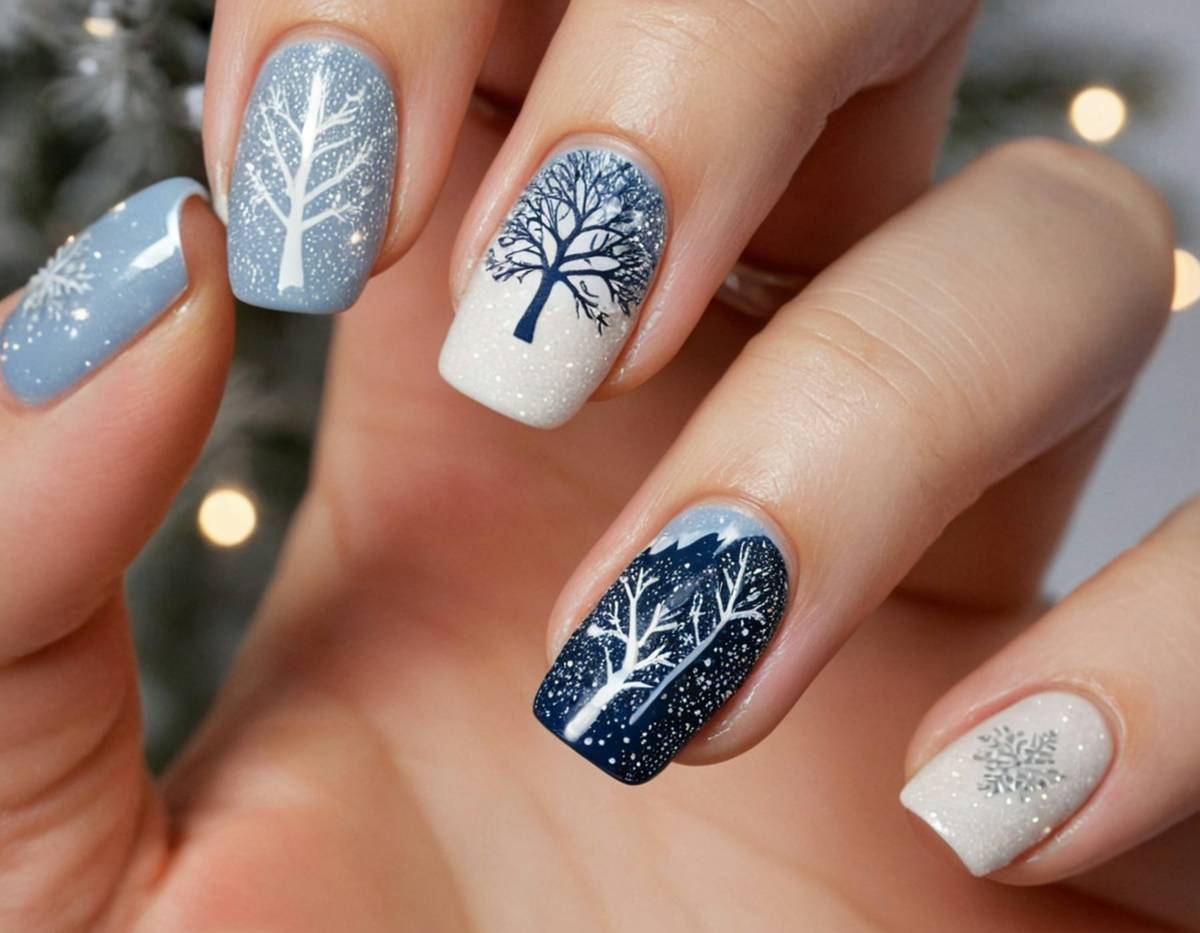
Examples of Inspiring Nail Art Creations
Feeling stuck? Check out these jaw-dropping examples:
- Ombre Effect: Blend two complementary shades seamlessly using a sponge.
- Negative Space Art: Leave parts of your nail bare for minimalist chic vibes.
- Geometric Patterns: Use striping tape to create sharp angles and clean lines.
FAQs About Nail Art Techniques and Tools
What tools do I need for beginner-friendly nail art?
Start with dotting tools, thin brushes, and striping tape. These essentials cover most basic designs.
How long does it take to master nail art technique?
It depends on practice frequency, but expect several weeks to months of consistent effort.
Can I achieve salon-quality results at home?
Yes! With patience and the right supplies, you can replicate professional looks.
Why does my polish chip so quickly?
Lack of a top coat or improper prep might be the culprit. Always seal your designs with a durable top coat.
Conclusion
Mastering nail art technique doesn’t happen overnight, but equipping yourself with the right tools and mindset brings you closer to success. From dotting tools to cleanup brushes, each piece plays a vital role. Embrace imperfections, stay patient, and keep experimenting. After all, *nail art is your canvas.*
Cue nostalgia: Think of your nails as Tamagotchis—daily care keeps them thriving. Now go forth, unleash your inner artist, and watch those compliments roll in!