Ever stared at your nails, dreaming of intricate designs but feeling like a Picasso wannabe with no tools to bring your vision to life? Yeah, us too. That’s where the magic of nail design bead tools comes in—your secret weapon for creating salon-level art without breaking a sweat (or the bank).
In this post, we’ll explore what nail design beads are, why they’re essential, and how to use them effectively. By the end, you’ll know exactly which tools to buy, how to use them like a pro, and the best practices to elevate your nail game.
Table of Contents
- Why Nail Design Beads Are a Must-Have
- Choosing the Right Nail Design Bead Tools
- Step-by-Step Guide to Using Nail Design Beads
- Tips and Best Practices for Perfect Designs
- Examples of Stunning Nail Art with Beads
- FAQs About Nail Design Beads
Key Takeaways
- Nail design beads add texture, depth, and sparkle to any nail art project.
- Investing in high-quality tools ensures precision and durability.
- A step-by-step approach prevents mistakes and enhances creativity.
Why Nail Design Beads Are a Must-Have
Let me start with a confession: Once, I tried adding glitter to my nails using tweezers… one tiny speck at a time. Spoiler alert—it was disastrous. Glitter everywhere except my nails, and I ended up looking more like a disco ball explosion than Rihanna on her best red carpet day.
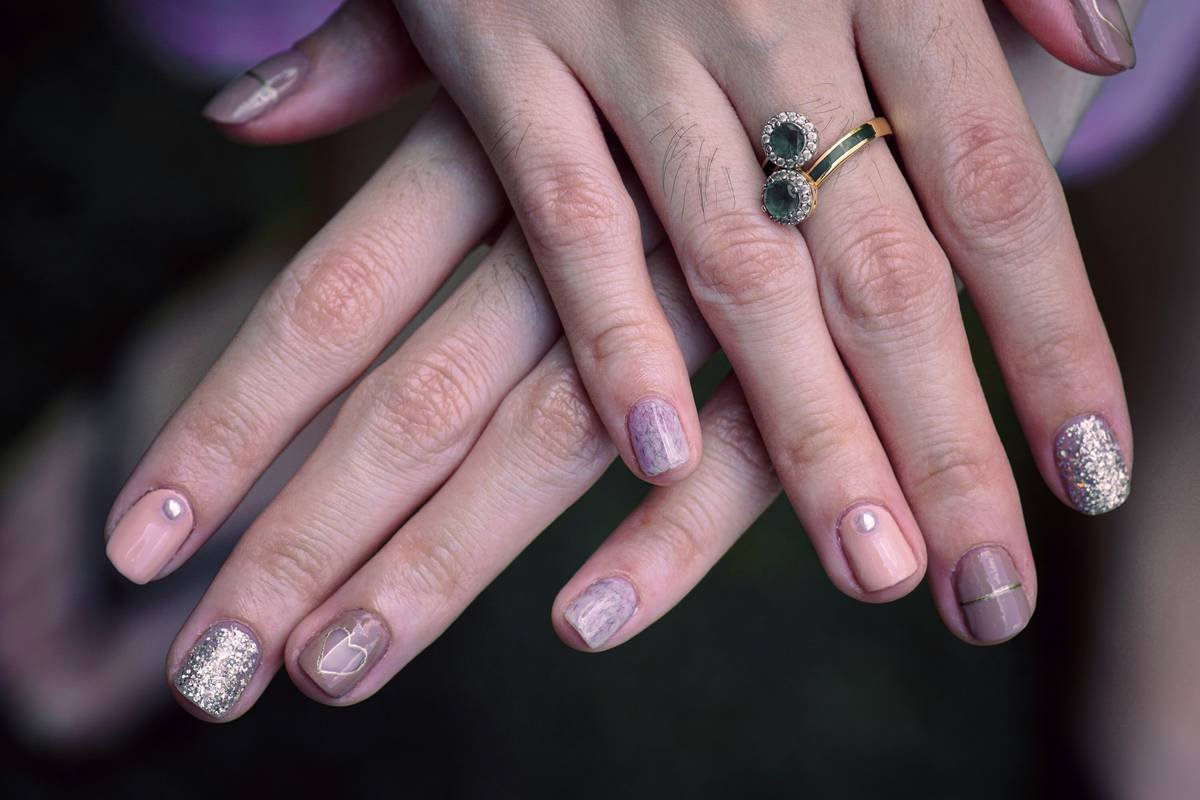
This is where nail design beads save the day. These tiny embellishments come in various shapes (round, square, hexagonal!) and materials (glass, plastic, metal), offering endless possibilities for creative expression. From subtle shimmer to bold statement pieces, they can transform plain polish into show-stopping masterpieces.

But beyond their aesthetic appeal, they’re also beginner-friendly. With the right tools, even clumsy hands can achieve professional results. Plus, let’s face it—they’re just fun to play with!
Choosing the Right Nail Design Bead Tools
Optimist You:* “These tools will make me an instant pro!”
Grumpy You*: “Yeah, if ‘pro’ means accidentally gluing beads to my cuticles.”*
Selecting the right tools makes all the difference between effortless elegance and chaotic chaos. Here’s what you need:
- Precision Tweezers: Look for angled or pointed tips to pick up those minuscule beads without frustration.
- Dotting Tool Set: Perfect for applying adhesive and positioning beads accurately.
- Gel Top Coat: Ensures beads stay put during wear without shifting.
Pro Tip: Invest in ergonomic tools that won’t strain your wrists after hours of practice. Trust me; your future self will thank you.
Step-by-Step Guide to Using Nail Design Beads
Ready to create some envy-inducing nail art? Follow these steps:
- Prep Your Nails: Start with a clean canvas. File, buff, and prime your nails for a smooth surface.
- Apply Base Color: Choose a neutral shade to let the beads shine—or go bold for contrast.
- Use Adhesive Gel: Dab a small amount where you want the beads applied. Think strategically—less is more here.
- Place the Beads: Grab your tweezers or dotting tool and gently position each bead. Patience is key!
- Seal with Top Coat: Lock everything in place with a glossy top coat for long-lasting results.

Tips and Best Practices for Perfect Designs
Here’s the deal—while nail design beads are awesome, there’s one terrible tip floating around online: “Just sprinkle them randomly over wet polish.” Newsflash: This results in clumpy, uneven disasters that scream “DIY nightmare.”
Instead, follow these pro-approved strategies:
- Clean your workspace before starting. Stray beads love hiding under keyboards… ask me how I know.
- Experiment with different patterns, like ombre effects or geometric shapes.
- Practice patience. It takes time to perfect placement—but oh, is it worth it.
Examples of Stunning Nail Art with Beads
Need inspiration? Check out these jaw-dropping designs:
- Moon Phase Manicure: Tiny metallic beads form crescent moons against a navy blue background.
- Floral Fantasy: Combine pastel polish with white pearl beads for a blooming effect.
- Glitter Gradient Glow: Transition from solid color at the base to scattered beads at the tips.

FAQs About Nail Design Beads
Where Can I Buy Quality Nail Design Beads?
Look for reputable brands on Amazon, Etsy, or specialty beauty stores. Read reviews first to ensure quality.
Do Nail Design Beads Last Long?
With proper application and sealing, they should last up to two weeks. Reapply top coat occasionally to maintain shine.
Can Beginners Use These Tools Easily?
Absolutely! Start simple and work your way up to complex designs. Practice makes perfect.
Conclusion
Nail design beads might sound intimidating, but trust us—once you dive in, you’ll wonder how you ever lived without them. Whether you’re crafting delicate accents or bold masterpieces, these tools unlock unlimited potential for creativity.
Remember our golden rule: Precision + Patience = Perfect Nails. Now grab those tweezers, unleash your inner artist, and slay those manis!
Oh, and P.S.: Never forget to hydrate while working on your nails—it’s basically cardio for your fingers. 🍋✨
Beads dazzle fingertips,
Creativity flows free,
Shine bright, nail goddess.

