Table of Contents
- Introduction
- Key Takeaways
- Why the Nail Art Dotting Tool Is Your Secret Weapon
- How to Use a Nail Art Dotting Tool Like a Pro
- Top Tips for Flawless Nail Art
- Real-Life Nail Art Transformations
- Frequently Asked Questions About Nail Art Dotting Tools
- Conclusion
Introduction
Ever stared at your nails halfway through a DIY mani-pedi, wondering why your polka dots look more like blobs? Yeah, me too. I once spent two hours trying to hand-draw hearts on my nails—only to end up with something resembling amoebas. Enter the nail art dotting tool, the unsung hero of nail enthusiasts everywhere.
In this guide, you’ll discover why the nail art dotting tool is a game-changer, how to use it like a pro, and some insider tips that’ll have you creating Insta-worthy designs in no time. Let’s dive in!
Key Takeaways
- A nail art dotting tool is a must-have for precise designs like dots, lines, and swirls.
- Master basic techniques first before attempting intricate patterns.
- High-quality tools make a noticeable difference in ease and results.
- Practice and patience are key to achieving salon-level nail art at home.
Why the Nail Art Dotting Tool Is Your Secret Weapon
You know those Pinterest-perfect nail designs with flawless dots and intricate details? They’re not magic—they’re created with precision tools like the nail art dotting tool. Whether you’re a beginner or an aspiring nail artist, this tiny tool can elevate your mani game instantly.
The problem? Most people either don’t know about it or assume it’s just for professionals. Spoiler alert: You don’t need years of training to get started. In fact, I ruined three bottles of polish before realizing all I needed was this one simple tool.
How to Use a Nail Art Dotting Tool Like a Pro
Optimist You: “This sounds easy enough!”
Grumpy You: “Ugh, fine—but only if coffee’s involved.”
Step 1: Prep Your Nails
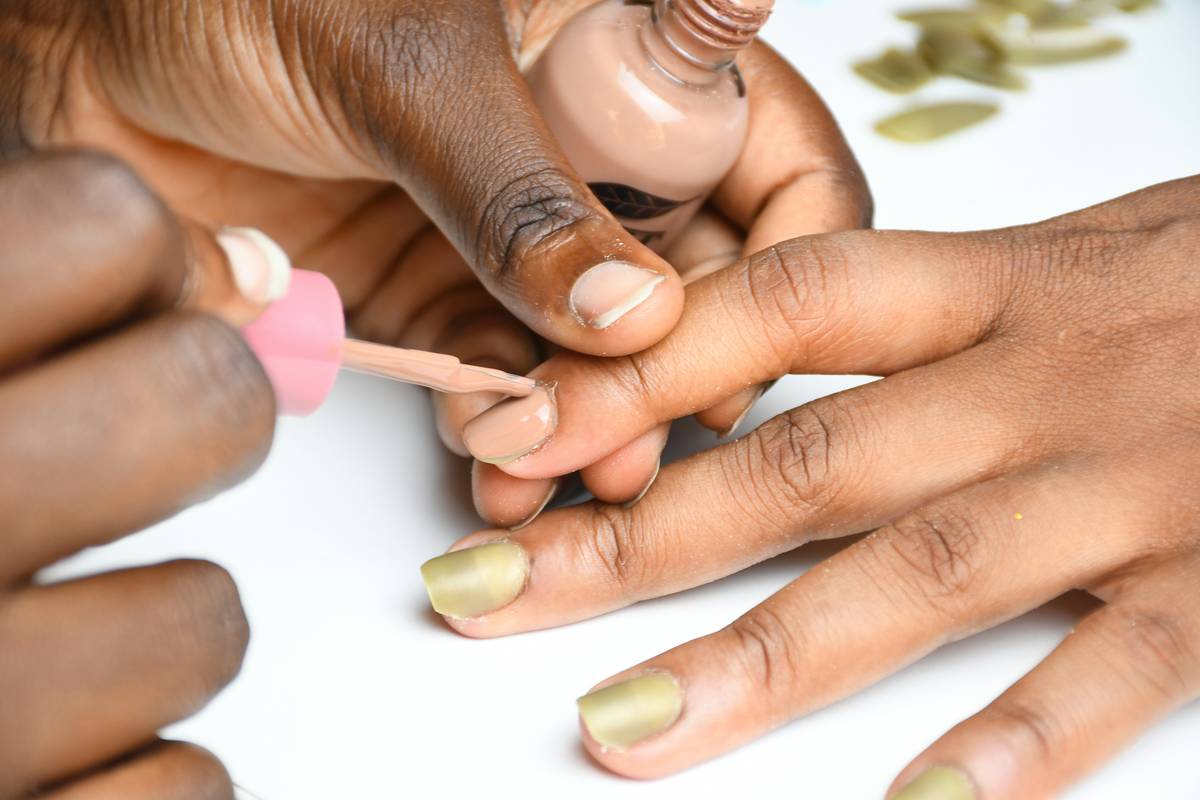
Start with clean, dry nails. Apply a base coat and let it dry completely. A smooth surface ensures better adhesion and prevents smudges.
Step 2: Dip and Test
Dip the tip of your nail art dotting tool into the polish, then lightly tap off excess on a piece of paper. This step prevents globs from ruining your design.
Step 3: Create Designs
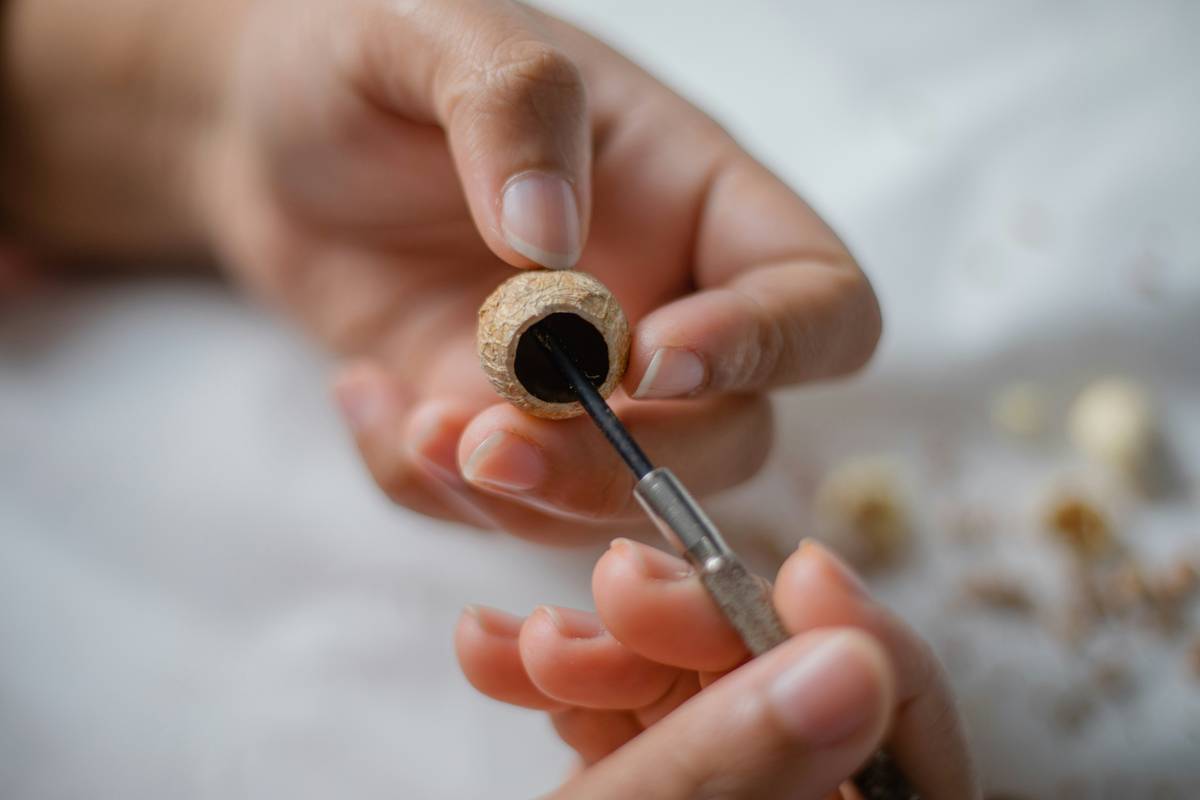
Gently press the dotting tool onto your nail to create dots. For lines or swirls, drag the tool instead of tapping. Practice makes perfect, so start with simple shapes.
Step 4: Seal It In
Once your masterpiece is complete, seal it with a top coat to protect your design and add shine.
Top Tips for Flawless Nail Art
- Invest in Quality: Cheap tools may bend or lose their shape quickly. Look for stainless steel dotting tools for durability.
- Experiment with Sizes: Most dotting tools come with various head sizes. Use smaller tips for detailed work and larger ones for bold accents.
- Work Slowly: Rushing leads to mistakes. Take your time to ensure each dot or line is placed exactly where you want it.
- Pet Peeve Alert: Don’t skimp on cleaning your tools! Polished clogs ruin the experience faster than you can say “manicure fail.”
Real-Life Nail Art Transformations
When Sarah, a graphic designer from Chicago, decided to try her hand at nail art, she initially struggled to create even dots. After purchasing a high-quality nail art dotting tool and watching tutorial videos, she went from amateur blobs to creating floral patterns that got her compliments at work.
Tina, a stay-at-home mom, found joy in crafting playful designs for her kids’ birthday parties. With a nail art dotting tool, she crafted tiny cupcakes, balloons, and stars that made everyone smile.
Frequently Asked Questions About Nail Art Dotting Tools
What is a nail art dotting tool?
A nail art dotting tool is a small instrument with rounded ends used to create precise designs such as dots, lines, and swirls on nails.
Are there different types of dotting tools?
Yes, they range from single-end tools to multi-sized sets made of metal or plastic. Metal tools tend to last longer.
Can beginners use a dotting tool effectively?
Absolutely! Start with simple projects like dotted patterns or French tips and gradually move to more complex designs.
Is cleaning necessary after every use?
Yes, wiping down the tool immediately after use prevents dried polish from sticking, extending its lifespan.
Conclusion
From clumsy blobs to Pinterest-worthy perfection, mastering the nail art dotting tool has never been easier. Remember, practice makes perfect, and investing in quality tools will save you frustration in the long run.
So grab your favorite polish, pick up that trusty dotting tool, and unleash your creativity. Your nails—and followers—will thank you.
—
“Like a Tamagotchi, your nail art skills require daily care.” 🌟

