Ever spent 20 minutes trying to paint a single petal—only to end up with a wobbly blob that looks more like a sad amoeba than a rose? You’re not alone. Even seasoned nail artists hit walls when it comes to nailing (pun intended) that fluid, intentional creative nail stroke. But here’s the truth: it’s not about talent. It’s about technique, tools, and knowing what *not* to do.
In this deep dive, you’ll discover how to control your brush like a pro, choose the right tools for precision strokes, avoid rookie mistakes that sabotage your flow, and even replicate viral nail designs with confidence. Whether you’re doing accent nails for brunch or building a full-blown nail art portfolio, mastering the creative nail stroke is your shortcut to standing out—and saving hours of cleanup.
Table of Contents
- Key Takeaways
- Why Do Creative Nail Strokes Matter in Nail Art?
- How to Execute a Perfect Creative Nail Stroke (Step by Step)
- Pro Tips for Crisp, Clean Strokes Every Time
- Real-World Example: From Blob to Botanical Beauty
- FAQs About Creative Nail Strokes
Key Takeaways
- A “creative nail stroke” refers to a deliberate, controlled brush movement used to form lines, petals, swirls, or details in nail art.
- Brush quality (especially kolinsky sable) and polish consistency are 80% of the battle.
- Wipe your brush *before* loading polish—not after—to maintain control.
- Practice on a silicone mat or nail wheel before touching real nails.
- Never thin acrylic paint with water—it ruins pigment integrity and adhesion.
Why Do Creative Nail Strokes Matter in Nail Art?
If nail art were a language, the creative nail stroke would be its alphabet. Without clean, intentional strokes, even the most imaginative design collapses into visual noise. According to a 2023 report by Grand View Research, the global nail care market is projected to hit $15.4 billion by 2030—with intricate nail art driving much of that growth, especially among Gen Z and millennial consumers who treat nails as wearable art.
But here’s where most DIYers—and even some technicians—stumble: they focus on the design idea but neglect the foundational technique. I learned this the hard way during my first Instagram Reels attempt. I tried to film a “floral French tip” tutorial using a $3 synthetic brush from a discount store. Halfway through, the bristles splayed like a frayed toothbrush, and my peony looked like a Rorschach test. My engagement? Lower than my self-esteem that day.
How to Execute a Perfect Creative Nail Stroke (Step by Step)
What Brush Should I Use for Creative Nail Strokes?
Optimist You: “Any fine liner will do!”
Grumpy You: “Ugh, fine—but only if you enjoy repainting three times.”
Not all brushes are created equal. For true creative nail strokes—think hair-thin lines, tapered petals, or swooping vines—you need a size 0 or 00 kolinsky sable brush. Kolinsky sable holds shape, retains just enough polish, and offers the springiness needed for pressure-sensitive strokes. Synthetic brushes absorb too much product and lack rebound.
How Do I Prep My Polish for Stroking?
Your polish shouldn’t drip off the brush—but it also shouldn’t drag like wet cement. Ideal viscosity: thick enough to hold definition, thin enough to glide. Use a nail polish thinner (never acetone!) to adjust. Acetone breaks down polymers, leading to patchy, brittle strokes that chip within hours.
What’s the Correct Hand Position?
Rest your pinky on the table or client’s hand for stability. Hold the brush like a pencil—not like a knife. Tilt it slightly (15–30 degrees) so only the tip touches the nail. This gives you micro-control for starts, stops, and direction changes.
How Do I Actually Make the Stroke?
- Wipe excess polish off one side of the brush on the bottle rim.
- Touch down lightly at your starting point—don’t press hard.
- Pull smoothly in your desired direction, gradually lifting pressure to taper the end.
- Let it dry 60 seconds before adding adjacent strokes (or use quick-dry top coat between layers).
Pro Tips for Crisp, Clean Strokes Every Time
- Practice on a silicone practice mat: They mimic nail texture and are reusable. I keep one taped to my desk—yes, during Zoom calls.
- Use acrylic paint for detail work: Brands like Golden Fluid Acrylics offer intense pigment and longer open time than polish.
- Clean your brush immediately: Dried polish ruins bristle alignment. Swirl in monomer or brush cleaner, then reshape under running water.
- Angle matters more than speed: Slow, steady strokes with consistent brush angle beat frantic scribbling every time.
- Lighting is non-negotiable: Work under 5000K LED light—it reveals gaps, blobs, and smudges invisible in warm lighting.
⚠️ Terrible Tip Disclaimer
“Just use a toothpick for fine lines!” Nope. Toothpicks create blobby dots and uneven lines—they lack capillary action. Save them for dotting, not stroking.
Real-World Example: From Blob to Botanical Beauty
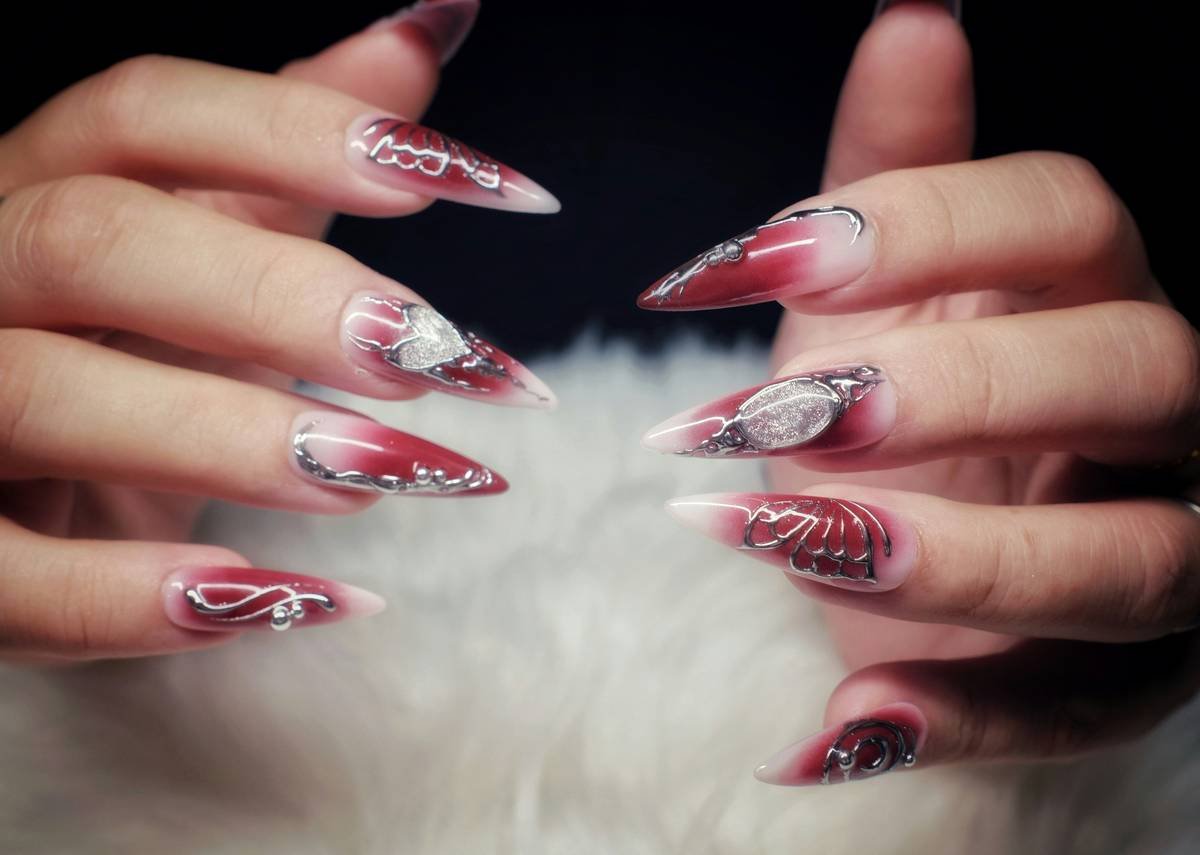
Last winter, I took on a client who wanted minimalist eucalyptus leaves across her almond nails. First attempt? My strokes feathered and bled into the nude base. Turns out, I’d thinned my green polish too much. Second try: I switched to undiluted acrylic paint, loaded my kolinsky brush correctly, and practiced the stroke motion 10x on my mat. Result: crisp, organic leaves with tapered tips that got featured on @nailsofinstagram.
The difference wasn’t creativity—it was control. One stroke, properly executed, elevated the whole design from amateur to editorial.
FAQs About Creative Nail Strokes
Can I do creative nail strokes with gel polish?
Yes! Use a gel liner (like Young Nails YN Line or Makartt Gel Liner). Cure each stroke individually to prevent smudging. Avoid overloading the brush—gel thickens fast under UV light.
Why do my strokes look patchy?
Patchiness usually means your polish is too thick or your brush is overloaded. Thin slightly and wipe off excess before touching the nail.
How long does it take to master creative nail strokes?
With daily 10-minute drills (lines, S-curves, teardrops), most see dramatic improvement in 2–3 weeks. Consistency beats marathon sessions.
What’s the best nail art brush brand?
Industry favorites: Lover Boy Beauty (affordable kolinsky), Moyou London, and Kokie Cosmetics. Avoid unspecified “sable” brushes—they’re often goat hair masquerading as premium fiber.
Conclusion
The creative nail stroke isn’t magic—it’s muscle memory backed by the right tools and smart habits. Forget chasing trends until you’ve nailed the fundamentals. Once you can lay down a clean, tapered line on command, every design becomes easier, faster, and more professional.
So grab your kolinsky brush, prep that practice mat, and stop apologizing for “messy” nails. Your future self—scrolling through flawless nail pics you posted—will thank you.
Like a Tamagotchi, your brush needs daily care… or it dies and takes your confidence with it.
Smooth pull, soft lift—
Petals bloom without a fuss.
Nail art, perfected.

