Ever spent hours freehanding a floral nail design only to end up with something that looks more like abstract art? Yeah, we’ve all been there. Whether you’re a beginner or an experienced nail artist, mastering intricate designs can feel like climbing Mount Everest—without oxygen.
In this post, I’m breaking down everything you need to know about using professional nail stencils. From why they’re worth the investment to step-by-step instructions for flawless application, this guide has your back (and your nails). You’ll also get my pro tips, rant on cheap knockoffs, and an embarrassing confessional fail involving glitter polish gone rogue.
Table of Contents
- Key Takeaways
- Why Professional Nail Stencils Matter
- Step-by-Step Guide to Using Professional Nail Stencils
- Pro Tips and Best Practices
- Real-World Examples of Flawless Designs
- FAQs About Professional Nail Stencils
- Conclusion: Elevate Your Nail Art Game
Key Takeaways
- Professional nail stencils make intricate designs accessible even for beginners.
- High-quality stencils save time and reduce frustration compared to freehand techniques.
- Avoid cheap knockoff tools; invest in durable materials for long-term use.
- Mastering stencil use requires practice but pays off in polished results.
Why Professional Nail Stencils Matter
Pain Point Alert: Imagine spending two hours painstakingly painting tiny lines for a chevron design, only to smudge it at the last second. Ouch.
Professional nail stencils are here to save the day—and your sanity. Unlike DIY methods, these tools provide precision and consistency without requiring Michelangelo-level skills. They’re especially clutch if you’re diving into detailed work like lace patterns or geometric shapes.
Optimist Me: “You’ll create masterpieces every time!”
Grumpy Me: “Yeah, but prep your workspace first unless you want sticky messes everywhere.”
Step-by-Step Guide to Using Professional Nail Stencils
Step 1: Prep Those Nails Like a Pro
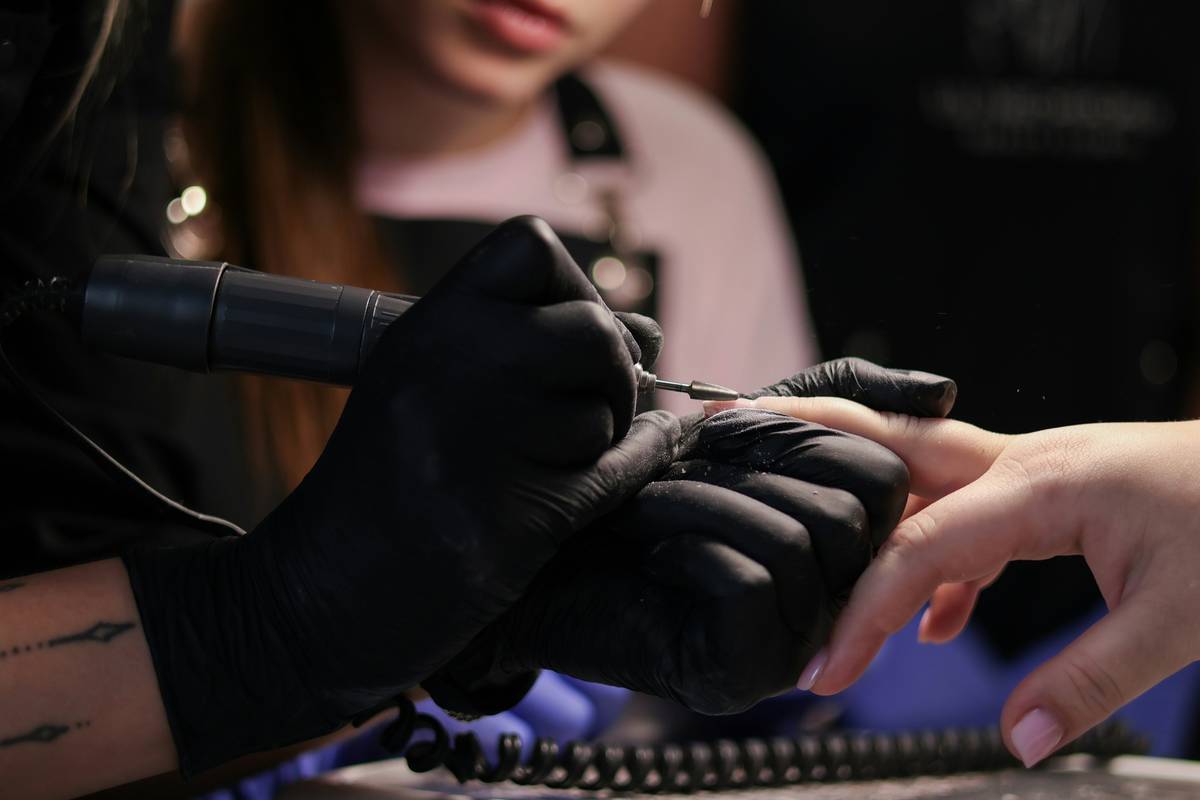
Start with clean, dry nails. Push back cuticles, shape your nails, and apply a base coat. Skipping this step is asking for disaster.
Step 2: Choose the Right Stencil
Select a stencil based on your desired design. Want an ombré effect? Grab a gradient stencil. Geometric patterns? Opt for sharp-edged stencils.
Step 3: Secure Placement
Gently place the stencil over your nail. Press lightly to avoid shifting during application.
Step 4: Apply Polish Carefully
Using a small brush or sponge, dab polish over the stencil. Pro Tip: Use thin layers to prevent bleeding under the edges.
Step 5: Peel Off and Seal
Remove the stencil while the polish is still wet, then seal your design with a topcoat.
Pro Tips and Best Practices
- Precision Matters: Use tweezers to position delicate stencils.
- Thin Coats Win: Applying thick polish can ruin your design.
- Avoid Cheap Knockoffs: Low-quality stencils tear easily and waste your money.
- Practice Makes Perfect: Start simple before tackling complex patterns.
Confession Time: Once upon a time, I tried using duct tape as a makeshift stencil. Spoiler alert—it did not go well. Save yourself the headache and splurge on legit tools.
Real-World Examples of Flawless Designs
Let’s talk success stories. One client walked out of their salon appointment looking like they’d stepped straight out of a magazine—all thanks to professional nail stencils. Another nail artist grew her Instagram following by showcasing dazzling holographic designs made possible with advanced stencil kits.
FAQs About Professional Nail Stencils
Are professional nail stencils reusable?
Most high-quality ones are! Just clean them gently after each use.
Can beginners use these effectively?
Absolutely. These tools level the playing field for novices.
What’s the worst thing I could do wrong?
Rant Moment: DON’T OVERLOAD WITH POLISH. Too much product ruins everything. Trust me.
Conclusion: Elevate Your Nail Art Game
Professional nail stencils aren’t just accessories—they’re game-changers. By investing in quality tools and practicing smart techniques, you’ll transform your nail art from amateur to stunning.
So grab those stencils, channel your inner Picasso, and remember: “Like peanut butter cups, some combos were made to shine.”