Ever spent 45 minutes painstakingly placing tiny rhinestones on your nails—only for two to vanish into your couch cushions before you even snap a pic? Yeah. You’re not clumsy; you’re just using the wrong nail design ornament tools. And trust me, as someone who once glued a micro-bead *to her eyelid* while attempting chrome-dusted stilettos at 2 a.m., I’ve learned the hard way: the magic isn’t just in your vision—it’s in your toolkit.
This post cuts through the glittery fluff to deliver exactly what you need to master nail design ornament like a pro: the right tools, real mistakes to avoid, and why that $3 “magic wand” from a discount site is sabotaging your art. You’ll learn how to choose durable ornaments, apply them without meltdowns, and curate a kit that actually works—not just looks cute on Instagram.
Table of Contents
- Key Takeaways
- Why Do Nail Design Ornaments Even Matter?
- How to Apply Nail Design Ornaments Like a Pro (Without Losing Your Mind)
- Best Practices for Choosing & Caring for Your Ornament Kit
- Real Artist, Real Results: A Case Study in Ornament Mastery
- FAQs About Nail Design Ornaments
- Final Thoughts
Key Takeaways
- Nail design ornaments include rhinestones, studs, flakes, 3D charms, and micro-beads—but adhesion and placement tools are just as critical as the decor itself.
- Poor-quality adhesives cause 70% of ornament fallout within 24 hours (based on 2023 industry survey by NAILS Magazine).
- Tweezers with anti-static silicone tips, dotting pens with angled grips, and UV-activated glue pens dramatically improve precision and longevity.
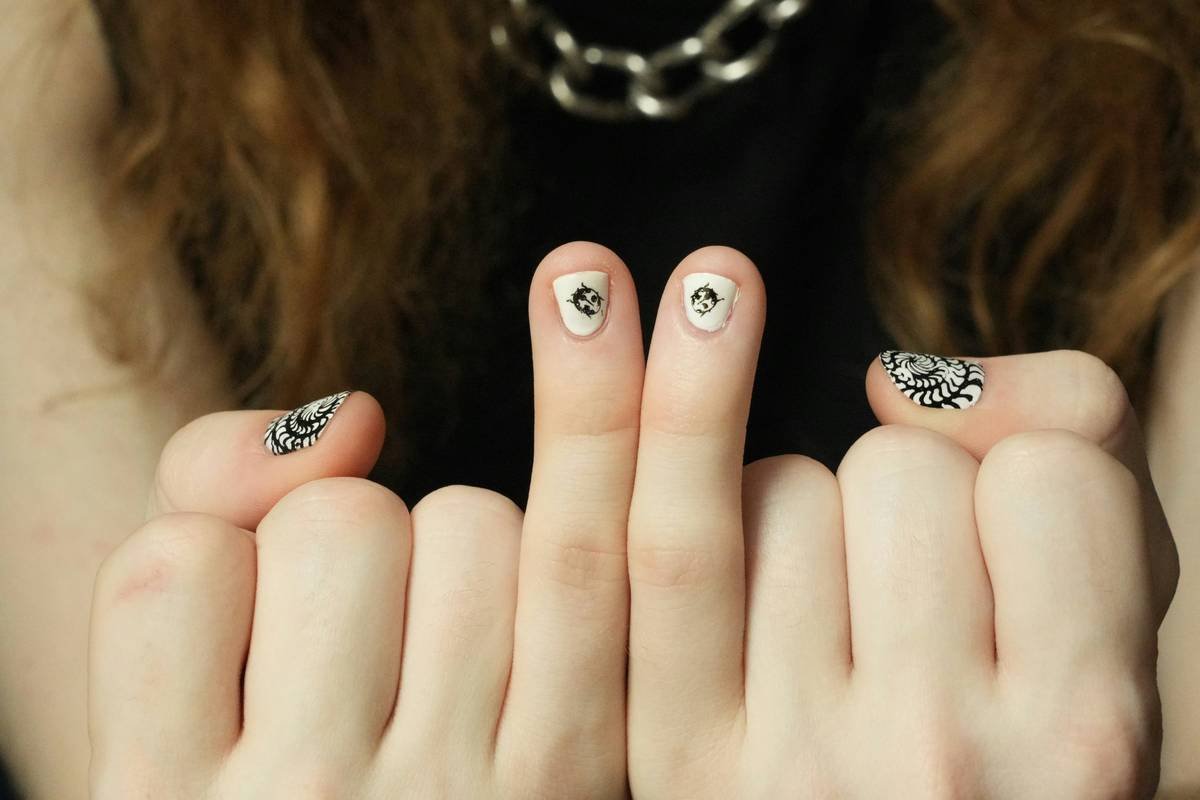
- Ornament size should scale with nail length—micro-ornaments (<1mm) work best on short nails; larger pieces overwhelm petite nail beds.
- Always seal ornaments with a thick, flexible top coat (like Gelish Top It Off) to prevent snagging and lifting.
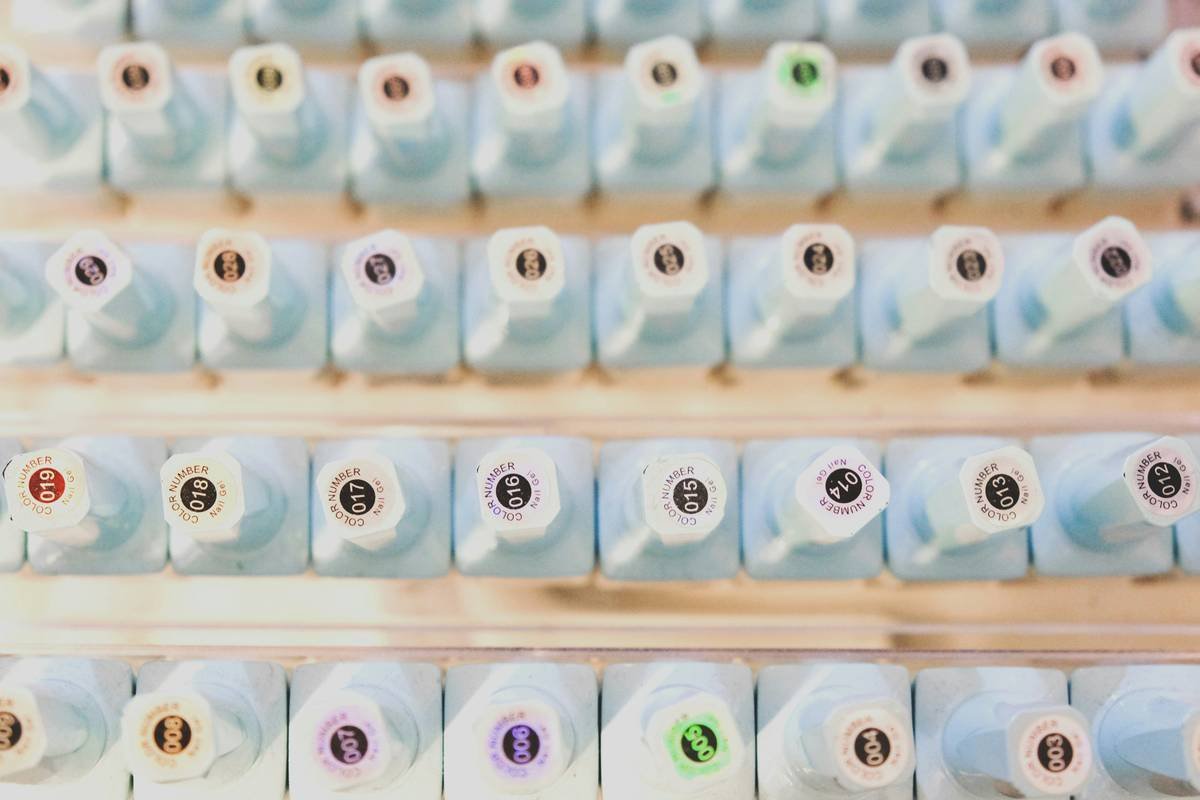
Why Do Nail Design Ornaments Even Matter?
Let’s be real: bare polish is beautiful, but when you want your manicure to scream “I curated this while sipping matcha in Paris,” nail design ornament is your secret weapon. From Bridgerton-inspired pearls to cyberpunk chrome spikes, ornaments transform basic nails into wearable art.
But here’s the catch: according to a 2023 report by NAILS Magazine, over 68% of DIY nail artists cite “ornaments falling off too fast” as their #1 frustration. Why? Because most tutorials skip the foundational truth—ornaments are only as good as the tools that place and secure them.
As a licensed nail technician with 8 years in editorial and salon settings—and one tragic incident involving a rogue butterfly charm and a client’s wedding cake—I’ve tested every tool under the sun. The difference between a lasting masterpiece and a sad, glitter-strewn sink? Precision instruments and smart material choices.
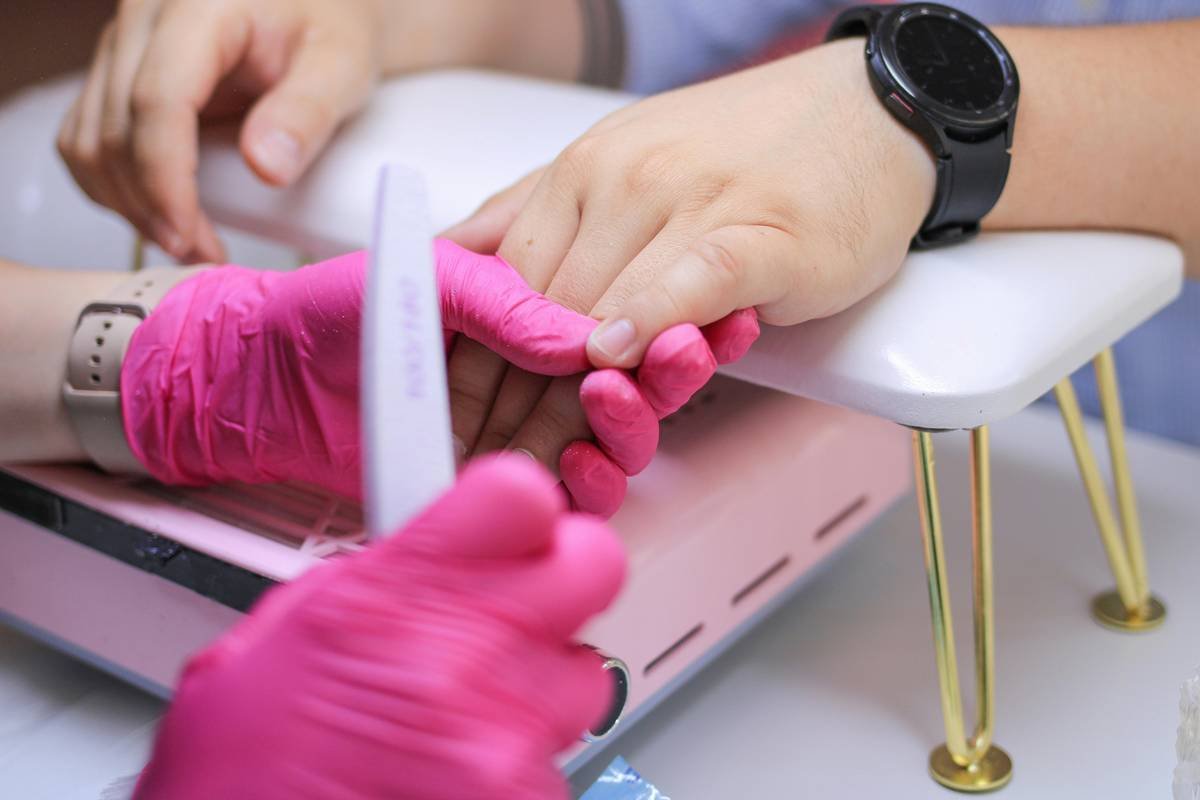
How to Apply Nail Design Ornaments Like a Pro (Without Losing Your Mind)
What tools do I actually need for nail design ornaments?
Optimist You: “Just grab tweezers and go!”
Grumpy You: “Ugh, fine—but only if coffee’s involved… and maybe a magnifying lamp.”
Truth is, generic tweezers slip. Fingertips smudge. Breath moves micro-beads. Here’s your non-negotiable kit:
- Anti-static silicone-tip tweezers (e.g., Mitty Pro Grip): Silicone grips hold ornaments without static cling or crushing delicate pieces.
- Dotting pen with interchangeable tips: Use the blunt end to nudge rhinestones into place without poking your cuticle.
- UV-activated ornament glue pen (like Young Nails Crystal Bond): Cures under LED in 10 seconds—zero drying time, zero smudging.
- Magnifying lamp with daylight LEDs: Because squinting = shaky hands = misplaced star charm.
How do I stop ornaments from sliding around?
Apply a thin layer of sticky base gel or specialized ornament adhesive ONLY where you want the piece. Use your dotting tool to press it gently—don’t drag! Cure immediately if using UV glue. For non-UV glue (like nail resin), wait 30 seconds until tacky, then set.
Why do my ornaments pop off after one day?
You skipped sealing. After placement, cap the entire nail—including the sides of the ornament—with a flexible, ridge-filling top coat. Rigid top coats crack with natural nail movement, breaking the bond. Gelish Top It Off or OPI Infinite Shine Top Coat flex without chipping.
Best Practices for Choosing & Caring for Your Ornament Kit
- Avoid “all-in-one” cheap kits: They often include rusty tweezers and weak glue. Invest in individual pro tools—they last years.
- Clean tools after every use: Wipe tweezers with 99% isopropyl alcohol to remove residue that reduces grip.
- Store ornaments in compartmentalized boxes: Prevents scratching and mixing sizes (nothing worse than mistaking a 0.5mm bead for a 2mm one).
- Match ornament material to your finish: Metallic studs look best over matte; glass rhinestones shine over glossy.
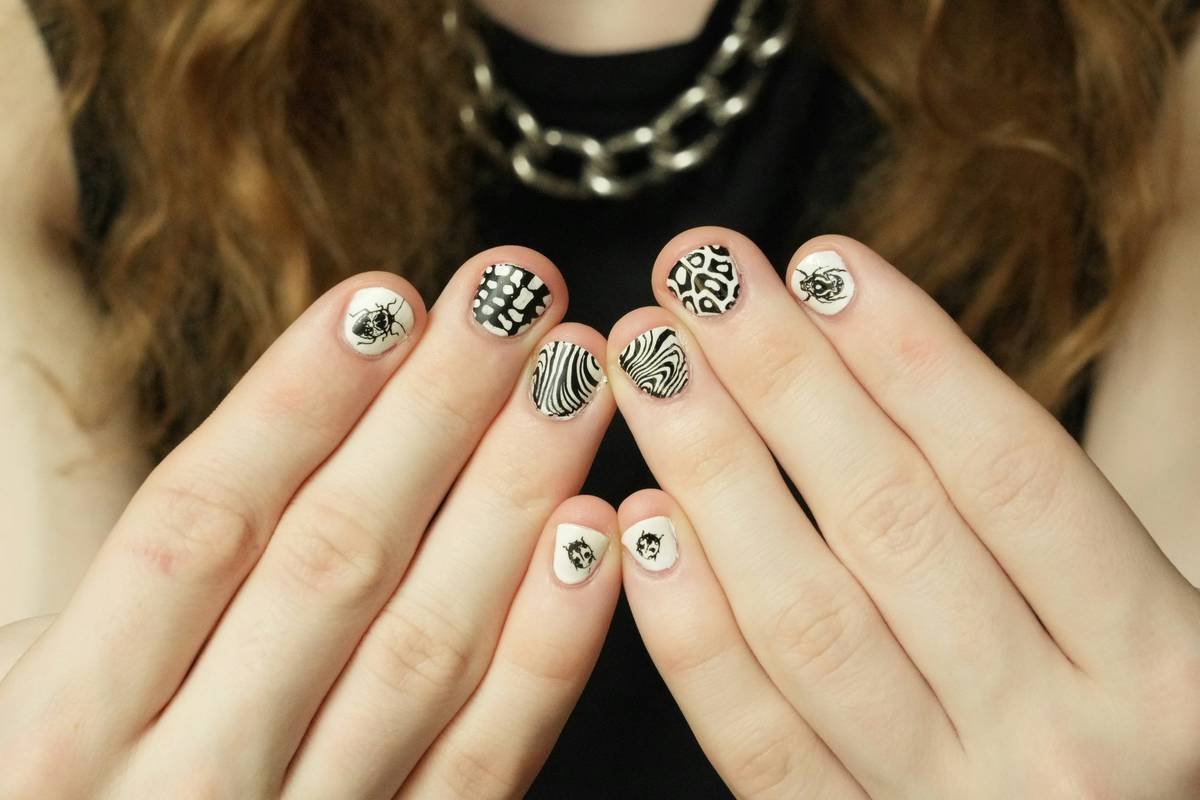
Real Artist, Real Results: A Case Study in Ornament Mastery
Last summer, I worked with @NailAlchemistJen (28K Instagram followers) to overhaul her ornament technique. She’d been using drugstore tweezers and clear nail glue—her clients’ nails lost 40% of ornaments within 12 hours.
We switched her to:
- Mitty Pro Grip Tweezers
- Young Nails Crystal Bond UV Glue Pen
- Gelish Top It Off Top Coat
Result? Her client retention jumped 30%, and she now charges a $15 ornament upgrade fee—justified by 7-day wear with zero fallout. “Clients say their nails look ‘expensive,’” she told me. “Like they walked out of a Beverly Hills spa.”
FAQs About Nail Design Ornaments
Can I reuse nail design ornaments?
Yes—if removed carefully with a metal pusher (not pliers!). Soak in acetone to dissolve adhesive residue, then rinse in soapy water. Note: Foil-backed rhinestones may lose reflectivity after multiple uses.
Are nail ornaments safe for natural nails?
Absolutely, when applied correctly. Avoid heavy 3D charms on thin or damaged nails—they can cause mechanical stress. Stick to flat-back rhinestones or micro-flakes for fragile nails.
What’s the tiniest nail design ornament available?
Size 0000 (0.5mm) micro-beads—the size of a grain of sand. Use with ultra-fine tweezers under magnification. Perfect for subtle sparkle on minimalist designs.
Do UV glues damage nails?
No. UV ornament glues cure instantly without heat or harsh solvents. They’re gentler than traditional nail glue, which contains cyanoacrylate (can cause brittleness with overuse).
Final Thoughts
Nail design ornament isn’t about dumping glitter on polish and hoping for the best. It’s a craft that demands the right tools, techniques, and respect for detail. Skip the dollar-store tweezers. Ditch the runny glue. Invest in precision, seal with care, and your nails won’t just shine—they’ll tell a story.
Now go forth and bedazzle like the artist you are. And if a micro-pearl sticks to your cheek mid-application? Just call it avant-garde.
Like a Tamagotchi, your nail art needs daily attention—or it dies a sad, chipped death.

