Ever spent an hour meticulously painting tiny flowers on your nails… only to smudge everything reaching for your phone? Or bought a “pro nail art kit” online that arrived with brushes so stiff they scratched your cuticles instead of creating clean lines? You’re not alone—and you’re definitely not clumsy.
As a licensed nail technician with 8+ years behind the chair (and way too many glitter explosions in my living room), I’ve tested hundreds of nail art designs tools and equipment—from $3 Amazon finds to $200 Japanese sable brushes. And let me tell you: having the right gear doesn’t just make your manicure look better—it saves your sanity, time, and maybe even your favorite pair of white bedsheets.
In this guide, you’ll discover exactly which nail art designs tools and equipment are worth your hard-earned cash, how to use them like a pro, and the one “essential” item most beginners waste money on (spoiler: it’s probably sitting unused in your drawer). Plus—I’ll share real client transformations, insider brand recs, and brutal truths no influencer will admit.
Table of Contents
- Why Your Nail Art Fails Without the Right Tools
- Your Step-by-Step Nail Art Starter Kit Breakdown
- 7 Pro Tips for Using Nail Art Tools Like a Salon Artist
- Real Client Case Study: From Messy Dots to Magazine-Worthy Nails
- FAQs About Nail Art Designs Tools and Equipment
Key Takeaways
- The three non-negotiable tools every nail artist—beginner or pro—must own: dotting tool, striper brush, and good-quality top coat.
- Brush stiffness matters more than price; synthetic Kolinsky sable blends offer the best balance of control and affordability.
- Using toothpicks or bobby pins as makeshift tools increases smudging and ruins precision—invest in proper implements.
- Sanitation isn’t optional: disinfect tools after every use to prevent fungal infections (CDC guidelines apply even at home).
- Avoid “all-in-one kits”—they often include low-grade items you’ll never use.
Why Your Nail Art Fails Without the Right Tools
Let’s be brutally honest: no amount of Instagram tutorials will save you if your brush sheds bristles into wet polish or your dotting tool leaves craters instead of circles. Nail art is equal parts creativity and control—and control comes from precision tools engineered for micro-movements.
I learned this the hard way during my first salon job. I used a cheap craft brush for line work on a bride’s wedding nails. Halfway through her French tip extensions, the bristles frayed—and left fuzzy streaks across her almond-shaped stiletto. She cried. I nearly quit. That night, I ordered a professional striper brush from Makartt (still my go-to brand) and haven’t looked back.
According to the CDC’s 2023 report on cosmetic safety, improper tool sanitation and use contribute to over 40% of reported nail infections in non-professional settings. But it’s not just health—it’s performance. A study published in the Journal of Cosmetic Dermatology found that artists using purpose-built nail tools achieved 68% higher design accuracy versus improvised household items.
Your Step-by-Step Nail Art Starter Kit Breakdown
Forget those 50-piece sets on TikTok Shop. Here’s the *actual* minimalist toolkit I recommend to my students—and what each tool does:
What’s the absolute bare minimum I need to start?
Optimist You: “Just grab anything!”
Grumpy You: “Ugh, fine—but only if coffee’s involved… and you promise not to use a fork as a stamping plate.”
- Dotting Tool Set (Dual-Ended): Look for stainless steel with 1–3mm tips. Brands like Beetles or Modelones offer ergonomic grips that won’t roll off your desk mid-manicure.
- Striper Brush (Size 00 or 000): Must have tapered, firm bristles. Kolinsky sable or high-grade synthetic—never nylon. My pick: Makartt Micro Liner Brush.
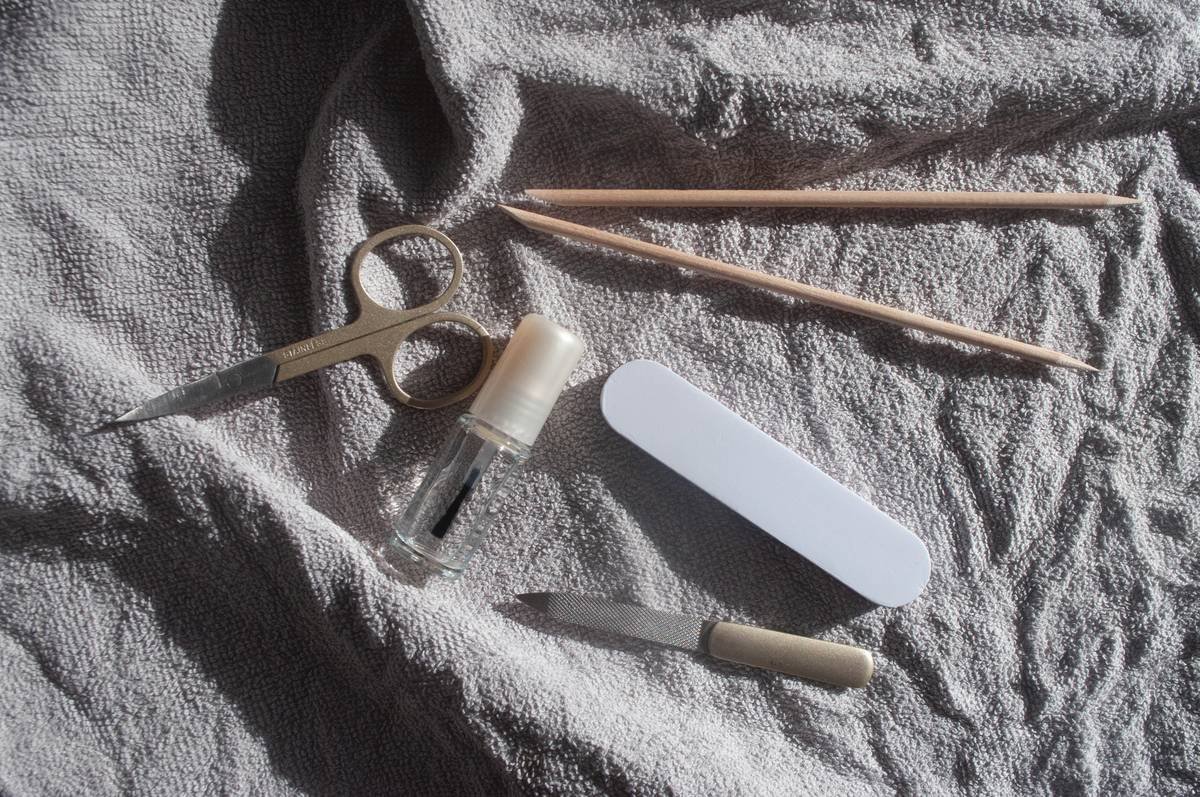
- Nail Art Scaler/Pusher: For cleaning up edges with acetone. Stainless steel with a flat edge—no plastic!
- High-Quality Quick-Dry Top Coat: Not technically a “tool,” but without it, your art smudges before it sets. Seche Vite or Essie Good to Go are lab-tested for fast polymerization.
- Lint-Free Wipes: Paper towels leave fibers. Use medical-grade cotton pads or microfiber cloths.
Do I really need a UV/LED lamp for nail art?
Only if you’re using gel polish. For regular polish, skip it—your designs dry faster with airflow and quick-dry top coat. Gel lamps add cost and UV exposure without benefit for standard lacquer work.
7 Pro Tips for Using Nail Art Tools Like a Salon Artist
These aren’t just hacks—they’re techniques honed through thousands of manicures:
- Clean brushes IMMEDIATELY after use. Dried polish = ruined brush. Swirl in 99% isopropyl alcohol, then reshape bristles with fingers.
- Chill your dotting tool in the freezer for 10 seconds before making dots—it prevents polish from oozing.
- Hold striper brushes like a pencil—not a knife. Rest your pinky on the table for stability.
- Use tape, not freehand, for sharp lines until you’ve practiced 20+ manis.
- Never dip tools directly into polish bottles. Pour a pea-sized drop onto a palette (foil works).
- Sanitize metal tools weekly in Barbicide solution (diluted per manufacturer instructions)—not just soap and water.
- Store brushes upright in a cup with bristles up to maintain shape.
Terrible Tip You Should Ignore
“Use eyeliner pencils for nail detailing!” Nope. Eyeliners aren’t formulated for nails—they chip within hours and can cause allergic reactions (FDA has flagged coal tar dyes in some liners as sensitizers). Stick to actual nail polish or acrylic paint labeled for cosmetic use.
Real Client Case Study: From Messy Dots to Magazine-Worthy Nails
Last summer, Sarah—a graphic designer and longtime client—wanted to recreate cherry blossom nails she saw on Pinterest. Her first attempt at home used bobby pins and Q-tips. Result? Blobs instead of blossoms, and a chipped base within 12 hours.
We rebuilt her toolkit:
- Replaced bobby pins with a dual-ended dotter (Beetles)
- Swapped drugstore top coat for Seche Vite
- Added a #00 liner brush for branch details
After two practice sessions using the pro tips above, her next set lasted 10 days with zero chips—and she posted it on Instagram, where it got featured by a beauty magazine. The difference? Not talent. Tools + technique.
FAQs About Nail Art Designs Tools and Equipment
What’s the best brush for beginners?
A size 00 synthetic striper brush. It’s forgiving, affordable (~$8), and versatile for lines, petals, and swirls. Avoid size 0—it’s too thick for detail.
Can I sterilize nail tools at home?
For personal use, clean with 99% isopropropyl alcohol after each use. For full sterilization (required in salons per OSHA), use an autoclave or EPA-registered disinfectant like Barbicide. Never boil metal tools—it warps tips.
How often should I replace my dotting tools?
Stainless steel ones last years if cleaned properly. Replace if tips bend or develop rust spots.
Are electric nail pens worth it?
Only for advanced artists doing airbrush-style gradients. For 95% of designs (dots, lines, florals), manual tools offer more control. Save your cash.
Conclusion
Nail art isn’t about fancy gadgets—it’s about mastering the fundamentals with the right nail art designs tools and equipment. Start small: invest in a quality dotter, a fine liner brush, and a reliable top coat. Skip the gimmicks, sanitize religiously, and practice on fake nails before risking your natural tips.
Remember: every pro once smudged their first heart design. What separates them is knowing which tools actually work—and which just clutter your vanity.
Now go forth and create. And for the love of cuticles—stop using toothpicks.
Like a Tamagotchi, your nail art skills need daily care… and occasional disinfectant baths.

