Ever stared at your nails, wondering why your “creative nail finish” falls flat compared to the jaw-dropping designs you see on Pinterest? Yeah, me too. As someone who once ruined a $20 mani-pedi trying to DIY some star-shaped art using a safety pin (true story), I get it. Nailing (pun intended) that perfect design isn’t just about talent—it’s about *tools*. Let’s dive into how you can elevate your nail game by investing in the right nail art tools and techniques.
In this guide, we’ll explore:
- The struggles of amateur nail artists
- A step-by-step process to achieve a creative nail finish
- Top tools every enthusiast should own
- Tips for beginners and pros alike
- Real-life examples of killer finishes
Table of Contents
- Key Takeaways
- Section 1: Why Your Creative Nail Finish Looks Meh
- Section 2: Step-by-Step Guide to Acing Your Design
- Section 3: Tips & Tricks for Flawless Finishes
- Section 4: Real-Life Success Stories
- FAQs About Nail Art Tools
Key Takeaways
- Investing in quality nail art tools makes all the difference.
- Achieving a creative nail finish requires precision, patience, and practice.
- Using detailed guides and professional tips can save you time and frustration.
Why Your Creative Nail Finish Looks Meh
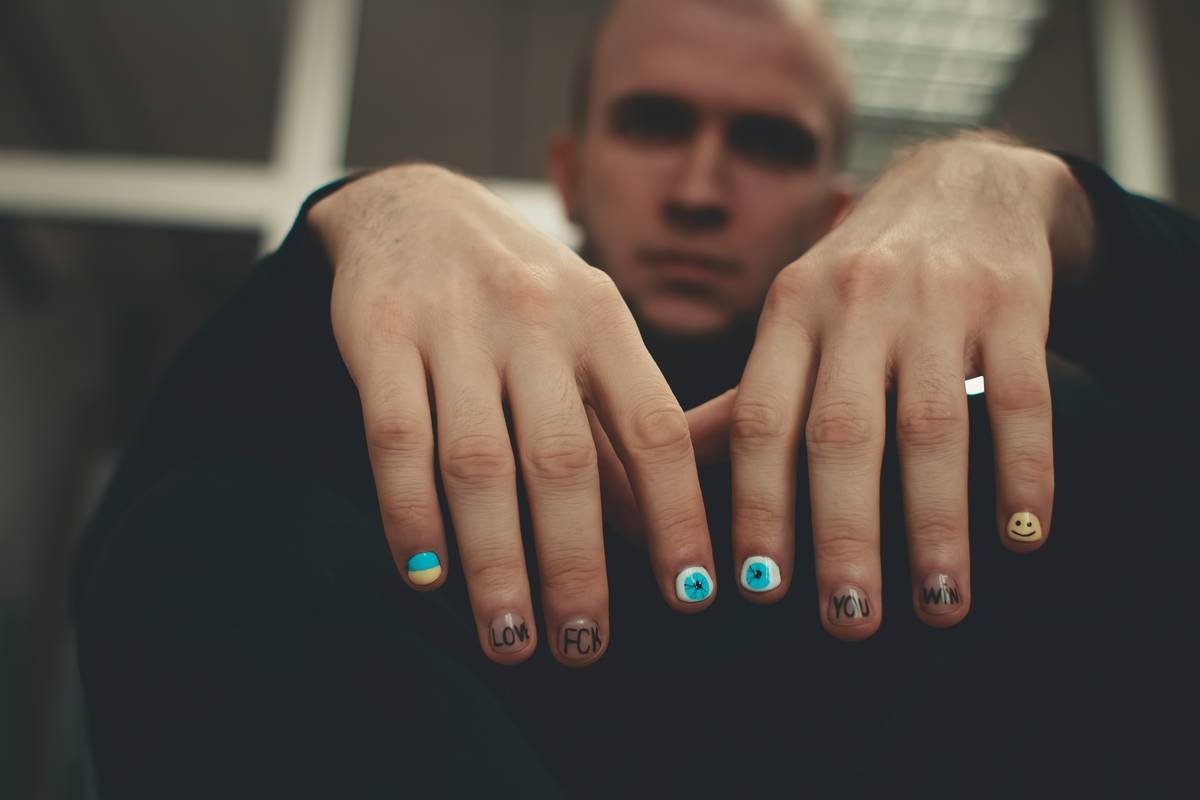
“Why does my leopard print look like a toddler’s scribble?” I asked myself after another failed attempt at recreating something from Instagram. Turns out, it wasn’t just lack of skill—my cheap dotting tool was bending under pressure, making lines uneven and blobs unmanageable.
Here’s what most people overlook:
- Cheap brushes fray faster, ruining intricate details.
- Poor-quality polish smudges easily, leading to patchy results.
- No clear workspace means distractions—and shaky hands.
“Optimist You:* ‘Follow these tips!’
Grumpy You: ‘Ugh, fine—but only if coffee’s involved.'”
Step-by-Step Guide to Acing Your Design
Now that we’ve covered *why* things go wrong, let’s fix it. Here’s how to get your creative nail finish trending on social media:
Step 1: Prep Like a Pro
Wash and dry your hands thoroughly. Apply a base coat—not only does it protect your nails but also gives polish something smooth to cling to.
Step 2: Gather Your Arsenal
Your toolbox should include:
- Fine-detail brushes
- Dotting tools of various sizes
- Striping tape or stencil kits
- High-pigment polishes
Step 3: Paint With Purpose
Start simple! For example, use striping tape to create geometric shapes before adding embellishments like dots or glitter accents. Patience is key here; don’t rush!

Tips & Tricks for Flawless Finishes
- Practice Makes Perfect: Grab an old makeup sponge and practice blending colors until seamless gradients are second nature.
- Terrible Tip Alert: Don’t use regular house paintbrushes—they’ll ruin everything. Ever tried painting a masterpiece with soggy spaghetti? Same vibe.
- Rant Section: Stop buying bargain-bin nail polish! Yes, it’s tempting, but think about all the wasted hours spent fixing streaks.
- Seal It Tight: Always finish with a topcoat to lock in your hard work and prevent chipping.
Real-Life Success Stories
Take Sarah, a self-taught nail artist who turned her hobby into a full-time gig. She credits her success to mastering one technique at a time and upgrading her toolkit as she progressed. Her signature “galaxy nails” went viral thanks to meticulous shading and sparkly overlays.

FAQs About Nail Art Tools
What’s the best starter kit for beginners?
Look for kits that include basic brushes, dotting tools, and striping tape. Brands like [XYZ] offer affordable yet durable options.
How do I clean my tools effectively?
Soak them in acetone-free nail polish remover overnight, then rinse and let air dry.
Can I reuse stencils?
Absolutely! Just wipe them clean between uses.
Conclusion
Achieving a creative nail finish doesn’t have to feel impossible. With the right mindset, tools, and techniques, you’re well on your way to becoming the Picasso of pedicures. Remember: It’s okay to make mistakes along the way—that’s where creativity thrives!
Like a Tamagotchi, your nails need daily care. Keep experimenting, keep learning, and soon enough, your friends will be begging for tutorials.

