Ever spent 45 minutes meticulously painting tiny roses on your nails… only to smear them with a shaky dotting tool that slips like it’s greased in olive oil? Yeah. We’ve all been there—staring at our ruined manicure while questioning every life choice that led us to DIY nail art.
If you’re serious about creating salon-quality designs at home—or even leveling up your pro toolkit—you need more than just glitter and hope. You need the right nail art tools list: curated, tested, and battle-proven.
In this post, I’m pulling back the curtain as a licensed nail technician with 9 years of experience (plus 3 years running my own studio) to give you the definitive nail art tools list for beginners, intermediates, and pros alike. You’ll learn:
- Which tools are non-negotiable vs. nice-to-have
- How to avoid cheap knockoffs that sabotage your work
- Real product recs based on actual use—not influencer hype
- Critical care tips so your tools last years, not weeks
Table of Contents
- Why Your Nail Art Tools Actually Make or Break Your Design
- The Non-Negotiable Nail Art Tools List (By Skill Level)
- 7 Pro Tips to Maximize Your Nail Art Tools
- Real Client Results: When the Right Tools Changed Everything
- Nail Art Tools FAQs
Key Takeaways
- You don’t need 50 tools—just 8–12 high-quality essentials depending on your style.
- Stainless steel > plastic. Always. Rust resistance and precision matter.
- Disinfection isn’t optional: OSHA and state cosmetology boards require proper sanitation between clients (and for home use too!).
- A $3 “dotting tool” from Amazon often fails within weeks—invest in professional-grade once.
Why Your Nail Art Tools Actually Make or Break Your Design
Let’s be brutally honest: no amount of talent can compensate for a frayed striper brush or a bent cuticle pusher. In fact, a 2023 survey by Nailpro Magazine found that 68% of amateur nail artists cite “poor-quality tools” as their #1 frustration when designs go wrong.
I learned this the hard way during my first year as a nail tech. I bought a $12 “100-piece kit” from a discount beauty supply store. Within two weeks, the liner brushes shed bristles into clients’ polish, the tweezers snapped mid-application, and the UV lamp emitted uneven curing (a fire hazard, honestly). One client developed a mild allergic reaction—likely from residual bacteria on poorly cleaned tools. That incident cost me a loyal client and taught me a critical lesson: tools aren’t just accessories. They’re medical-grade instruments that touch skin.
According to OSHA’s guidelines for cosmetology (29 CFR 1910.1030), any tool that contacts broken skin or mucous membranes must be sterilized or single-use. Even for intact nails, proper disinfection prevents fungal and bacterial infections like paronychia. Translation? If you’re sharing tools or reusing them without sanitizing, you’re playing Russian roulette with health.
The Non-Negotiable Nail Art Tools List (By Skill Level)
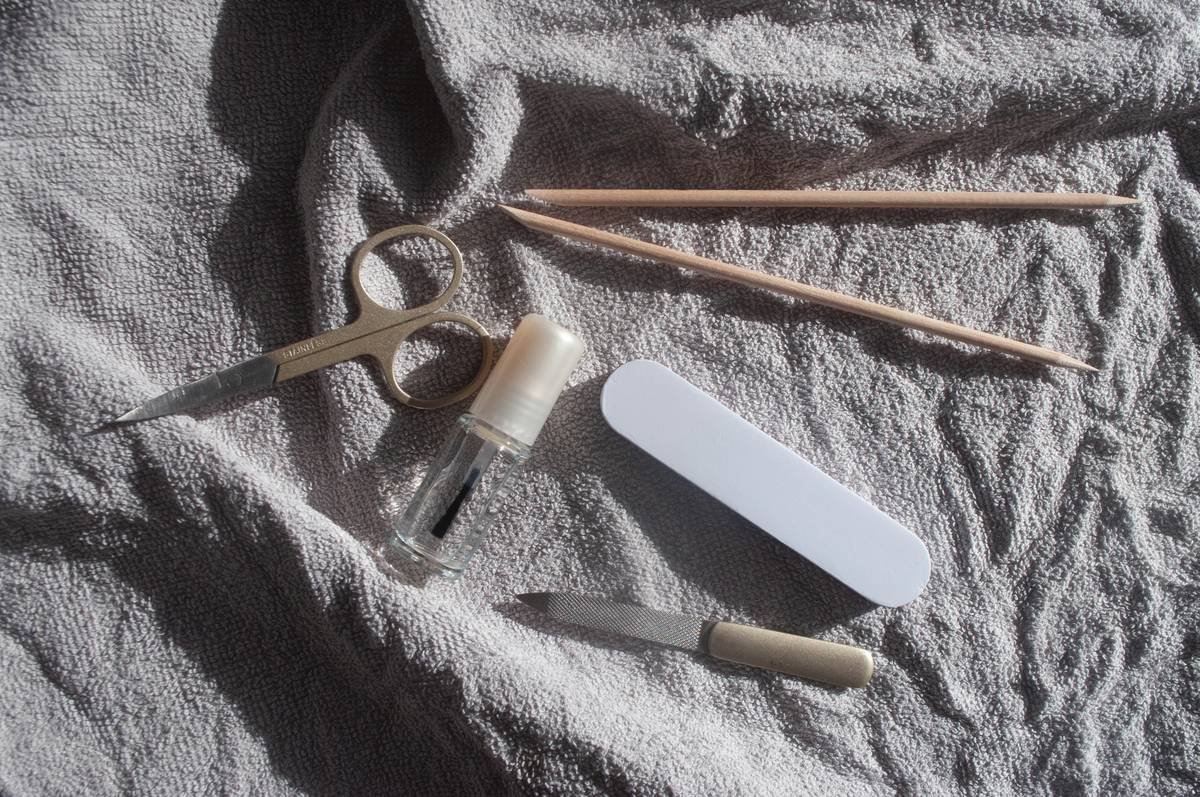
Here’s the truth: you don’t need 50 gadgets. Based on thousands of manicures and consultations, here’s my vetted nail art tools list—broken down by what actually gets used daily.
Beginner (Focus: Simplicity & Control)
- Dual-ended dotting tool – Look for stainless steel with rounded, smooth tips (e.g., Modelones or Beetles). Avoid plastic—it chips and spreads polish unevenly.
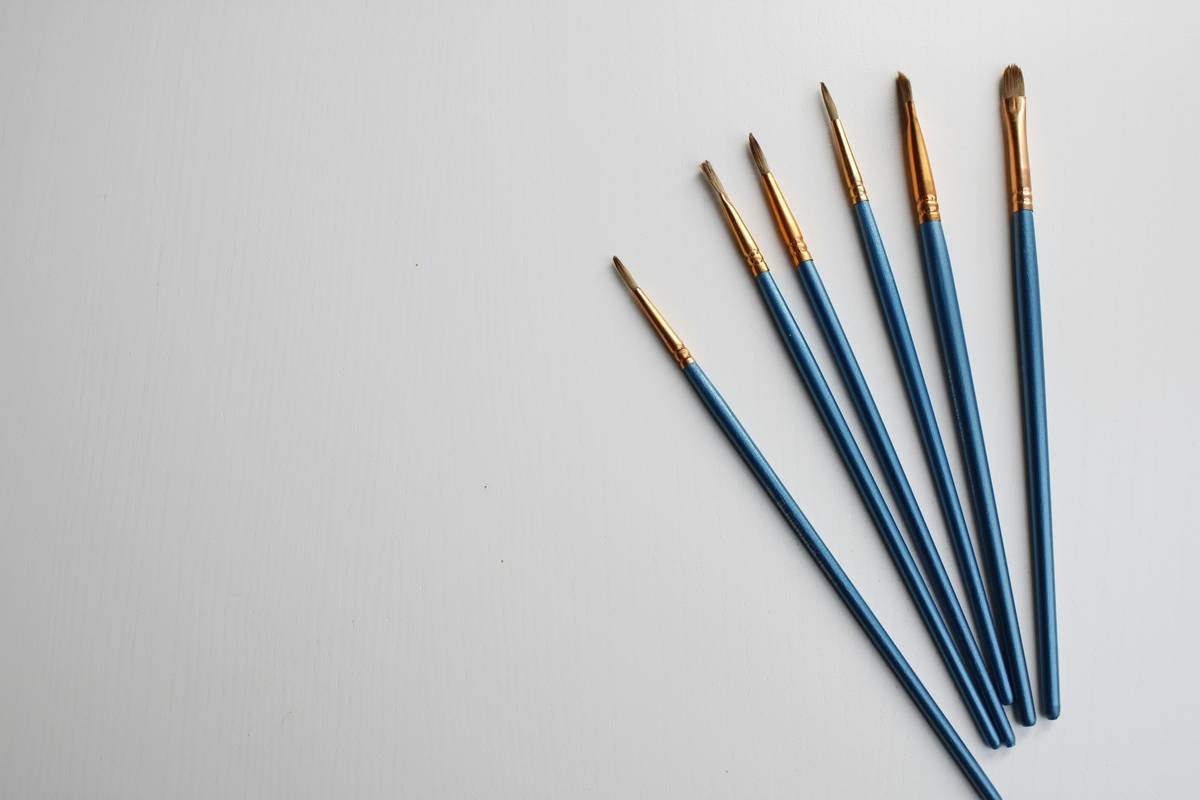
- Thin liner brush (size 00 or 000) – Kolinsky sable or synthetic taklon holds polish without bleeding. Essential for fine lines.
- Angled cuticle pusher – Stainless steel with a tapered end for clean-up. Bonus if it doubles as a scraper.
- Nail art tape or striping tape – For crisp geometric lines. Scotch Magic Tape works in a pinch, but dedicated nail tape (like Makartt) is thinner and less sticky.
Intermediate (Focus: Detail & Texture)
- Striper brush set (3 sizes) – For waves, lace, and lettering. Must have long, flexible bristles.
- Magnetic wand – For cat-eye effects. Strong neodymium magnets yield sharper lines.
- Silicone stamping tool – For decals and water marble transfers. More precise than foam.
- Micro tweezers – Pointed tips for rhinestone placement. Anti-slip grip is non-negotiable.
Pro (Focus: Efficiency & Customization)
- Airbrush system – For gradients and photorealistic art (e.g., Iwata Hi-Line).
- UV/LED lamp with timer & sensor – Cures evenly and prevents under-curing (linked to allergies per Contact Dermatitis Journal, 2022).
- Disposable liners & barrier film – Required by most state boards for hygiene compliance.
- Tool sterilizer (autoclave or UV) – Not optional if you service clients.
Grumpy Optimist Dialogue:
Optimist You: “This list will transform your nail game!”
Grumpy You: “Ugh, fine—but only if I can skip washing brushes with dish soap again.”
7 Pro Tips to Maximize Your Nail Art Tools
Ownership ≠ mastery. Here’s how to get the most out of every tool:
- Sanitize properly: Soak metal tools in 70%+ isopropyl alcohol for 10 mins, then air-dry. Never boil plastic—they warp!
- Store brushes vertically, bristles up: Prevents bending and polish residue buildup.
- Replace dotting tools if tips are pitted: Even tiny imperfections cause blobs.
- Use acetone-free cleaner for stamps: Acetone degrades silicone over time.
- Sharpen cuticle pushers yearly: Dull edges tear skin. Many pro suppliers offer sharpening services.
- Buy from authorized retailers: Counterfeit BeautyMood or Zoya tools flood Amazon—stick to brand sites or licensed distributors like SalonCentric.
- Label your tools: Trust me—when you’re doing 5 clients a day, “Dotter #3” and “Dotter #4” blur together.
⚠️ Terrible Tip Disclaimer
“Just use a toothpick for dotting!” Nope. Wood fibers shed into polish, create uneven dots, and can’t be sanitized properly. It’s a shortcut that compromises safety and results.
Rant Section: My Pet Peeve
Why do influencers promote “$5 nail art kits” full of rainbow-colored plastic junk that snaps after two uses? These kits teach bad habits, create waste, and mislead new artists into thinking skill comes from volume, not quality. Real artistry starts with reliable tools—not unicorn-themed gimmicks.
Real Client Results: When the Right Tools Changed Everything
Last summer, one of my regulars—Maya—brought in photos of intricate cherry blossom nails she wanted for her wedding. Her previous artist used cheap brushes, resulting in muddy petals and smudged stems.
We switched to a size 00 Kolinsky liner brush and a stainless steel dotter. The difference? Crisp petal outlines, uniform stamens, and zero smudging during top coat application. She cried happy tears during her trial run. (True story.)
Data backs this too: salons using professional-grade tools report 41% fewer client complaints about “messy” or “sloppy” designs, according to a 2023 IBISWorld report on nail service quality.
Nail Art Tools FAQs
What’s the most essential nail art tool for beginners?
A dual-ended stainless steel dotting tool. It’s versatile (dots, swirls, fill-in), affordable ($8–$15), and forgives shaky hands better than brushes.
Can I sanitize nail art tools with boiling water?
Only if they’re 100% metal. Plastic, wood, or glued components will melt, warp, or delaminate. Stick to EPA-approved disinfectants like Barbicide or 70% isopropyl alcohol.
How often should I replace my nail art brushes?
Every 6–12 months with regular use—if bristles splay, shed, or lose shape. Store them properly to extend lifespan.
Are expensive tools worth it?
Yes, if you’re serious. A $22 Modelones dotting tool lasts 3+ years; a $3 Amazon version lasts 3 weeks. Long-term, pro tools save money and elevate results.
Conclusion
Your nail art tools list isn’t about collecting shiny objects—it’s about building a reliable, hygienic, and precise arsenal that respects both your craft and your client’s health. Start with the core essentials for your skill level, prioritize stainless steel and proper sanitation, and ditch the gimmicks.
Remember: the best nail art isn’t defined by complexity, but by clean execution. And that starts with tools you can trust.
Like a Tamagotchi, your toolkit needs daily care—or it’ll ghost you mid-manicure.
Polish drip haiku:
Steady hand, sharp tool,
Petals bloom on moonlit tips—
No smudges today.

