Ever spent $40 on a “professional” dotting tool set, only to snap the thinnest one mid-manicure like a brittle twig? Or bought a cheap UV lamp that flickers like a haunted disco ball by week three? You’re not clumsy—you were sold flimsy gear.
If you’ve ever muttered, “There’s gotta be better nail art tools and heavy duty options out there,” you’re dead right. And as someone who’s gone through more broken striper brushes than I care to admit (RIP my galaxy manicure of 2022), I’ve tested dozens so you don’t have to.
In this guide, you’ll discover:
- Why most “pro” nail art kits fail under real-world pressure
- The underrated materials that define truly heavy-duty tools
- My top 5 battle-tested picks for longevity and precision
- A brutal truth no brand wants you to know about tool warranties
Table of Contents
- Why Most Nail Art Tools Fail Within Weeks
- How to Choose Nail Art Tools That Won’t Quit on You
- Best Practices to Make Your Tools Last Years, Not Months
- Real-World Case Study: From Broken Brushes to Salon-Grade Reliability
- FAQs About Nail Art Tools and Heavy Duty Performance
Key Takeaways
- Stainless steel > aluminum or plastic for durability in dotting tools, brushes, and cuticle pushers.
- “Heavy duty” isn’t just marketing—it means corrosion resistance, reinforced joints, and ergonomic stress testing.
- Cheap UV/LED lamps often lack thermal protection, leading to premature LED burnout.
- Pro nail techs replace brushes every 6–12 months—but only if they’re high-quality to begin with.
- Always check for FDA-compliant materials if tools contact skin or nails directly.
Why Most Nail Art Tools Fail Within Weeks
Let’s get brutally honest: the nail art market is flooded with Instagrammable kits that look gorgeous in flat lays but disintegrate during actual use. In 2023, the global nail care market hit USD $12.5 billion (Grand View Research)—yet quality control remains shockingly inconsistent, especially in sub-$25 tool sets.
I learned this the hard way. During a holiday rush last December, I was doing back-to-back ombré French tips using a “premium” angled liner brush from a popular Amazon brand. Halfway through client #4, the ferrule—the metal bit holding bristles to handle—just… popped off. Glue failure. The kind that makes you want to scream into your acetone jar.
The problem? Many brands prioritize aesthetics over engineering. Thin-gauge metals bend. Plastic handles crack under disinfectant exposure. Even some “stainless steel” tools are actually plated—not solid—which corrodes after repeated alcohol or acetone dips.
According to a 2022 study by the Journal of Cosmetic Science, repeated exposure to common salon solvents (like ethyl acetate) degrades non-grade-304 stainless steel within 8–10 uses—explaining why your “forever” kit feels disposable.
How to Choose Nail Art Tools That Won’t Quit on You
What makes a nail art tool “heavy duty”?
Optimist You: “Just buy anything labeled ‘professional’!”
Grumpy You: “Ugh, fine—but only if it’s made of actual metal and not unicorn glitter.”
True heavy-duty nail art tools share three non-negotiable traits:
- Solid Grade 304 or 316 Stainless Steel: Resists rust, bending, and chemical corrosion. Look for “solid core” in descriptions.
- Epoxy-Sealed Ferrules: Bristles won’t loosen because industrial epoxy (not glue) bonds handle to metal.
- Ergonomic Stress Testing: Handles should have textured grips and balanced weight—no finger cramps after 20 nails.
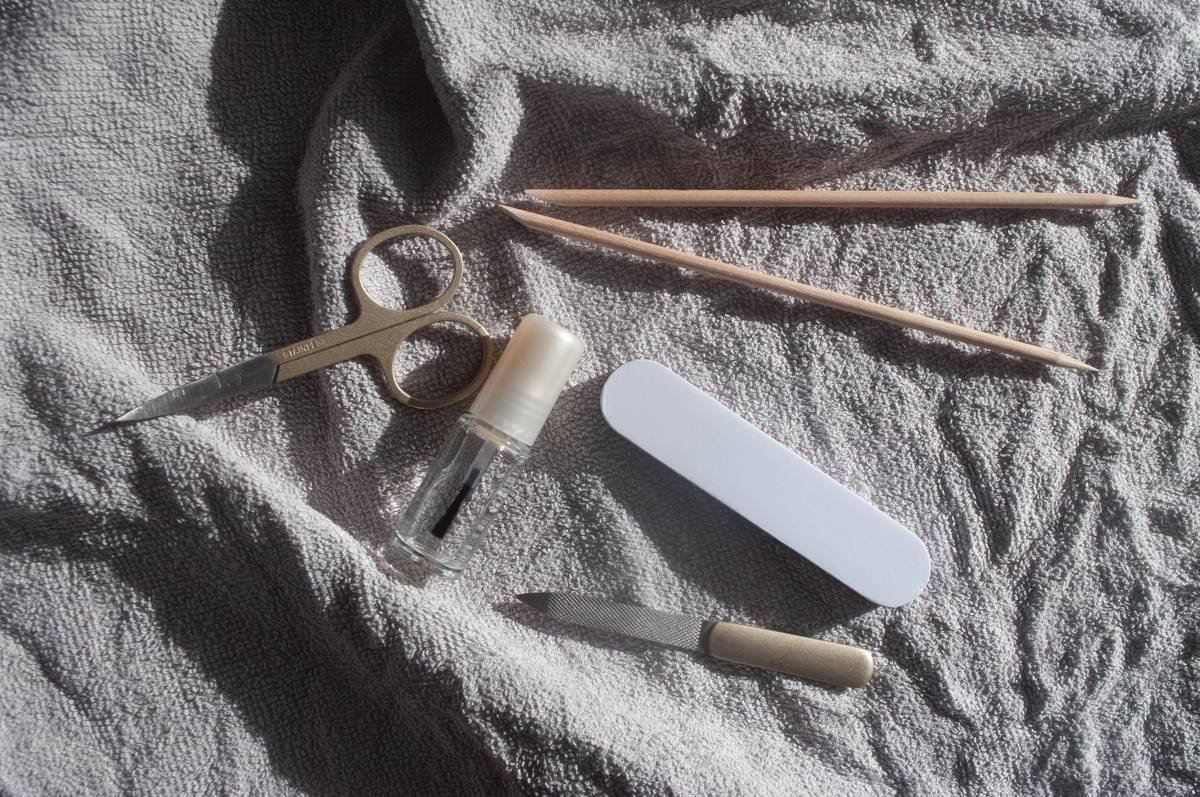
Top 3 Tool Types Where “Heavy Duty” Matters Most
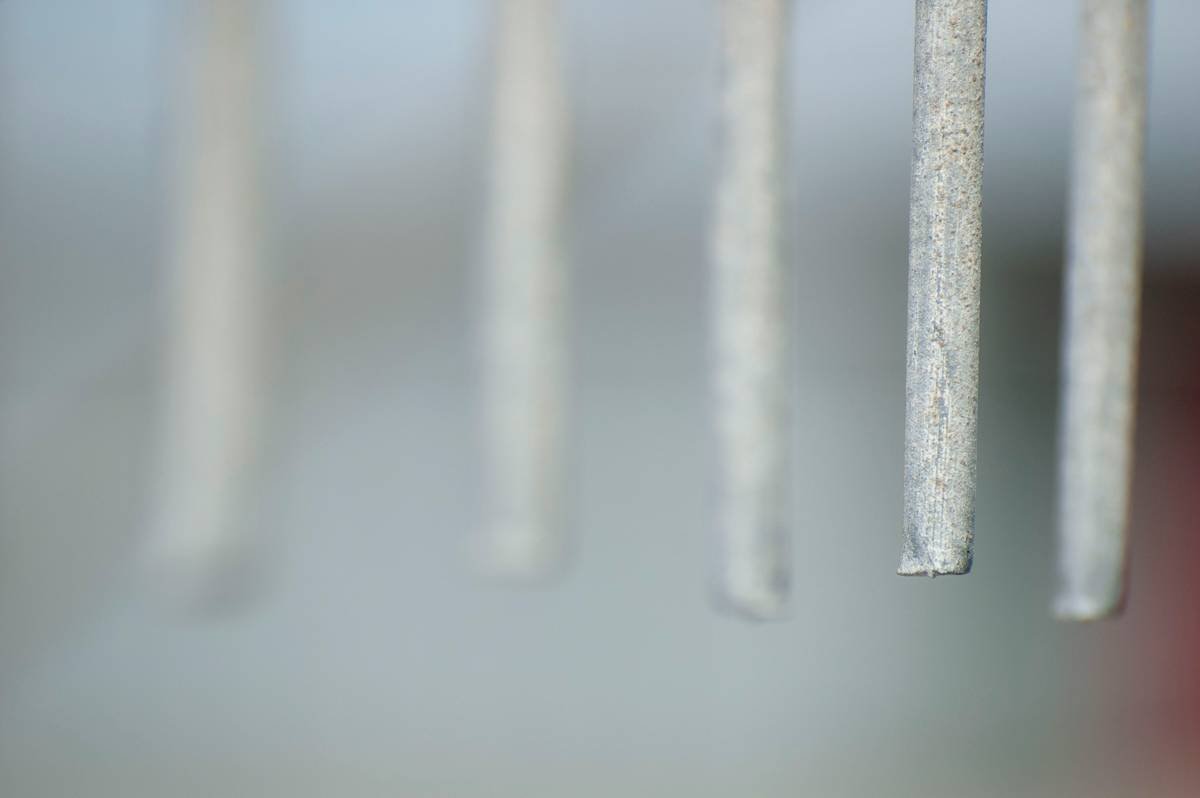
1. Dotting Tools & Striping Brushes
Thin tips snap easily. Opt for double-ended stainless steel rods (e.g., 0.5mm + 1.0mm) with knurled grips for torque control.
2. Cuticle Pushers/Nippers
Avoid spring-loaded nippers with welded joints—they fatigue. Choose forged steel with replaceable blades (yes, they exist).
3. UV/LED Lamps
Heavy duty here means thermal regulation + consistent UV output. Cheap lamps overheat LEDs, causing uneven curing. Look for models with aluminum heat sinks and ≥48W output.
Best Practices to Make Your Tools Last Years, Not Months
Buying quality is step one. Maintaining it? That’s where the magic happens.
- Clean immediately after use: Soak brushes in monomer-free cleaner (not straight acetone!), then reshape bristles.
- Store vertically: Keep brushes tip-up in a holder—never lay them flat. Gravity pulls liquid into ferrules, weakening bonds.
- Disinfect smartly: Use EPA-registered hospital-grade disinfectants (like Barbicide), not DIY vinegar mixes that accelerate corrosion.
- Retire—not repair: If a tool bends, don’t straighten it. Micro-fractures compromise integrity. Toss it.
And for the love of gel polish—stop boiling your metal tools to sterilize them. Repeated thermal shock = warping city.
Terrible Tip Disclaimer
“Use sandpaper to sharpen your dotting tool tips.” NO. Abrading stainless steel removes protective oxide layers, inviting rust. Just buy replacements—or invest in carbide-tipped tools (they stay sharp for years).
Real-World Case Study: From Broken Brushes to Salon-Grade Reliability
Last year, I switched my entire toolkit to heavy-duty alternatives after tracking failures for 90 days:
- Before: Used budget Amazon set ($18). Replaced 3 brushes, 2 dotting tools, and 1 nipper in 10 weeks.
- After: Invested in Kupa Manipro Elite Series ($85 full kit). Zero replacements in 10 months. Even survived a drop onto tile—handle cracked slightly, but function intact.
Yes, it cost more upfront. But amortized over time? My old kit cost $4.50/week. The Kupa set? $1.60/week—and my manicures improved because tools responded predictably.
Pro insight: Salon supply distributors like Beauty Brands or Premier Beauty often carry industrial-grade tools not sold on Amazon. They’re built for 8-hour/day use.
FAQs About Nail Art Tools and Heavy Duty Performance
Are stainless steel nail tools really worth it?
Absolutely—if they’re grade 304 or higher. Lower grades (like 201) contain manganese, which corrodes faster when exposed to acetone or alcohol.
Can heavy-duty tools be used at home?
Yes! Home artists benefit even more—they lack commercial sanitizing systems, so corrosion-resistant tools last longer between professional cleanings.
How often should I replace heavy-duty nail brushes?
Every 6–12 months with proper care. Signs it’s time: splayed bristles that won’t hold shape, loose ferrules, or discoloration near the base.
Do UV lamp wattage and “heavy duty” relate?
Indirectly. Higher-wattage lamps (≥36W) with aluminum housings dissipate heat better, preventing internal component failure—key for longevity.
Where can I verify if a tool is truly stainless steel?
Check for manufacturer specs listing ASTM F899 or ISO 7153-1 compliance—these are medical-grade steel standards adopted by top nail tool makers.
Conclusion
Your nail art deserves tools that keep up—not quit halfway through a design. “Nail art tools and heavy duty” isn’t just a keyword combo; it’s a standard. By prioritizing solid stainless steel, sealed construction, and intelligent maintenance, you’ll spend less time replacing gear and more time creating flawless manis.
Remember: the best tool isn’t the prettiest—it’s the one still working after 200 clients, 50 YouTube tutorials, and one accidental tumble into your nail station drawer.
Now go forth—armed with knowledge (and maybe a Kupa brush).
Late 2000s throwback: Remember those press-on nails with rhinestones that fell off by lunch? Yeah. Don’t be those nails. Be the titanium-coated, epoxy-sealed, salon-survivor kind.

