Ever stared at your nails, wishing they could look like the intricate masterpieces you see on Instagram? Yeah, us too. Turns out, it’s not just talent that creates those jaw-dropping designs—it’s the tools! Dive in to discover how investing in the right high-end nail design kit can elevate your nail game from “okay” to “WOW.” By the end of this post, you’ll know exactly what makes these kits worth every penny, plus actionable tips for choosing and using them.
Table of Contents
- The Problem with Generic Tools
- Step-by-Step Guide to Choosing Your Kit
- Pro Tips for Mastering High-End Kits
- Case Studies: Success Stories of Amazing Designs
- Frequently Asked Questions
Key Takeaways
- A high-quality nail art kit is essential for precision and creativity.
- You don’t need to break the bank, but beware of cheap imitations.
- Master basic techniques before diving into advanced tools.
- Maintenance matters—cleaning your tools ensures long-term usability.
Why Cheap Tools Are Ruining Your Nail Game
I’ll never forget my first attempt at nail art—a floral design I thought would make me an overnight Picasso. Instead, I ended up with smeared polish resembling abstract art gone wrong. The culprit? A bargain-bin “nail art set” filled with flimsy brushes and dried-out paints. If you’ve ever struggled with streaky lines or broken tools mid-design, trust me—you’re not alone.
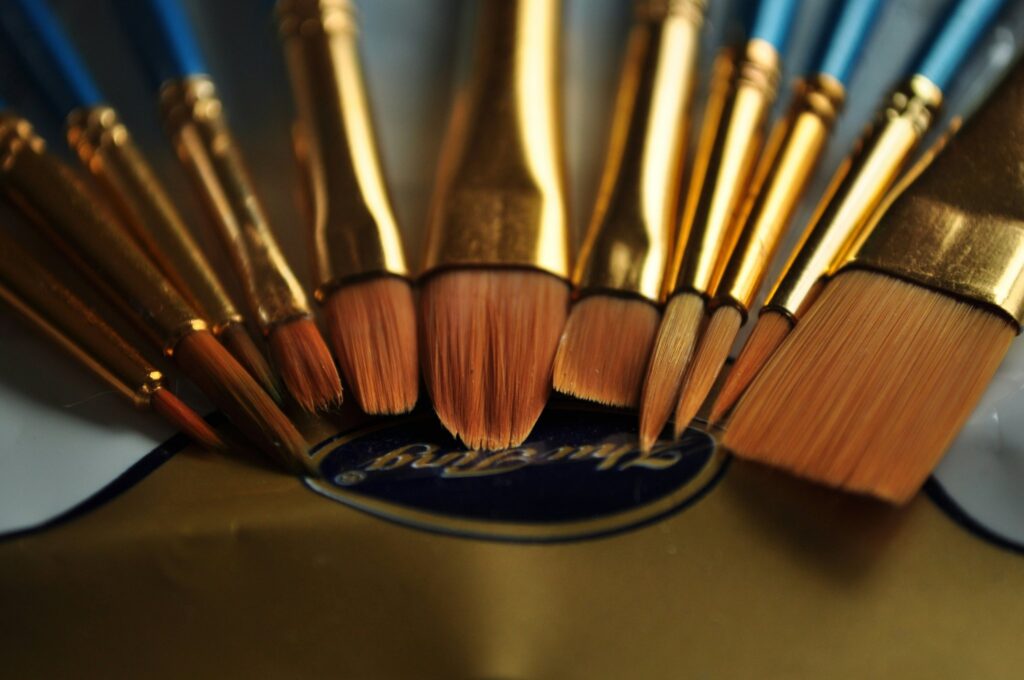
Nail art requires more than enthusiasm; it demands precision tools that deliver consistent results. Here’s where a high-end nail design kit comes in. These premium collections include durable materials, ergonomic designs, and professional-grade components that drastically reduce frustration.
How to Choose the Perfect High-End Nail Design Kit
Optimist You: “Let’s jump straight into buying one!”
Grumpy Me: “Hold up—not all kits are created equal.”
Step 1: Identify Your Skill Level
If you’re new to nail art, opt for beginner-friendly kits with clear instructions and versatile tools. For pros, go for specialized tools tailored to your favorite styles (e.g., stamping plates for geometric patterns).
Step 2: Check for Quality Materials
Look for corrosion-resistant metals, synthetic bristles that hold their shape, and pigmented polishes. Don’t fall for shiny packaging if the contents scream “cheap junk.”
Step 3: Prioritize Ergonomics
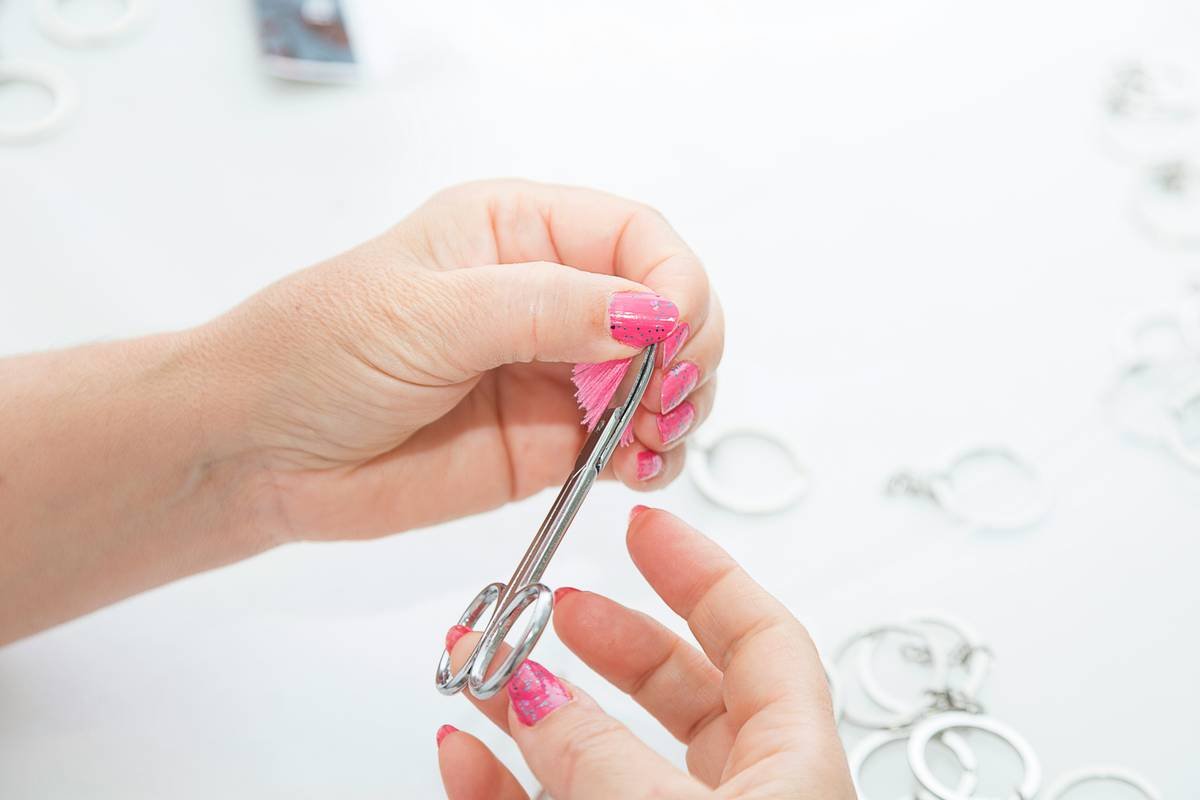
Tiny tweezers and stiff brushes lead to hand cramps faster than you’d think. A good high-end nail design kit prioritizes comfort without compromising functionality.
5 Pro Tips for Getting the Most Out of Your Kit
- Clean as You Go: Dirty tools ruin even the best designs. Wipe brushes after each stroke.
- Start Simple: Resist the urge to recreate Beyoncé-worthy looks immediately. Build foundational skills first.
- Invest in Storage: Keep your kit organized so tiny gems and brushes don’t get lost.
- Test Before Use: Try new products on fake nails before applying to real ones.
- NEVER skip base coat: This protects your nails from staining and strengthens adhesion.
Side note: Avoid this terrible tip floating around online—”Use toothpicks instead of proper dotting tools.” Sure, it *might* work, but it’s about as reliable as painting with spaghetti.
From Amateur to Pro: Real-Life Transformations
Consider Sarah, a DIY enthusiast who started with shaky freehand flowers and graduated to salon-worthy mandala patterns within six months—all thanks to her upgraded high-end nail design kit. Her secret? Consistent practice combined with top-notch tools.
Another success story involves Lisa, whose Instagram following skyrocketed after she invested in professional-grade stamping tools. Her stunning galaxy nails went viral, proving that sometimes, success truly lies in the details.
Frequently Asked Questions
Q: How much should I expect to spend on a high-end nail design kit?
A: Prices vary, but expect to pay between $50-$200 depending on brand and included tools.
Q: Do I need every tool included in a high-end kit?
A: No! Start small and add tools based on your interests, such as rhinestone applicators or striping tape.
Q: Can I use regular polish with a high-end kit?
A: Absolutely! Many professionals still prefer gel polish mixed with traditional polishes for texture variety.
Conclusion
Achieving pro-level nail art isn’t magic—it’s preparation, skill, and, most importantly, having the right high-end nail design kit by your side. Whether you’re aiming to upgrade selfies or launch your own nail empire, start today with confidence and creativity.
Remember, though: Like a Tamagotchi, your tools require daily TLC to stay sharp and ready. Now go forth and create something amazing—you’ve got this!