Ever stared at your nails, dreaming of intricate designs but feeling paralyzed by the thought of ruining them with shaky hands? Yeah, us too.
In this guide, we’ll dive deep into the world of nail art tools—because having manicure art flair isn’t just about creativity; it’s about arming yourself with the right gear. By the end of this post, you’ll know what tools to use, how to master them, and (spoiler alert) why buying everything won’t magically make you Picasso on fingernails.
Table of Contents
- Why Nail Art Tools Matter
- Step-by-Step Guide to Choosing & Using Tools
- Tips for Perfect Manicures Every Time
- Real Examples from Pros
- Frequently Asked Questions
Key Takeaways
- Nail art tools are essential for precision and enhancing your manicure art flair.
- You don’t need every tool—start small and expand as you grow more confident.
- Practice consistently to build muscle memory and improve your skills.
Why Nail Art Tools Matter
Confession time: My first attempt at nail art was an absolute disaster. Armed only with a toothpick borrowed from my kitchen drawer, I tried painting tiny daisies on my nails. Fast forward two hours, five smudges, and one temper tantrum later—I gave up. Sound familiar?
Here’s the deal: Without the right tools, even simple designs can feel impossible. Think of it like trying to carve a turkey with a plastic spoon—it’s doable in theory, but man, does it suck in practice. The truth is, investing in quality nail art tools can transform your manicure game overnight.
Optimist You:
“Just grab some tools, and you’re good to go!”
Grumpy You:
“Ugh, fine—but only if coffee’s involved.”
Step-by-Step Guide to Choosing & Using Tools
What Are the Must-Have Tools for Manicure Art Flair?
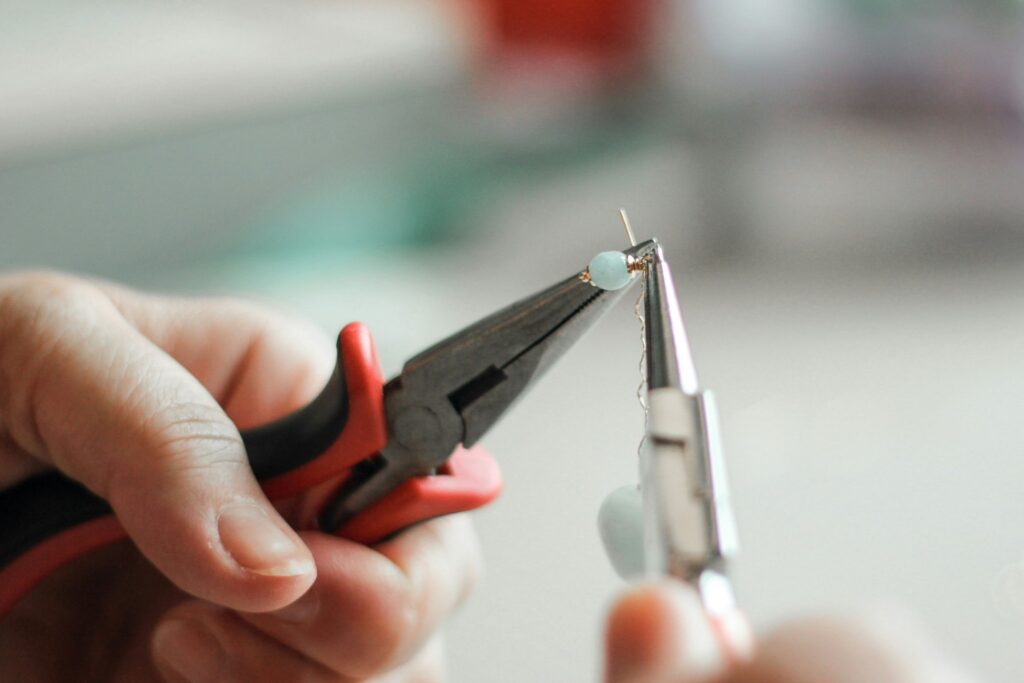
- Dotting Tool: Perfect for creating polka dots, petals, and other round shapes. Pro tip: If you don’t own one yet, bobby pins work in a pinch!
- Striping Brush: These thin brushes let you paint clean lines and curves. Trust me, they beat freehand attempts any day.
- Stencils: Great for beginners who want flawless geometric patterns without crying over symmetry.
- Detailing Brush: Ideal for intricate details or filling in small spaces. This brush deserves its own award category.
- Sponging Tool: Want gradient effects? Sponges will be your new best friend.
How Do You Use Them Like a Pro?
- Prep Your Canvas: Start with smooth, polished nails. Rough ridges = bad foundation = disaster waiting to happen.
- Experiment First: Practice strokes and techniques on fake nails before going live on real ones.
- Layer Strategically: Work layer by layer, letting each coat dry completely between applications.
- Clean Mistakes Quickly: Dabbing errors with acetone-soaked cotton swabs saves many nail art fails.
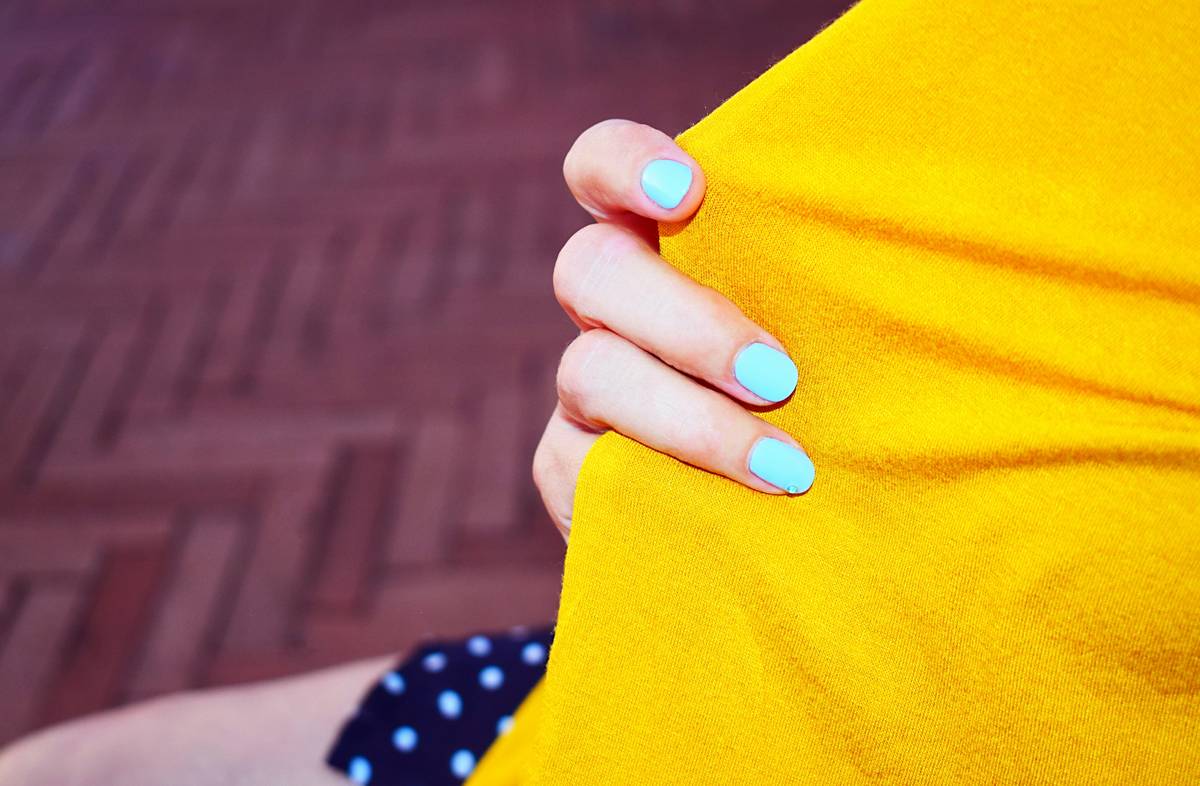
Tips for Perfect Manicures Every Time
- Don’t Overbuy: Contrary to popular belief, owning ALL THE THINGS doesn’t automatically make your designs better. Stick to basics until you master them.
- Invest in Quality: Cheap tools may save money upfront but often lead to frustration down the line.
- Work in Good Lighting: Natural light makes spotting mistakes easier. Plus, sunshine boosts serotonin, which helps during stressful “oh no” moments.
- Terrific Tip Warning!: Never lick your brushes mid-design session. Yes, someone actually did that once—and trust me, it ruined both their brush and mood instantly.
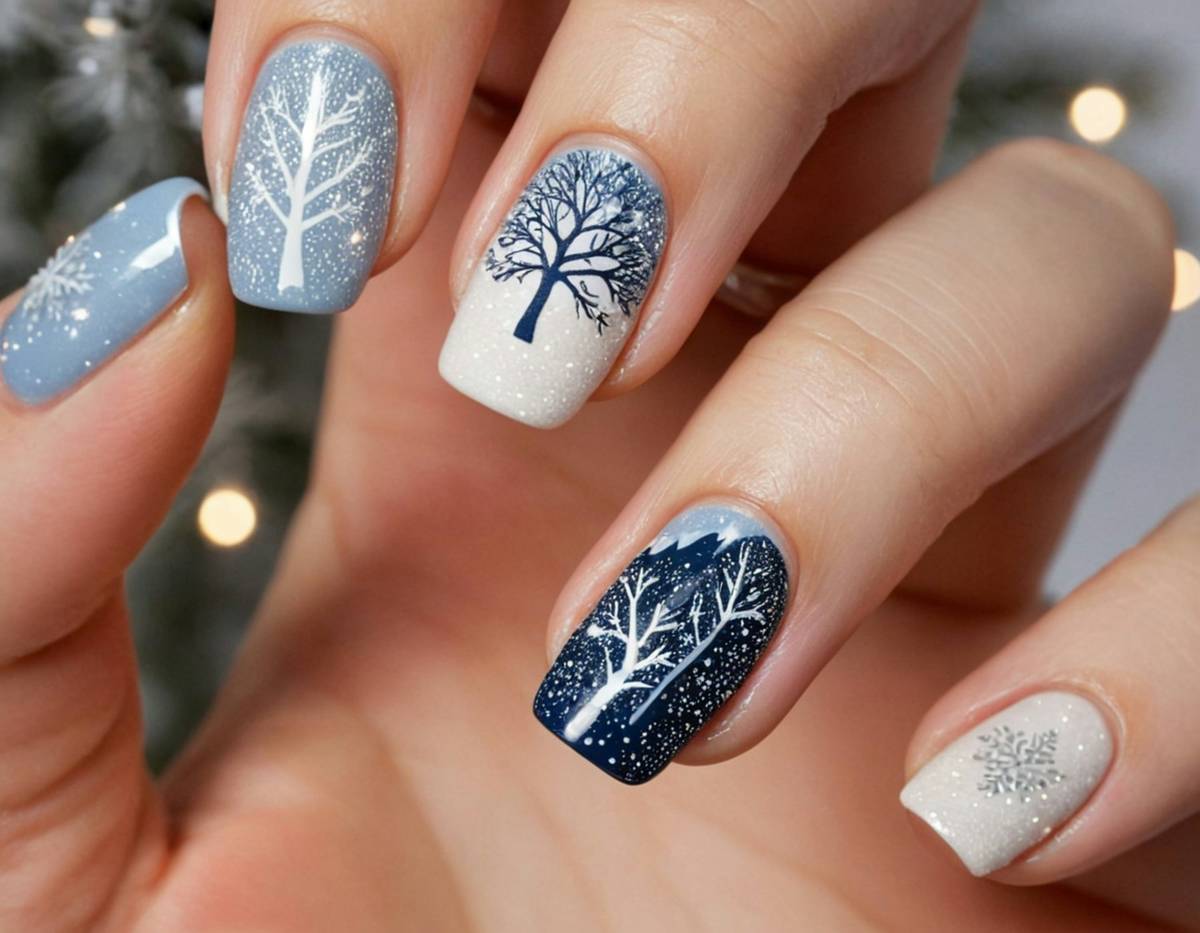
Real Examples from Pros
We reached out to Sarah Lin, a top nail artist known for her mind-blowing designs, who shared her secret weapon: “For beginners, start with a basic striping brush and sponging tool. They offer versatility without overwhelming complexity.” Her stunning Instagram feed showcases everything from minimalist stripes to full-blown galaxy themes—all achieved using these foundational tools.
Another pro, Jenna Sparks, swears by practicing daily. She says, “It sounds cliché, but repetition truly builds skill. Start with easy floral motifs, then level up to complex geometrics.”
Frequently Asked Questions
Q: What’s the easiest way to get started with nail art?
A: Begin with simple tools like dotting pens and stencils. Focus on mastering one technique at a time rather than jumping straight into advanced designs.
Q: Can I achieve salon-quality results at home?
A: Absolutely! While pros have years of experience under their belts, patience and practice can bring your at-home manicures close to salon-level perfection.
Q: How much should I budget for nail art tools?
A: A basic beginner set costs around $20–$40. As you advance, consider investing in higher-end brushes or specialized gadgets.
Conclusion
Honestly, achieving manicure art flair comes down to three things: passion, practice, and proper tools. Don’t rush out to buy every gadget under the sun—start simple, focus on consistency, and watch your confidence grow alongside your talent.
And remember, Rome wasn’t built in a day, and neither were those envy-inducing nail art masterpieces flooding Pinterest boards worldwide. So breathe, take your time, and enjoy the journey!
P.S. Here’s a little something to leave you smiling:
Paint meets polish,
Brush sweeps dreams to life.
Like Tamagotchi, nurture thy nails.