Have you ever stared at your plain nails wishing for a salon-worthy design but felt overwhelmed by the idea of freehand nail art? Yeah, we’ve all been there.
Nail art isn’t just about talent—it’s about having the right tools in your arsenal. In this post, we’ll cover everything you need to master nail art transfer, including must-have tools, step-by-step instructions, and real-life examples that will make you say “chef’s kiss!” Get ready to transform your manicure game!
Table of Contents
- Key Takeaways
- Why Nail Art Transfer Is Your New BFF
- How to Master Nail Art Transfer: Step-by-Step
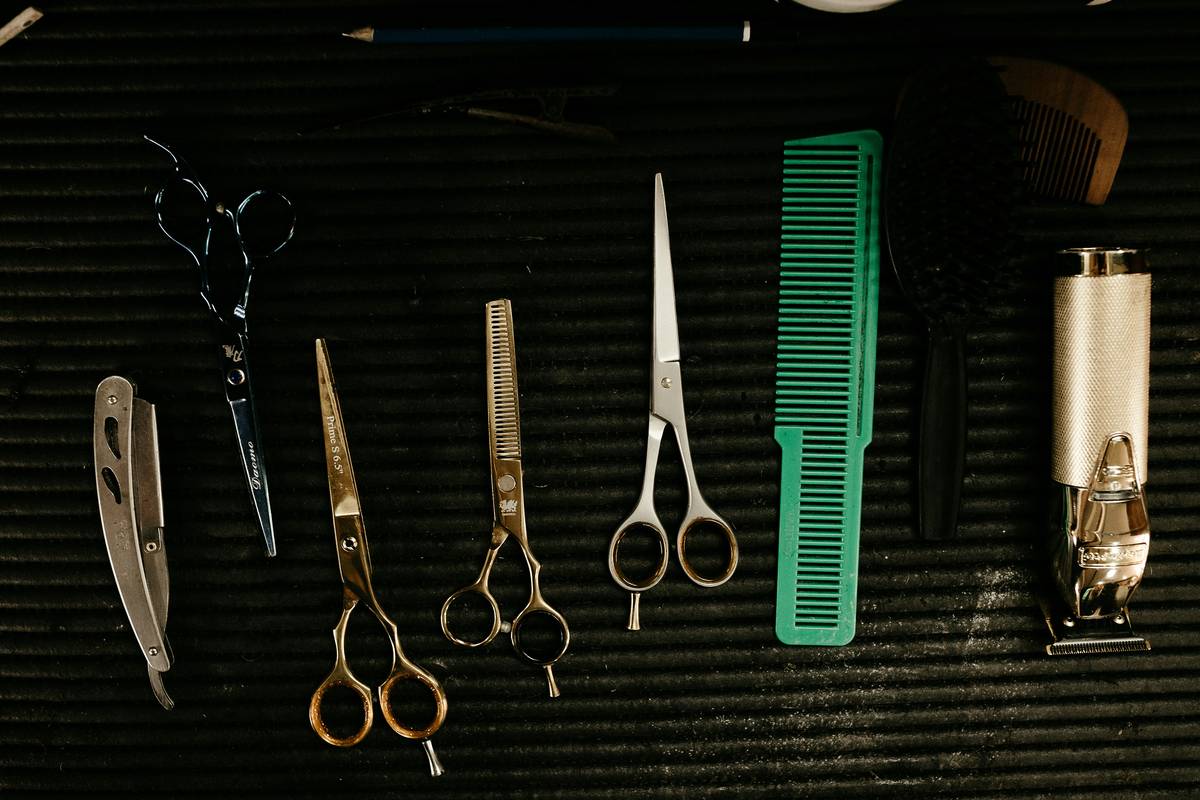
- Nail Art Transfer Tools Every Beginner Needs
- Success Stories from Nail Artists Who Crush It
- FAQs About Nail Art Transfers
Key Takeaways
- Nail art transfer makes intricate designs accessible even for beginners.
- Investing in quality tools like decals, sliders, and stamping plates is crucial.
- Avoid using water-based polishes with transfers—they’re prone to smudging.
- Use top coat sparingly to prevent clouding over detailed designs.
- Real artists swear by combining multiple techniques for standout results.
Why Nail Art Transfer Is Your New BFF
Confession time: I once tried painting tiny daisies on my nails for hours, only to end up looking like I’d dipped them in melted crayons. Oof.
Luckily, nail art transfer changed the game for me (and countless others). Whether you’re dealing with shaky hands or limited artistic skills, transferring pre-made designs onto your nails offers precision without the stress. Plus, it saves you HOURS compared to painstaking hand-painting.
And let’s not forget how satisfying those clean lines and flawless details look. Imagine walking around with *Pinterest-perfect* nails ALL THE TIME!
How to Master Nail Art Transfer: Step-by-Step
Optimist You: “This sounds easy enough—I got this!”
Grumpy Me: “Ugh, fine—but only if coffee’s involved.”
- Gather Your Supplies: For nail art transfer, invest in high-quality decal sheets, image sliders, and a good base polish.
- Prep Those Nails: Start with clean, filed nails. Apply one layer of base coat and let dry completely.
- Select Your Design: Choose your decal/slider based on your mood or outfit. Pro tip: Go bold when you’re feeling blah!
- Apply Water (If Needed): If using water-release decals, submerge them briefly until the backing paper peels away cleanly.
- Place & Smooth: Position the decal where you want it and smooth it out gently with a silicone tool.
- Seal the Deal: Finish with a thin layer of fast-drying top coat to lock in your masterpiece.
Nail Art Transfer Tools Every Beginner Needs
- Decal Sliders: Think of these as stickers made specifically for nails. They come in endless designs—from florals to metallic accents.
- Stamping Plates: Perfect for geometric patterns, these plates allow you to pick up designs with minimal effort.
- Dotting Tools: Great for touch-ups or adding extra embellishments after applying transfers.
- Silicone Applicators: For smoothing decals and removing air bubbles—cheap yet essential.
- Top Coat & Base Coat Duo: Never skip these steps. A solid base enhances adhesion while top coats preserve longevity.
Rant Alert: Why does no one talk about cheap, low-quality decals? THEY RUIN EVERYTHING. Invest wisely upfront because flimsy ones = wasted frustration.
Success Stories from Nail Artists Who Crush It
Meet Sarah (@nailgoals4life), who started experimenting with nail art transfer during lockdowns. She went viral with her galaxy-themed designs created entirely using decals and stamping plates. Fast forward two years, she now runs an Etsy store selling custom transfer sets!
Before: “I was stuck in boring neutral shades.”
After: “People DM me daily asking about my insane nail game.” – Sarah
FAQs About Nail Art Transfers
What exactly are nail art transfers?
Nail art transfers refer to ready-made designs applied directly onto nails through various methods such as water-release decals or stick-on sliders.
Do they last long?
With proper application and sealing, most transfers can last up to two weeks without chipping.
Can I combine hand-painted elements with transfers?
Absolutely! Layering adds depth and uniqueness to your designs.
Conclusion
And there you have it—everything you need to level up your mani-game with nail art transfer. From choosing tools to mastering application techniques, you’re officially equipped to create drool-worthy nails faster than ever before.
Like sparkles on dark polish,
Nail art dreams never fade;
Transfer magic makes waves.

