“Ever stared at your nails, hoping for Pinterest-worthy art, but ended up with a smudgy mess?” Yeah, we’ve all been there.
If you’re ready to trade frustration for finesse, this blog post will guide you through the magic of pro-grade nail stencils—the unsung heroes of nail art tools. We’ll cover everything from why they matter to how you can use them like a pro (with tips, tricks, and even some rant-worthy truths).
In this article: You’ll learn what makes pro-grade nail stencils essential, how to choose and use them effectively, expert tips, real-life examples, and answers to FAQs that every nail artist has asked at least once.
Table of Contents
- Key Takeaways
- Why Pro-Grade Nail Stencils Are Game Changers
- Step-by-Step Guide to Using Nail Stencils Like a Pro
- Best Practices for Nail Stencil Mastery
- Real-Life Examples of Stunning Nail Art
- FAQs About Pro-Grade Nail Stencils
Key Takeaways
- Pro-grade nail stencils elevate precision and creativity in nail art.
- Choosing high-quality reusable materials ensures longevity and better results.
- Master proper application techniques to avoid air bubbles or misalignment.
- Avoid cheap knockoffs—they might ruin your manicure!
Why Pro-Grade Nail Stencils Are Game Changers
Picture this: You’ve got an hour before heading out, and your nails are screaming “boring!” So, armed with polish and tape, you attempt intricate designs. But nope—messy stripes, uneven French tips, and way too much clean-up later, you’re back where you started.
Spoiler alert: It doesn’t have to be this hard. That’s where pro-grade nail stencils come into play. Unlike DIY solutions like Scotch tape or homemade templates, these professional tools are designed specifically for flawless pattern-making on tiny canvases.

Professional nail stencils offer precision unmatched by improvised tools.
Confessional Fail Alert: Once upon a time, I tried cutting my own stencils using paper. Result? Fuzzy edges and zero confidence. Pro-grade nail stencils changed the game entirely because they’re crafted for perfection—not frustration.
Step-by-Step Guide to Using Nail Stencils Like a Pro
Now that you know why pro-grade nail stencils rock let’s talk execution. Follow these steps to nail it every time:
Step 1: Prep Your Nails
No stencil works miracles if your nails aren’t prepped correctly. Start with clean, dry nails, and apply a base coat to protect against staining.
Step 2: Choose the Right Stencil
Select a design that matches your skill level. Beginners should opt for bold lines; advanced users can experiment with lace-like details.
Step 3: Secure the Stencil
Gently press the stencil onto your nail. Use tweezers to align perfectly—no air pockets allowed!
Step 4: Apply Polish
Use thin coats of polish over the stencil, working quickly to prevent smudging. If you go overboard, trust me—it gets ugly fast.
Step 5: Peel and Seal
Once the polish is slightly set (not wet!), peel off the stencil carefully. Finish with a topcoat to lock down your masterpiece.
The right technique makes all the difference when using nail stencils.
Best Practices for Nail Stencil Mastery
To ensure your stencil adventures stay smooth sailing, here’s a quick rundown:
- Invest Wisely: Cheap stencils warp easily, causing bleeds during use.
- Tweezer Power: Always use tweezers for placement—it’s worth avoiding fingerprints ruining your work.
- Less Is More: Keep polish layers light; thick globs trap bubbles.
- Clean Edges: Dip a fine brush in remover to fix any stray marks.
Terrible Tip Disclaimer: DON’T buy ten-dollar generic kits promising “amazing results.” These usually lack durability and accuracy. Spending $20–$30 on quality pieces saves headaches (and polish).
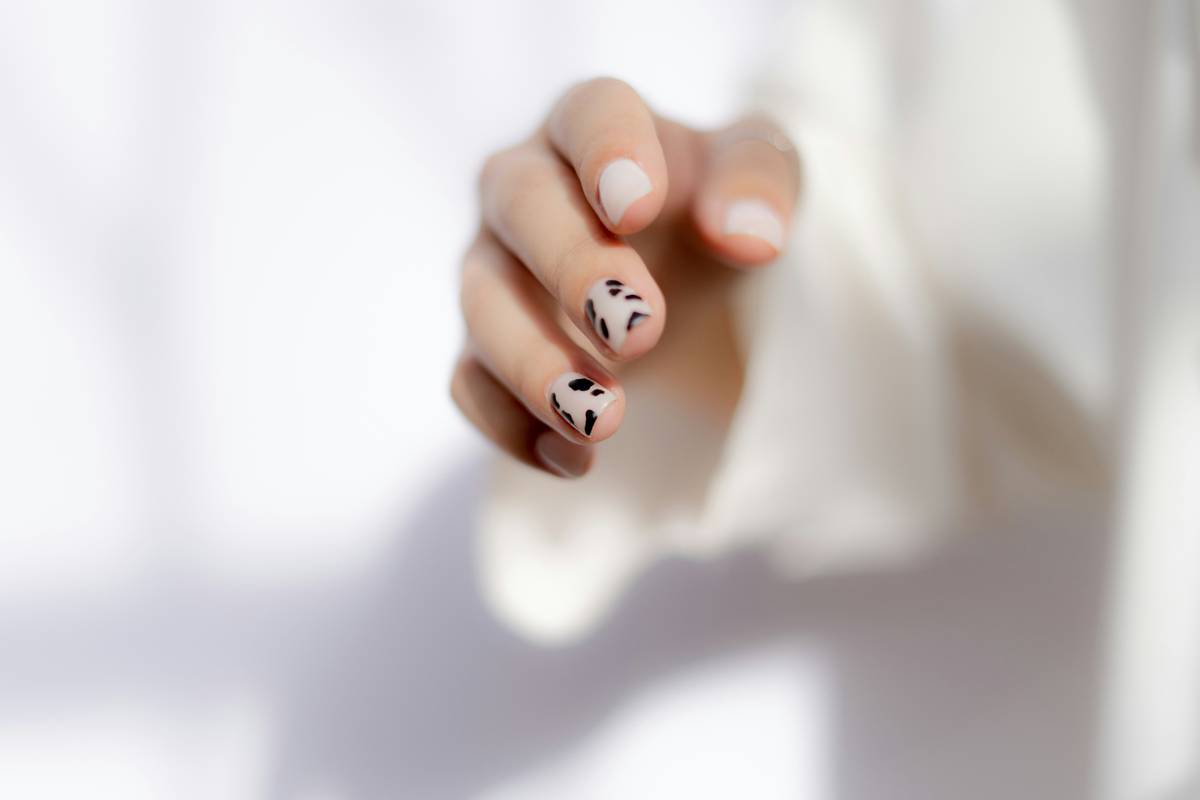
Real-Life Examples of Stunning Nail Art
Need inspiration? Check out Instagram accounts like @NailArtByNina or @StencilQueen. Their flawless geometrics and abstract masterpieces prove just how transformative pro-grade nail stencils can be.
From simple accents to complex motifs, pros rely on premium stencils for consistency.
FAQs About Pro-Grade Nail Stencils
Are Pro-Grade Nail Stencils Reusable?
Some are! Silicone-based options often last longer than adhesive ones, which may lose stickiness after multiple uses.
How Do I Store Them Properly?
Keep them flat and away from direct sunlight. For sticky versions, place wax paper between sheets to avoid clumping.
Can Beginners Use These Tools?
Absolutely! Start with basic shapes and progress as you build confidence.
Conclusion
Nail art isn’t about luck—it’s about having the right tools. Investing in pro-grade nail stencils means less stress and more standout manis. Whether you’re a hobbyist or aspiring pro, these little wonders deserve a spot in your toolkit.
So grab your favorite stencil set, cue up some chill tunes, and start creating magic. And hey—if things don’t turn out perfect the first try, remember: practice and patience make for #NailGoals.
Like a Tamagotchi, your nail skills need daily care… except without the digital funeral screen. See ya next time!