### Introduction
**Hook:**
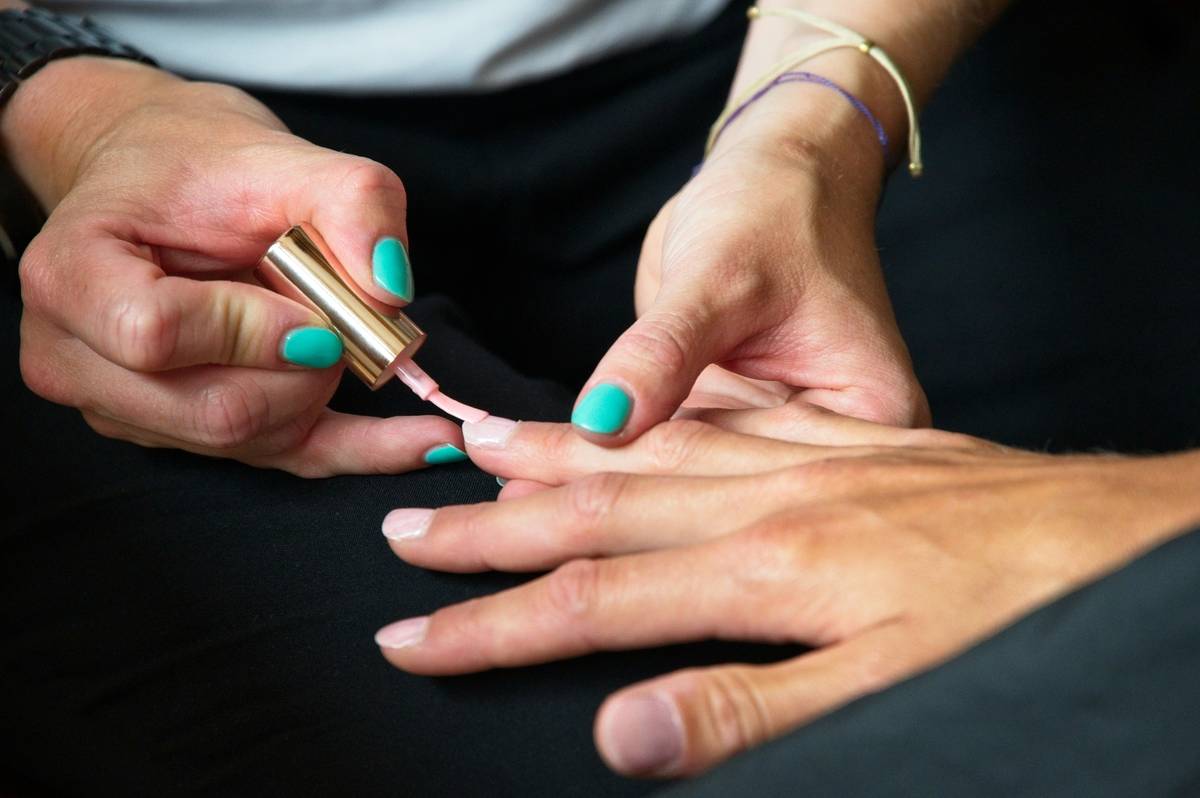
Ever spent an hour meticulously painting a perfect nail design, only to have it smudge seconds later? Yeah, we’ve been there.
**Purpose:**
In this post, we’ll dive into the world of nail art ingenuity, focusing on the essential tools that can make or break your creations. Whether you’re a seasoned pro or a passionate hobbyist, having the right tools is key to achieving those stunning, Instagrammable designs.
**Preview:**
You’ll learn about the importance of nail art tools, get a step-by-step guide on choosing and using them, and discover some best practices and real-world examples to inspire your creativity.
### Table of Contents
– [Problem/Background](#problem-background)
– [Step-by-Step Guide](#step-by-step-guide)
– [Tips/Best Practices](#tips-best-practices)
– [Examples/Case Studies](#examples-case-studies)
– [FAQs](#faqs)
### Key Takeaways
– The right nail art tools can transform your designs from good to great.
– A step-by-step approach to choosing and using your tools effectively.
– Best practices and tips to avoid common mistakes.
– Real-world examples and case studies to inspire your creativity.
– Answers to frequently asked questions about nail art tools.
### Section 1: Problem/Background
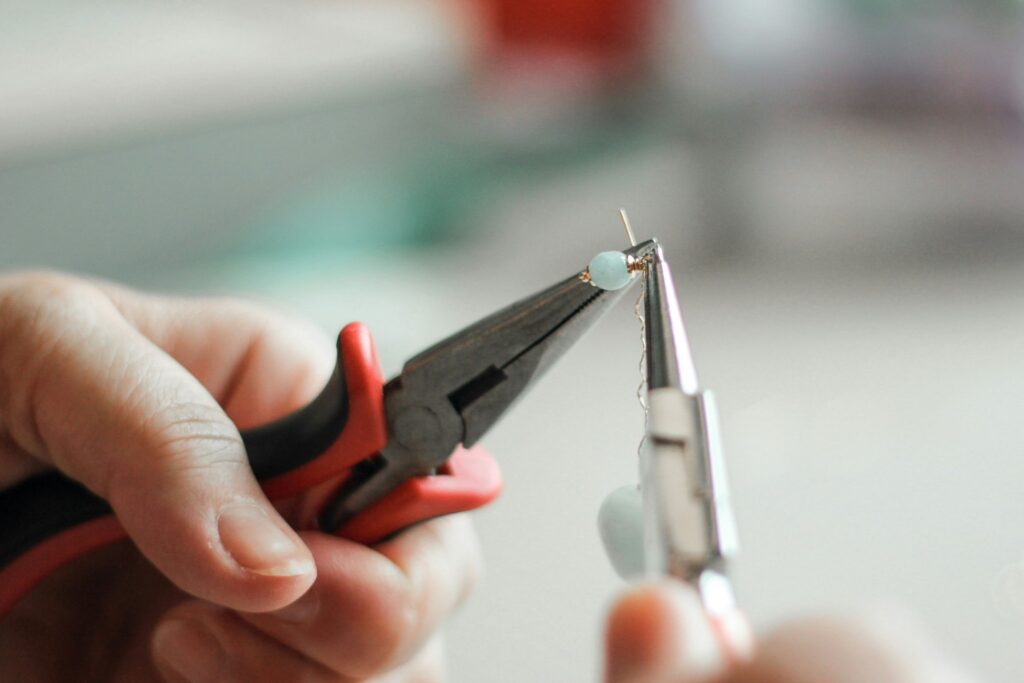
Nail art is not just a trend; it’s a form of self-expression. But let’s be real—getting those intricate designs just right can be a pain. The wrong brush, the poor quality of polish, or even the type of dotting tool you use can make all the difference.
**Confessional Fail:**
I once used a regular toothpick for detailed work, and my nails ended up looking like a hot mess. Never again. Trust me, investing in the right tools is worth every penny.
**Why Nail Art Tools Matter:**
– **Precision:** High-quality tools offer better control and precision.
– **Durability:** Better tools last longer and save you money in the long run.
– **Professional Finish:** The right tools help you achieve a more polished and professional look.
### Section 2: Step-by-Step Guide/Instructions
Now that you understand why the right tools are crucial, let’s dive into how to choose and use them.
**Step 1: Assess Your Needs**
– **Beginner:** Start with basic tools like dotting tools, striping brushes, and a few stencils.
– **Intermediate:** Add more specialized tools like detail brushes, stamping plates, and gel polishes.
– **Advanced:** Invest in high-end tools like airbrush systems, 3D nail art molds, and LED lights.
**Optimist You:* “Choosing the right tools is the first step to nail art perfection!”
Grumpy You: “Ugh, fine—but only if I can do it while binge-watching my favorite show.”*
**Step 2: Research and Purchase**
– **Read Reviews:** Look for honest feedback from other nail artists.
– **Check Quality:** Invest in brands known for their durability and performance.
– **Budget:** Set a budget but don’t compromise on quality.
**Step 3: Practice and Experiment**
– **Start Simple:** Begin with basic designs and gradually move to more complex ones.
– **Experiment:** Try different techniques and tools to find what works best for you.
– **Watch Tutorials:** Learn from experienced nail artists and follow their tips.
### Section 3: Tips/Best Practices
Here are some tried-and-true tips to help you master your nail art tools:
1. **Clean Your Tools Regularly:**
– Use acetone to clean your brushes and tools after each use.
– This prevents buildup and ensures your tools stay in top condition.
2. **Storage Matters:**
– Keep your tools in a clean, dry place.
– Use a dedicated storage box or bag to keep everything organized.
3. **Invest in Good Quality:**
– Quality over quantity. A few high-quality tools are better than a bunch of cheap ones.
– Look for reputable brands and read reviews before making a purchase.
4. **Practice Makes Perfect:**
– The more you practice, the better you’ll get.
– Don’t be afraid to experiment and try new things.
**Terrible Tip Disclaimer:**
Don’t fall for the trap of buying the cheapest tools just because they’re a bargain. Cheap tools can cost you more in the long run due to frequent replacements and poor performance.
### Section 4: Examples/Case Studies
Let’s take a look at some success stories and real-world examples to inspire your nail art ingenuity.
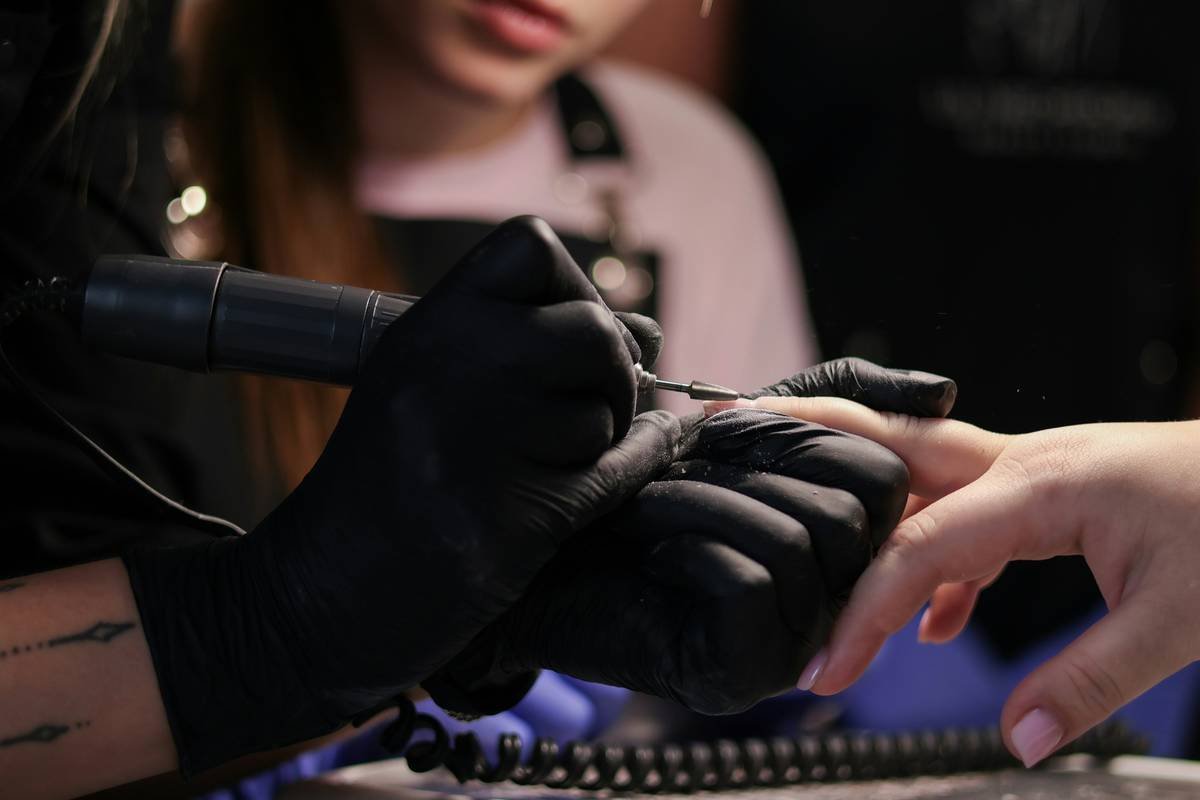
**Case Study 1: The Pro’s Toolkit**
– **Artist:** Sarah, Professional Nail Artist
– **Tools Used:** Detail brushes, gel polishes, stamping plates, and LED light
– **Result:** Sarah’s intricate designs have gained her a massive following on Instagram, with over 100k followers. Her attention to detail and use of high-quality tools have made her a go-to artist for many.
**Case Study 2: The DIY Enthusiast**
– **Artist:** Emily, Hobbyist Nail Artist
– **Tools Used:** Dotting tools, striping brushes, and basic stencils
– **Result:** Emily started as a complete beginner but quickly improved by watching tutorials and practicing regularly. Her designs now get featured on popular beauty blogs, and she’s even started her own YouTube channel.
### Section 5: FAQs
**Q: How often should I clean my nail art tools?**
**A: Clean your tools after each use with acetone to prevent buildup and ensure longevity.**
**Q: What are some must-have nail art tools for beginners?**
**A: For beginners, dotting tools, striping brushes, and a few stencils are great starting points.**
**Q: How do I know if a tool is high-quality?**
**A: Check for durability, read reviews, and invest in reputable brands.**
**Q: Are there any DIY alternatives to professional nail art tools?**
**A: While DIY alternatives can work, they may not provide the same level of precision and quality. It’s best to invest in proper tools for the best results.**
**Q: How can I improve my nail art skills?**
**A: Practice regularly, watch tutorials, and experiment with different techniques and tools.**
### Conclusion
Nail art ingenuity is all about having the right tools and knowing how to use them. By following the steps and tips outlined in this post, you can elevate your designs and create stunning, Instagram-worthy nail art. Remember, the key to success is practice and persistence. So grab your tools, get creative, and let your imagination run wild.
*Like a Tamagotchi, your nail art needs daily care.*