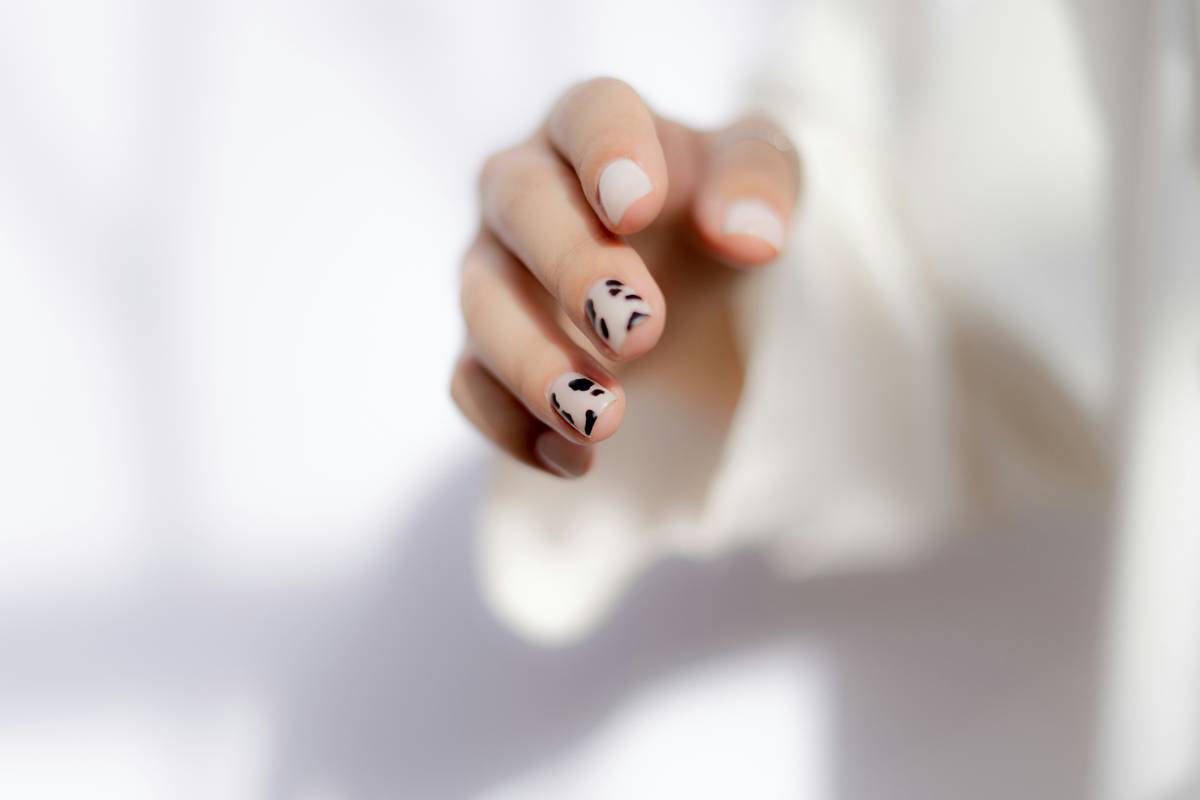
Have you ever tried creating clean, precise nail designs only to end up with smudged polish and uneven lines? Yeah, us too. Enter professional nail tape—an absolute game-changer for anyone looking to level up their nail art skills. In this guide, we’ll unpack everything about professional nail tape: what it is, how to use it like a pro, and why your manicure toolkit isn’t complete without it.
Table of Contents
- Introduction
- Key Takeaways
- What Is Professional Nail Tape?
- How to Use Professional Nail Tape Like a Pro
- Tips and Best Practices
- Real-Life Success Stories
- FAQs About Professional Nail Tape
- Conclusion
Key Takeaways
- Professional nail tape ensures sharp, clean lines in nail art designs.
- Choosing the right type of tape can make or break your design.
- Prep work (clean nails + base coat) is crucial before using nail tape.
- Avoid over-polishing; less is more when working with tape.
- Proper storage extends the life of your nail tape.
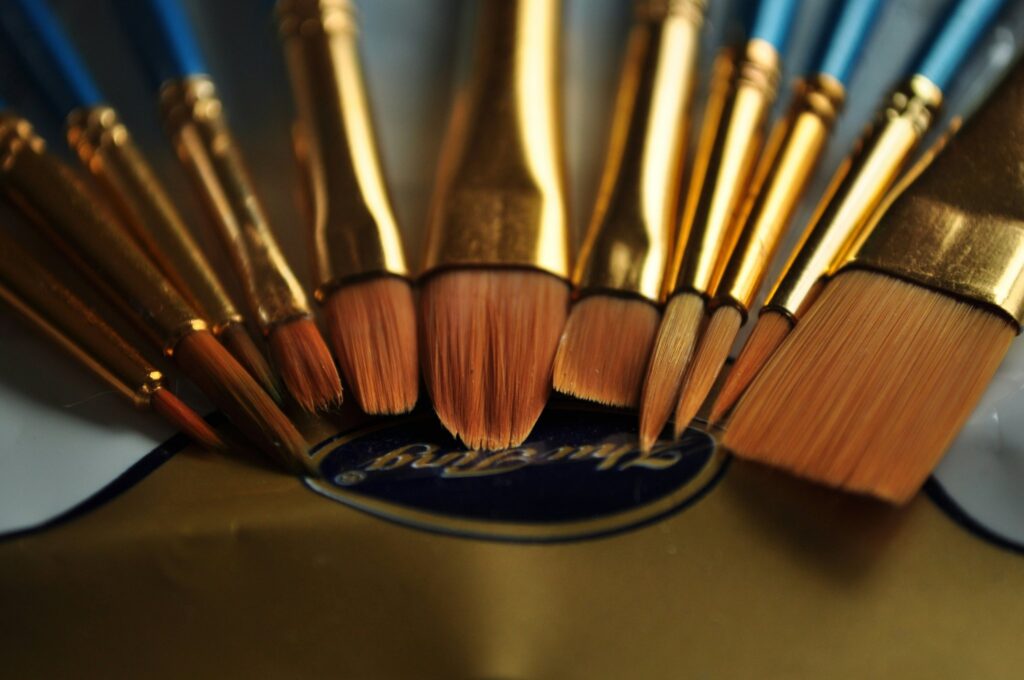
What Is Professional Nail Tape?
Professional nail tape—also known as striping tape—comes in thin rolls designed specifically for nail art. These adhesive strips are used to create flawless geometric patterns, stripes, and other detailed designs on nails. Unlike regular tape, professional nail tape has just enough stickiness to hold its shape on curved surfaces but doesn’t leave behind a sticky residue.
The “aha” moment comes when you realize that trying to freehand intricate details often ends in frustration. That’s where professional nail tape swoops in like a knight in shining armor. It saves time, reduces errors, and helps even beginners achieve salon-quality results.
Rant Alert:
You know what drives me insane? People squeezing out half a bottle of topcoat onto freshly taped manicures. Ugh! All that extra moisture seeps under the tape and ruins all your hard work. Keep it minimal, folks!
How to Use Professional Nail Tape Like a Pro
- Prepare Your Nails: Start with clean, dry nails. Apply a base coat and let it dry completely.
- Cut and Shape the Tape: Cut small pieces of tape using scissors or tweezers for precision. Bend gently to fit curves if needed.
- Place the Tape: Position the tape carefully on the nail bed. Press lightly to ensure adhesion without stretching it out of place.
- Apply Polish: Paint over the exposed areas around the tape with your chosen color(s). Be mindful not to load brushes heavily to avoid flooding.
- Remove Quickly: As soon as you finish applying polish, peel off the tape at a 45-degree angle swiftly to reveal crisp edges.
- Seal with Top Coat: Once dry, seal the masterpiece with a lightweight layer of topcoat.
Optimist You: “I’ve got this!”
Grumpy You: “Ugh, fine—but only if coffee’s involved.”
Tips and Best Practices
Here’s the chef’s kiss advice for mastering professional nail tape:
- Pick Quality Tape: Cheap tapes tend to rip easily and may leave behind gummy remnants. Invest wisely.
- Work Fast: Drying times matter here. Don’t let the tape sit too long after painting.
- Store Properly: Roll tape back tightly into its dispenser immediately after use to prevent tangling.
- Experiment Freely: Try combining different widths and colors until you find your signature style.
Terrible Tip Disclaimer: Some might suggest skipping the base coat step entirely. Please ignore them because skipping prep equals chipped dreams within hours.
Real-Life Success Stories
Lisa, an amateur nail artist from Seattle, shares her transformation story: “When I first started experimenting with DIY nail art, my attempts were disastrous. Lines would blur, edges bled—and forget symmetry! Then someone recommended professional nail tape. Suddenly, I was crafting Pinterest-worthy designs effortlessly.”
FAQs About Professional Nail Tape
Can I use regular Scotch tape instead of professional nail tape?
Nope! Regular tape lacks the delicate balance of stickiness required for smooth removal without ruining polish layers beneath.
Where can I buy quality professional nail tape?
Check reputable beauty supply stores online such as Amazon, Sally Beauty Supply, or specialized retailers catering exclusively to nail enthusiasts.
Is professional nail tape reusable?
Unfortunately, no. Due to its single-use nature, attempting reuse typically leads to messy outcomes thanks to transferred pigments and reduced adhesion.
Conclusion
In conclusion, wielding professional nail tape properly opens doors to endless creative possibilities within the realm of nail artistry. From understanding its functionality to executing steps meticulously, equip yourself with knowledge so mistakes become mere stepping stones toward perfection. Remember, practice makes perfect—so grab those tools and start taping away!
Like a Tamagotchi, your nail art journey requires daily care and attention. Happy tapping!
Lines so sharp they sing,
Colors dance across each nail—
Art meets fingertips.