Ever struggled to create that perfect nail design ornament, only to end up with a mess on your nails? Trust us, you’re not alone.
In this post, we’ll dive into the world of nail art tools and share our best tips, tricks, and even a few confessional fails. By the end, you’ll be equipped to create beautiful, intricate nail designs that stand out. You’ll learn how to choose the right nail design ornament, master the essential tools, and avoid common pitfalls. Let’s get started!
Table of Contents
- The Importance of Nail Design Ornaments
- Step-by-Step Guide to Using Nail Design Tools
- Tips and Best Practices for Perfect Nail Art
- Real-World Examples and Success Stories
- Frequently Asked Questions (FAQs)
Key Takeaways
- Understand why nail design ornaments are essential for stunning nail art.
- Learn step-by-step how to use nail art tools effectively.
- Pick up valuable tips and best practices from seasoned nail artists.
- Get inspired by real-world examples and success stories.
- Find answers to your most pressing nail art questions in our FAQ section.
The Importance of Nail Design Ornaments
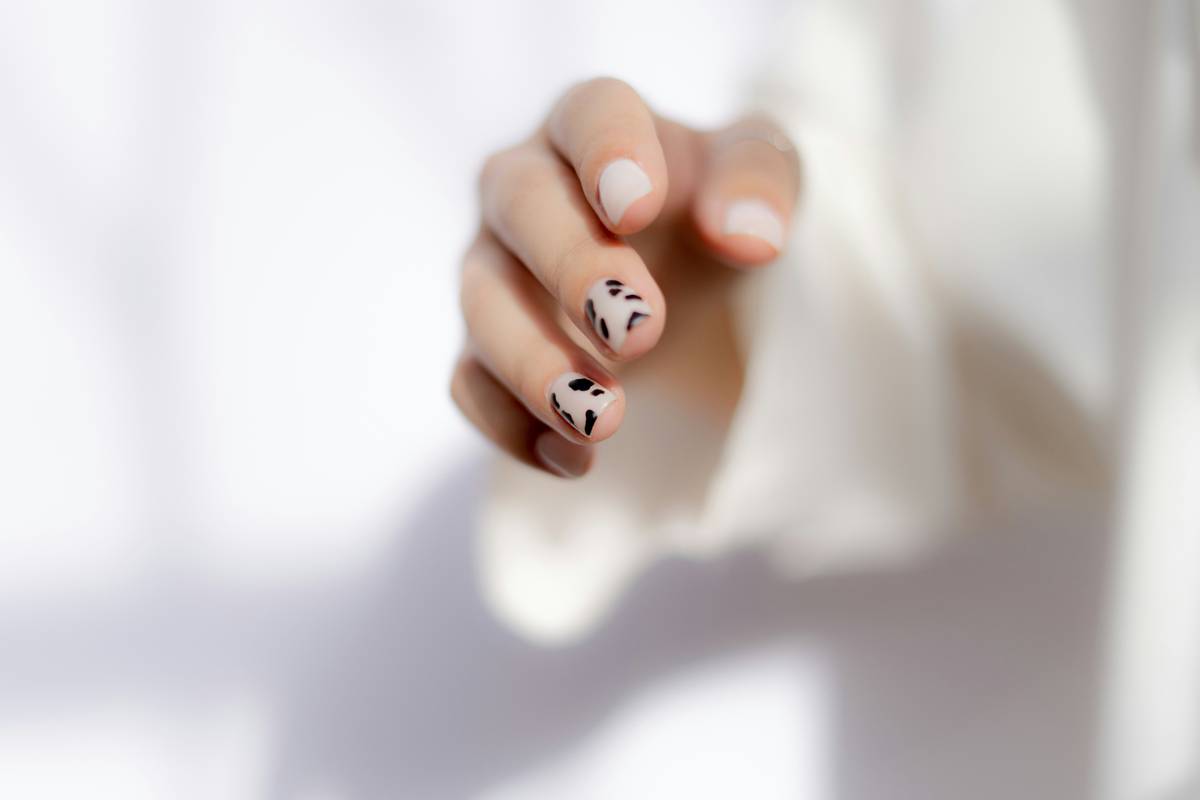
Nail design ornaments are the unsung heroes of the nail art world. They elevate your basic polish to a work of art. Whether you’re a professional nail artist or a DIY enthusiast, having the right nail design ornament can make all the difference. But here’s the catch: not all nail design ornaments are created equal. Using the wrong one can turn your nails into a disaster zone faster than you can say “acetone.”
Step-by-Step Guide to Using Nail Design Tools
*Optimist You:* “Let’s get creative!” *Grumpy You:* “But first, coffee.”
Step 1: Gather Your Tools
The first step is to gather all the necessary tools. Here’s a list:
- Nail design ornament
- Base coat and top coat
- Nail polish in your choice of colors
- Dotting tool
- Detail brush
- Stamps and stamping plates
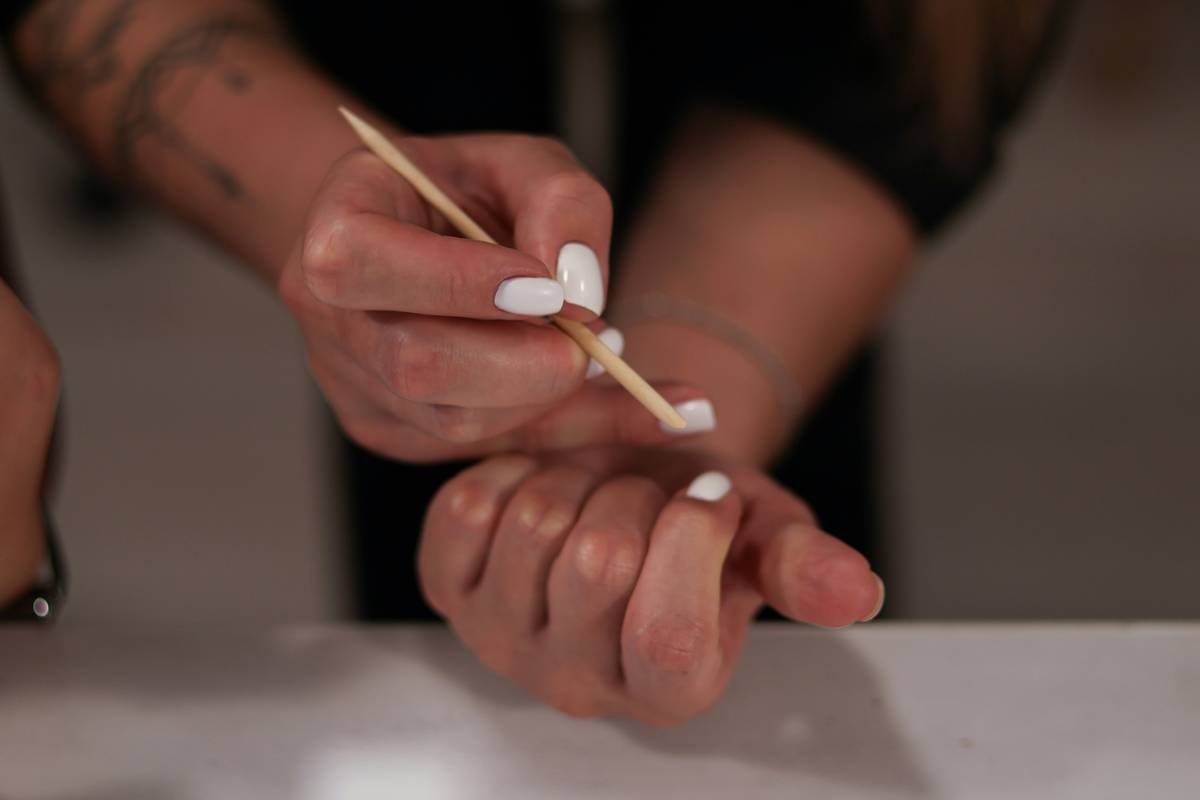
Step 2: Prepare Your Nails
Start by cleaning and filing your nails. Apply a base coat to protect your nails and ensure a smooth surface for your design.
Step 3: Apply the Base Color
Choose a base color that complements your nail design ornament. Apply two coats for a more vibrant look.
Step 4: Add the Nail Design Ornament
Now comes the fun part! Use your dotting tool or detail brush to apply the nail design ornament. Be patient and take your time—this is where the magic happens.
Step 5: Seal the Deal
Once your design is complete, apply a top coat to seal everything in place and add a glossy finish.
Tips and Best Practices for Perfect Nail Art
*Optimist You:* “Follow these tips!” *Grumpy You:* “Ugh, fine—but only if coffee’s involved.”
- Practice Makes Perfect: Don’t expect to nail it on the first try. Practice on a piece of paper or a nail swatch before applying the design to your actual nails.
- Use Quality Products: Invest in high-quality nail polishes and tools. Cheap products can lead to frustrating results and wasted time.
- Be Patient: Nail art requires patience. Rushing through the process can result in smudges and uneven designs. Take your time and enjoy the process.
Real-World Examples and Success Stories
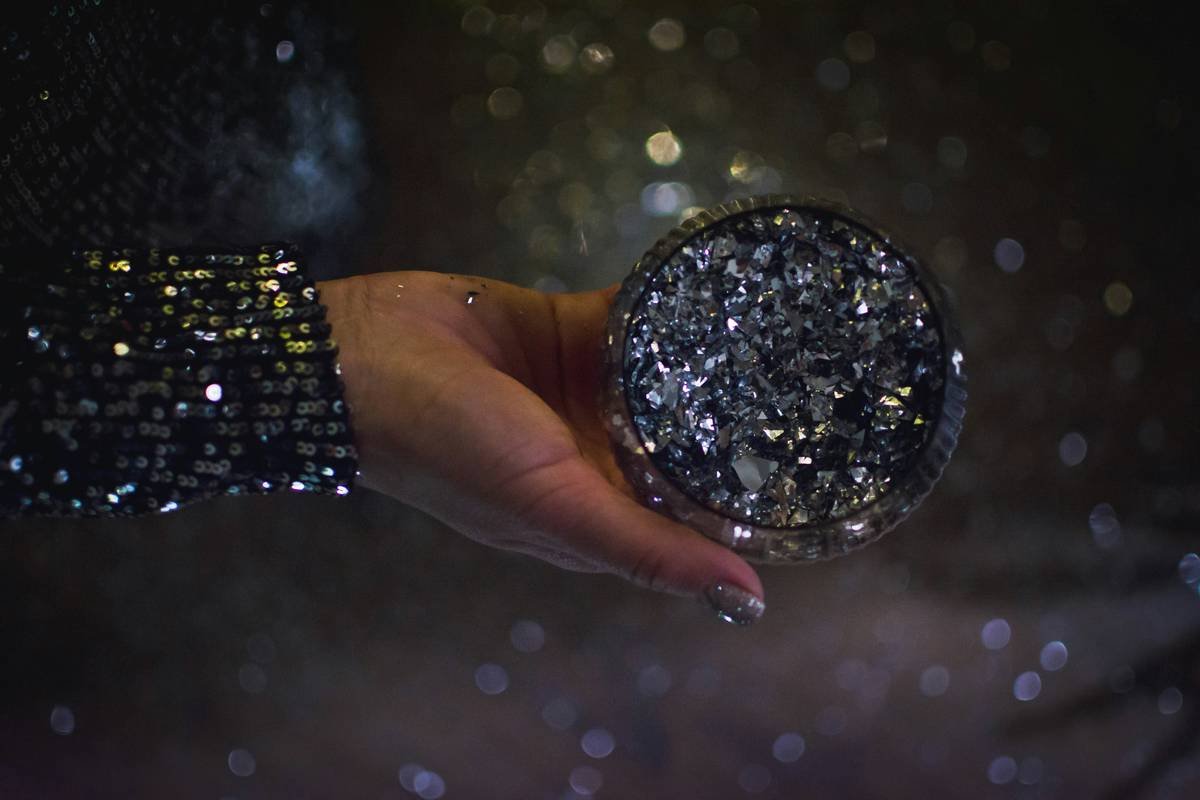
Let’s take a look at some inspiring nail art designs and the stories behind them. These examples will give you a clear idea of what’s possible with the right tools and techniques.
Frequently Asked Questions (FAQs)
How do I choose the right nail design ornament?
Consider your nail shape, the occasion, and your personal style. Start with simple designs and gradually move to more complex ones as you gain confidence.
What are the best nail art tools for beginners?
Beginners should start with a dotting tool, a detail brush, and a set of stamping plates. These tools are versatile and easy to use.
How can I make my nail designs last longer?
Apply a good quality base coat and top coat. Avoid using your nails as tools and keep them clean and well-maintained.
Conclusion
Creating stunning nail designs doesn’t have to be a daunting task. With the right nail design ornament and a bit of practice, you can achieve salon-quality results at home. Remember to be patient, invest in quality tools, and most importantly, have fun with the process. Happy nail designing!
A random haiku to end things off:
Paint and polish glisten,
Nails like tiny works of art,
Beauty in small things.

