Ever tried creating intricate nail designs only to end up with a streaky mess? Yeah, we’ve all been there. Whether it’s shaky hands or subpar tools, nailing that flawless nail design liner work can feel like an uphill battle. But here’s the good news—once you know the right tips and tools, you’ll be whipping out salon-worthy art in no time.
In this ultimate guide, we’ll dive deep into everything “nail design liner.” From essential tools to step-by-step techniques and pro tips, you’ll walk away ready to tackle even the trickiest patterns. Stick around for bonus sections on pet peeves, FAQs, and some 2000s nostalgia sprinkled in for fun.
Table of Contents
- Key Takeaways
- Why Nail Design Liners Can Be Tricky
- Step-by-Step Guide to Perfect Liner Art
- Pro Tips for Mastering Nail Design Liners
- Real-World Examples and Inspiration
- FAQs About Nail Design Liners
Key Takeaways
- Nail design liners require precision tools and steady hands.
- Investing in high-quality brushes or pens makes a world of difference.
- Practice basic strokes before attempting advanced designs.
- Avoid overloading your liner tool with polish—it leads to smudges.
Why Nail Design Liners Can Be Tricky
Let me share a personal horror story: I once ruined an entire mani-pedi session because my DIY nail design liner attempt turned into what looked like abstract expressionism gone wrong. Sound familiar? Here’s why this happens:
- Cheap Tools: Dollar-store liner brushes aren’t exactly “chef’s kiss” when it comes to performance.
- Shaky Hands: It doesn’t matter how good your products are if your hand tremors rival a caffeine addict after their third espresso shot.
- Poor Technique: Applying too much pressure—or not enough—can mean the difference between crisp lines and a chaotic blur.
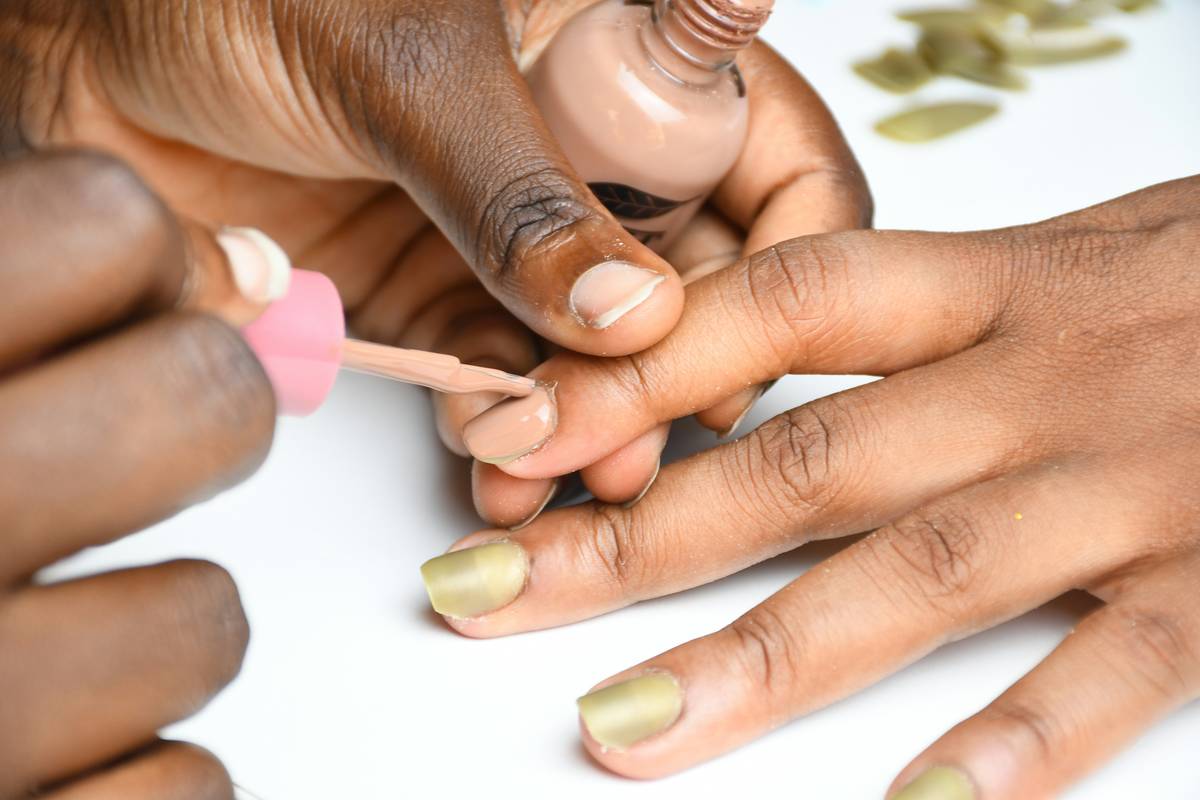
Step-by-Step Guide to Perfect Liner Art
Step 1: Prep Your Canvas
Before diving in, prep your nails with a base coat. Let it dry completely to avoid any mishaps later on.
Step 2: Choose the Right Tool
Select from these options based on your preference:
- Gel Liner Pens: Great for beginners due to controlled flow.
- Striping Brushes: Ideal for fine details and customization.
- Tape Guides: Perfect for clean geometric shapes without freehand stress.
Step 3: Practice Basic Strokes
Start by practicing straight lines, curves, and dots on paper or fake nails until you’re confident.
Step 4: Create Your Design
Apply your chosen tool slowly but steadily. Remember: Less is more when loading product onto your brush!
Step 5: Seal the Deal
Finish with a topcoat to lock in your masterpiece. Pro tip: Use quick-dry formulas to prevent smudging post-application.
Pro Tips for Mastering Nail Design Liners
- Always clean your brushes immediately after use to maintain quality.
- Keep cotton swabs dipped in remover handy for quick fixes.
- Work in natural light or under bright lamps to see details clearly.
- (Terrible Tip Alert!) Don’t try complex designs during rush hour unless chaos is your aesthetic.
Grumpy Note: Yes, patience is key—but seriously, don’t skip the prep steps either.
Real-World Examples and Inspiration
Check out Instagram accounts like @NailArtGuru or YouTube channels dedicated to nail tutorials for endless inspiration. One viral TikTok trend involved using metallic nail design liners to create celestial-themed nails. Talk about galactic goals!
FAQs About Nail Design Liners
Q: What’s the best type of nail design liner for beginners?
A: Gel-based liner pens are beginner-friendly since they offer smooth application and control.
Q: How do I stop my lines from looking wobbly?
A: Prop your elbow on a stable surface while working, and breathe deeply to steady your hand.
Q: Can I use regular nail polish as a liner?
A: Not ideal—it dries too quickly and lacks precision compared to specialized tools.
Final Thoughts
Nail design liner mastery isn’t just about talent—it’s about having the right tools and knowing how to use them effectively. With practice and persistence, you’ll go from amateur to artist faster than you can say “manicure Monday.”
So grab those brushes, load up on coffee (because focus fuels creativity), and get designing. Just remember—perfection takes time. Or, as Shia LaBeouf famously said, “DO IT!” 😂
Like a Tamagotchi, your nail art skills need daily care. Happy painting!

