
Ever stared at a blank nail, armed with your favorite polish, only to realize you’re missing *that one tool* to turn it into a masterpiece? Yeah, us too. It’s like showing up to bake cookies but forgetting the sugar—painful.
In this post, we’ll dive deep into “nail art overlay,” a game-changing technique that elevates your designs from basic to breathtaking. You’ll learn what tools you absolutely need, how to use them effectively, and where most people go hilariously wrong (spoiler alert: glitter bombs can ruin everything).
Table of Contents
- What is Nail Art Overlay?
- Why Nail Art Overlay Needs Specific Tools
- How to Master Nail Art Overlay in Just 5 Steps
- 7 Tips for Perfect Nail Art Overlay Every Time
- Examples of Stunning Nail Art Overlays
- FAQs About Nail Art Overlay
Key Takeaways
- Nail art overlay involves layering materials like gels, acrylics, or foils over natural nails for intricate designs.
- You need specialized tools such as brushes, stencils, and UV lamps to execute overlays flawlessly.
- Avoid common mistakes like rushing drying times, which can lead to smudges or uneven finishes.
- Invest in high-quality tools—they last longer and produce superior results.
What is Nail Art Overlay?
If you’ve ever scrolled through Instagram and drooled over those flawless 3D floral nails, chances are they were created using nail art overlay techniques. Overlay involves adding layers of material atop your base coat or natural nail to create dimension, texture, and depth. Think of it as sculpting tiny works of wearable art!
The process typically uses products like gel polishes, acrylic powders, or chrome pigments. But here’s the kicker—you won’t get museum-worthy nails without the right tools. Trust me; I once tried creating an overlay with just a toothpick… disaster doesn’t even begin to cover it.
Why Nail Art Overlay Needs Specific Tools
“Optimist You:” “Oh, I’ll grab any old brush—I’m sure it’ll work!”
“Grumpy You:” “Ugh, nope. Without fine-tipped brushes designed for precision, expect blobs instead of flowers.”
Here’s the hard truth: not all nail tools are created equal. A random drugstore brush might seem like a bargain, but it will sabotage your design faster than spilled remover. Let’s break down some essentials:
- Precision Brushes: Ideal for detailed linework and delicate patterns.
- Stencils: Save time while ensuring symmetry, especially for beginners.
- UV/LED Lamp: Non-negotiable for curing gel-based overlays properly.
Skip these investments, and you’re basically building sandcastles on quicksand. Oops.
How to Master Nail Art Overlay in Just 5 Steps
Ready to become a pro? Follow these steps religiously:
- Prep Your Nails: Start by buffing and sanitizing your nails. Clean canvas = better adhesion.
- Apply Base Coat: Use a sticky base coat designed specifically for overlays.
- Layer Material: Whether it’s gel, acrylic, or foil, apply thin, even layers. Don’t rush!
- Cure Under UV Lamp: Each layer needs proper curing to avoid peeling later.
- Seal with Topcoat: Finish with a high-shine topcoat to protect your artwork.
7 Tips for Perfect Nail Art Overlay Every Time
Want chef’s kiss-level perfection? Here’s my secret sauce:
- Always cap the free edge of the nail when applying product to prevent chipping.
- Work in small sections if doing detailed art—if the gel dries mid-design, cue tantrum moment.
- Use lint-free wipes soaked in alcohol to clean up messy edges.
- Avoid cheap rhinestones—they fall off faster than your motivation after Day 2 of Dry January.
- Don’t overload your brush! Too much gel = puddle city.
- Rant Break: Why do people think glitter lasts forever?! Newsflash—it sheds everywhere and ruins everything else in your kit!
- Experiment with textures—matte vs. glossy overlays can completely transform the look.
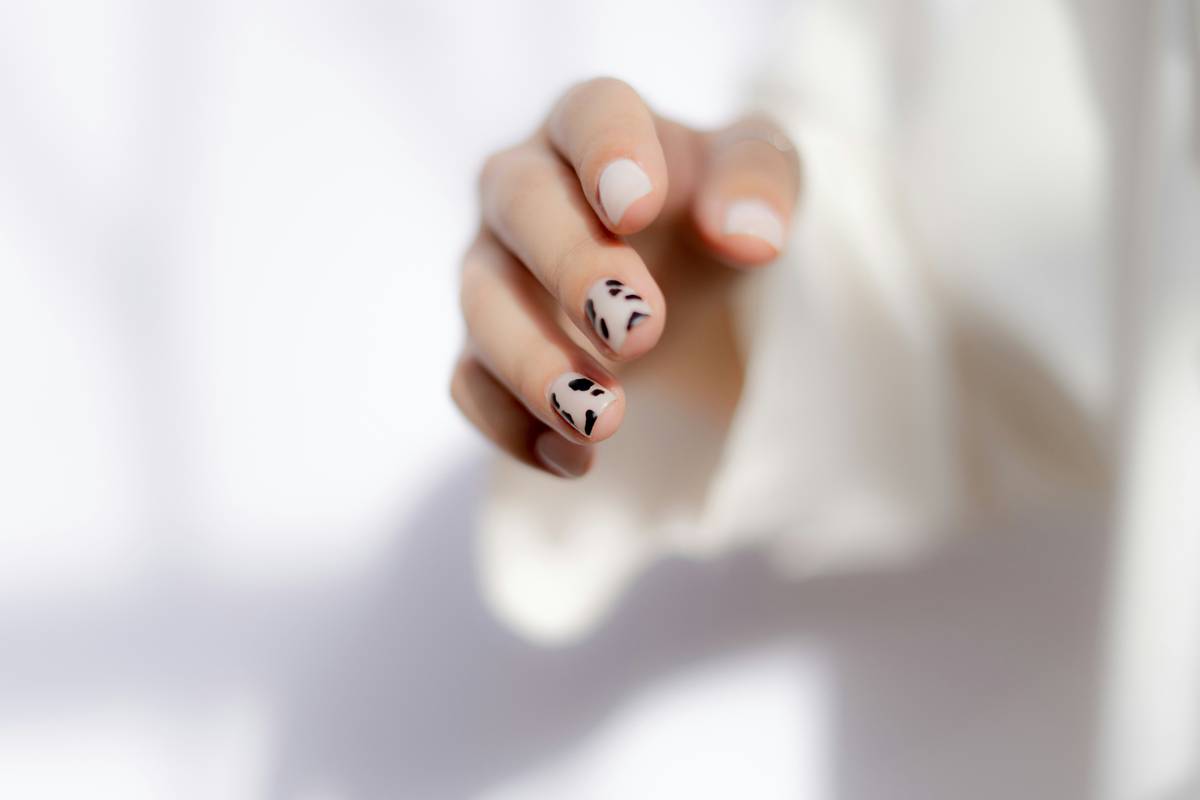
Examples of Stunning Nail Art Overlays
To fuel your creativity, let’s geek out over some jaw-droppers:
- Geode Nails: These stunning crystal-like designs often use resin overlays to mimic geodes.
- Ombre Chrome: Gradient effects achieved with metallic pigments layered over a base.
- 3D Floral Appliqués: Tiny hand-painted flowers made possible by precise overlay techniques.
Pro Tip: Search #NailArtOverlay on Instagram for endless inspo. Just don’t blame us when you fall down the rabbit hole for hours.
FAQs About Nail Art Overlay
Q: How long does a nail art overlay last?
A: With proper care and regular fills, overlays can last 2–4 weeks depending on the material used.
Q: Can I remove the overlay at home safely?
A: Technically yes, but proceed with caution. Soaking off gels improperly can damage your nails. Visit a pro if unsure.
Q: What’s the difference between gel and acrylic overlays?
A: Gel is more flexible and easier to shape, while acrylic offers durability and strength—ideal for extensions.
Conclusion
We’ve covered the basics of nail art overlay, why tools matter (so much!), and exactly how to achieve salon-worthy nails at home. Remember, practice makes progress—not perfection—and patience truly is a virtue in nail artistry. Now go forth and slay those mani goals!
And in true nostalgic style: Like a Tamagotchi, your nail art skills need daily love and care to thrive.

