Table of Contents
- Introduction
- Key Takeaways
- Why Creative Nail Detail Matters
- Step-by-Step Guide to Perfect Nail Art
- Tips and Best Practices for Nail Art
- Success Stories and Examples
- FAQs About Creative Nail Detail
- Conclusion
Introduction
Ever spent hours perfecting a nail design only to have it chip off in a day? Yeah, we’ve all been there. It’s frustrating, demotivating, and can make you want to toss your nail art tools out the window. But what if we told you there’s a way to make your creative nail detail not just beautiful but also long-lasting? In this post, we’ll dive into the world of nail art tools, share some expert tips, and even throw in a few confessional fails. Let’s get started!
You’ll learn how to choose the right tools, master the techniques, and avoid common pitfalls. By the end, you’ll be ready to create stunning, long-lasting nail art that turns heads.
Key Takeaways
- Understand the importance of using the right nail art tools for creative nail detail.
- Follow a step-by-step guide to achieve professional-looking nail art.
- Get insider tips and best practices to make your nail art stand out.
- Learn from real-world success stories and case studies.
- Find answers to frequently asked questions about nail art tools and techniques.
Why Creative Nail Detail Matters
Creative nail detail is more than just a pretty accessory; it’s an expression of your personality and style. Whether you’re going for a minimalist look or an elaborate design, the right nail art can elevate your overall aesthetic. However, it’s not just about the design itself; the quality of your tools and your technique play a crucial role in the final result.
Step-by-Step Guide to Perfect Nail Art
Let’s break down the process into manageable steps:
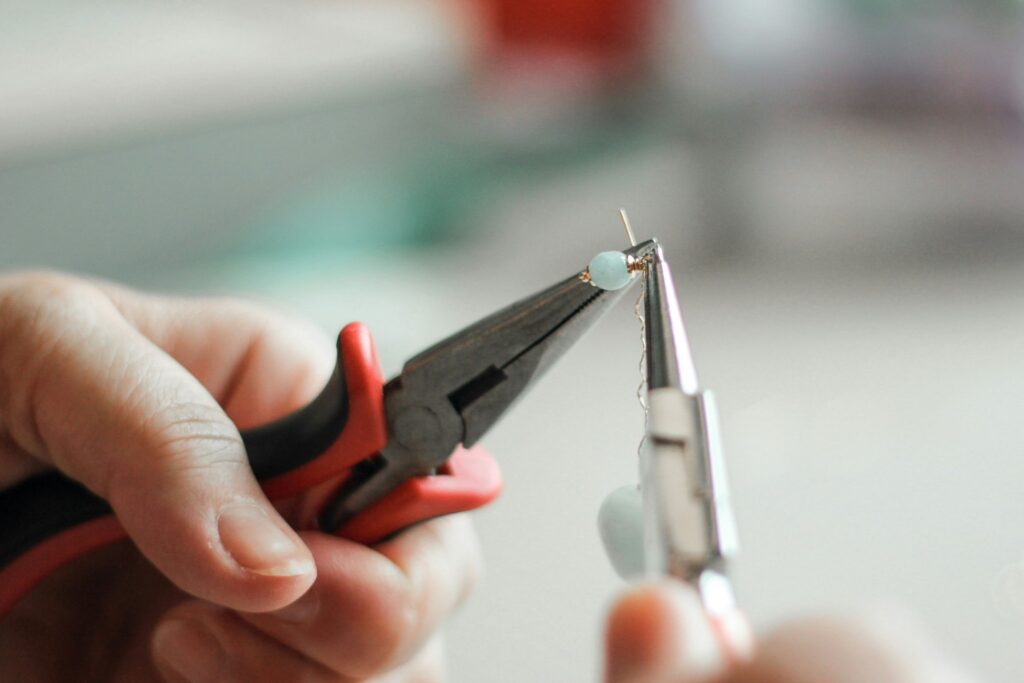
Step 1: Choose Your Tools
*Optimist You:* “Invest in high-quality nail art tools!”
*Grumpy You:* “Ugh, fine—but only if I can use them while binge-watching TV.”
Start with a good set of brushes, dotting tools, and a nail art palette. High-quality tools will make a noticeable difference in the precision and longevity of your designs.
Step 2: Prepare Your Nails
*Optimist You:* “Clean and trim your nails for a smooth canvas!”
*Grumpy You:* “Alright, but only if I can munch on chips while I do it.”
Before you start, make sure your nails are clean and trimmed. Apply a base coat to protect your nails and provide a smooth surface for your design.
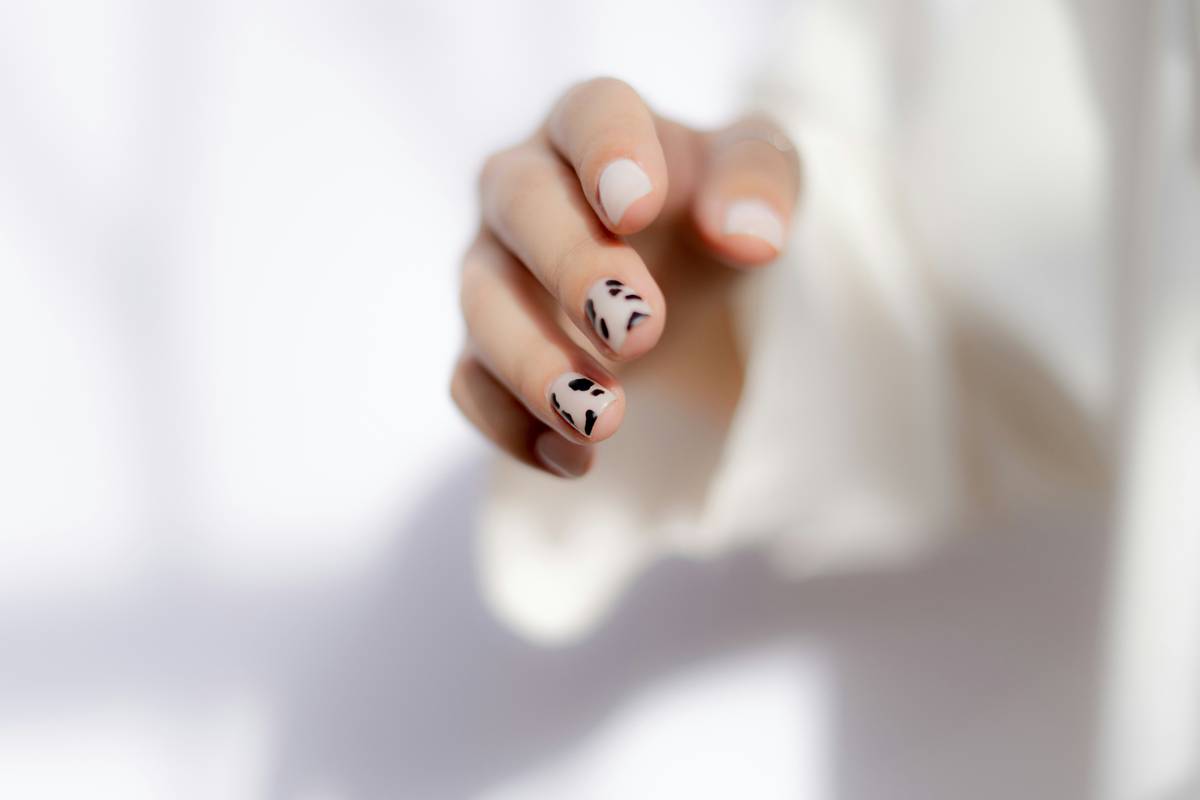
Step 3: Create Your Design
*Optimist You:* “Let your creativity flow!”
*Grumpy You:* “Just don’t let it flow onto the carpet—trust me, it’s a mess.”
Use your chosen tools to paint and dot your way to a beautiful design. Experiment with different colors and patterns to find your signature style.
Step 4: Finish with a Top Coat
*Optimist You:* “Seal the deal with a top coat!”
*Grumpy You:* “Fine, but I’m not waiting for it to dry—ain’t nobody got time for that.”
Finish your design with a top coat to add shine and durability. This step is crucial for making your creative nail detail last longer.
Tips and Best Practices for Nail Art
- Practice Makes Perfect: Start with simple designs and gradually move to more complex ones.
- Use Thin Layers: Apply thin, even layers of polish to avoid smudging and ensure a smooth finish.
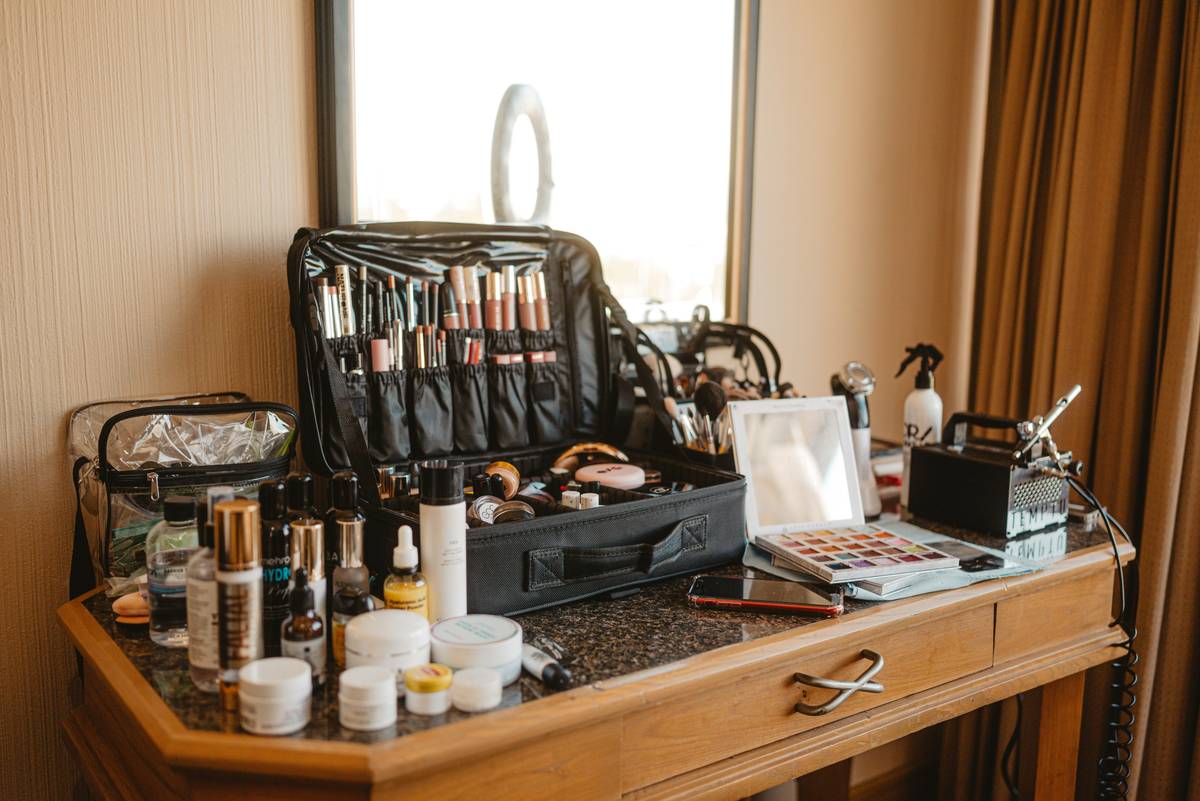
- Stay Organized: Keep your tools and polishes organized to save time and reduce frustration.
- Terrible Tip (Disclaimer): Don’t use regular glue instead of nail glue. Trust me, it’s a recipe for disaster. Your nails will thank you later.
Success Stories and Examples
Meet Sarah, a nail art enthusiast who transformed her hobby into a profitable business. She started by experimenting with basic designs and gradually built her skills and client base. Today, she runs a successful nail salon and has won several awards for her innovative designs.
FAQs About Creative Nail Detail
How do I choose the right nail art tools?
Look for tools made from high-quality materials, such as stainless steel brushes and durable dotting tools. Read reviews and ask for recommendations from experienced nail artists.
What are the best nail art tools for beginners?
For beginners, a basic set of dotting tools, fine brushes, and a nail art palette are great starting points. As you gain experience, you can invest in more specialized tools.
How do I make my nail art last longer?
Use a good base coat, apply thin layers of polish, and finish with a top coat. Avoid activities that can chip your nails, and keep your hands moisturized to prevent the polish from cracking.
Can I use household items for nail art?
While you can get creative with household items like toothpicks and bobby pins, they may not provide the same level of precision and durability as dedicated nail art tools. If you’re serious about nail art, investing in proper tools is worth it.
Conclusion
Mastering creative nail detail is a journey that requires the right tools, techniques, and a bit of patience. By following the steps and tips outlined in this post, you’ll be well on your way to creating stunning, long-lasting nail art. Remember, practice makes perfect, and don’t be afraid to experiment and try new things.
Like a Tamagotchi, your nail art skills need daily care and attention. Happy painting!
Haiku for Nail Art Enthusiasts
Brushes in hand, paint,
Nails like tiny canvases,
Beauty in detail.