Ever tried creating intricate nail art designs by hand only to end up with smudges, uneven lines, and zero patience? Yeah, us too.
Nail art is equal parts skill and creativity—except when you’re winging it without the right tools. That’s where a professional nail stamper comes in. Today, we’ll dive deep into how this game-changing tool can elevate your nail art game, save you time, and spark joy (or at least fewer expletives).
Here’s what we’ll cover:
Table of Contents
- Why You Need a Professional Nail Stamper
- The Problem: Hand-Painting Woes & Frustrations
- Step-by-Step Guide to Using a Professional Nail Stamper
- Tips for Mastering Nail Art Stamping
- Case Study: How One Artist Transformed Their Workflow
- Frequently Asked Questions About Professional Nail Stampers
- Final Thoughts
Key Takeaways
- A professional nail stamper simplifies complex designs and ensures precision.
- Choosing high-quality materials makes all the difference in performance and longevity.
- Practice, experimentation, and patience are key to mastering nail stamping techniques.
The Problem: Hand-Painting Woes & Frustrations
If you’ve ever attempted fine details like florals or geometric patterns without a professional nail stamper, you know the struggle. Let me confess a shameful story—I once spent two hours trying to hand-draw tiny daisies on each finger… only to ruin them minutes later while applying topcoat. Oof.
This pain point isn’t unique. Many DIY enthusiasts get discouraged because their hands aren’t steady enough or they lack the artistic chops to achieve salon-worthy results. Even seasoned pros sometimes dread clients who request complicated designs without factoring in extra time. Enter the professional nail stamper—a miracle device that’s essentially “chef’s kiss” for stamping precision.
Think about it. Do you really have three hours to spend on one manicure? Nope. Instead, let’s talk about how a high-quality tool can save your sanity.
Step-by-Step Guide to Using a Professional Nail Stamper
Step 1: Choose the Right Professional Nail Stamper
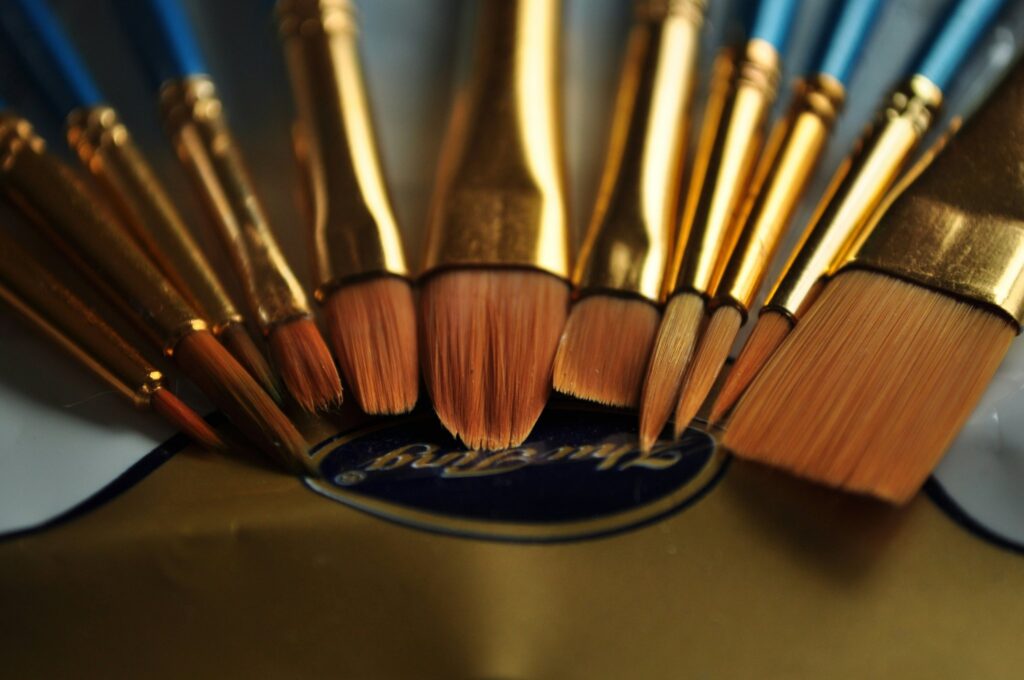
Not all stampers are created equal. Look for one with a firm yet smooth surface for clean transfers. Avoid cheap plastic versions; opt for stainless steel heads, which last longer and deliver better pressure distribution.
Step 2: Prepare Your Materials
Gather your essentials:
- Nail polish plates with pre-designed patterns.
- Scraper or squeegee to remove excess polish from the plate.
- Polish suitable for stamping (creamy formulas work best).
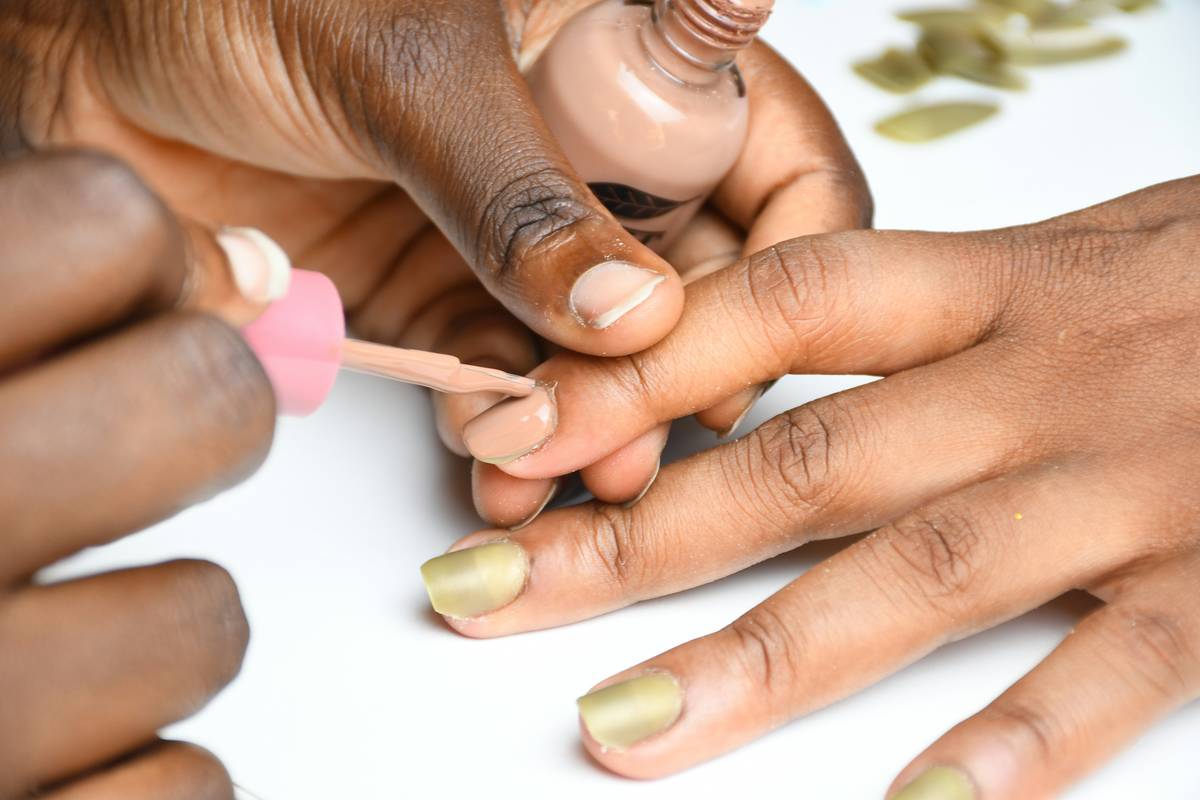
Step 3: Apply Polish to the Plate
Spread polish evenly over the desired design on the plate. Work quickly but carefully—the polish needs to be wet but not dripping.
Step 4: Scrape & Transfer
Use your scraper to swipe away excess polish, leaving behind only the filled-in design. Roll—not press—the stamper onto the plate, then transfer the design to your nail. Easy peasy!
Step 5: Seal It With Topcoat
To lock in your masterpiece, apply a thin layer of clear topcoat once the stamped design dries.
Tips for Mastering Nail Art Stamping
- Test First: Before going live on your nails, practice on paper or an acrylic tip.
- Keep It Clean: Always wipe your plate and stamper between uses to prevent residue buildup.
- Don’t Rush: Speed kills accuracy here—it’s better to move slowly and methodically.
- Invest Wisely: Cheap tools might seem tempting, but investing in quality will pay off.
Case Study: How One Artist Transformed Their Workflow
Jessica, a freelance nail artist based in Austin, struggled with time management and client satisfaction until she discovered the professional nail stamper. By incorporating stamping into her routine, she reduced her design process from 40 minutes to just 15! Clients raved about the sharpness and consistency of her work.
“It was life-changing,” Jessica says. “Not only could I take on more clients per day, but my artistry improved too.” Moral of the story? Invest in efficiency without sacrificing quality.
Frequently Asked Questions About Professional Nail Stampers
What Makes a Professional Nail Stamper Better Than Regular Tools?
Pro stampers often feature premium materials, ergonomic handles, and superior alignment features for cleaner transfers.
Can Beginners Use a Professional Nail Stamper?
Absolutely! While there’s a slight learning curve, most users pick it up within a few tries.
Do I Need Special Polishes for Stamping?
Yes, some formulas perform better than others. Opt for thick, pigmented polishes designed specifically for nail art.
Terrible Tip Alert: Can You Use Household Items As Substitutes?
Nope. Using random objects won’t give you the same results—and may even damage your nails or tools. Stick with legit products.
Rant Section: The Worst Part About Low-Quality Plates
Fuzzy edges and warped images are INSANELY frustrating. Save yourself the headache and splurge on decent plates.
Final Thoughts
In conclusion, a professional nail stamper is every nail artist’s secret weapon. Whether you’re a rookie looking to step up your home mani game or a pro seeking faster workflows, this tool does wonders. Remember: practice makes perfect, and quality matters.
So, what do you say? Ready to upgrade your toolkit and create Instagram-worthy masterpieces? Now go forth and stamp!
P.S. Like dial-up internet, don’t skimp on basics—it ruins the whole vibe.* 🌈✨