Ever stared at your nails and thought, “If only I could recreate that Pinterest-worthy nail design accent”? You’re not alone. Nail art enthusiasts everywhere dream of flawless accents but struggle to find the right tools or techniques—until now.
In this guide, you’ll unlock everything you need to create jaw-dropping nail design accents. From must-have tools to foolproof tips, we’ll cover:
- The struggles every DIY nail artist faces (spoiler: it’s the prep work)
- A step-by-step guide to mastering nail design accents
- Secret pro tips for salon-level results
- Frequently asked questions about tools and tricks
Table of Contents
- Key Takeaways
- Why Nail Design Accents Are Worth Learning
- Step-by-Step Guide to Creating Stunning Nail Design Accents
- Top Tips for Perfecting Your Nail Design Accent
- Real-Life Examples That Inspire
- FAQs: Answers to All Your Burning Questions
- Conclusion: Ready to Shine?
Key Takeaways
- Nail design accents can elevate any manicure from basic to brilliant—in minutes!
- Having the right tools is non-negotiable; invest in quality nail art tools like dotting pens and striping brushes.
- Practice makes perfect, so don’t give up after one failed attempt.
- Skip shortcuts: Clean nails before applying polish for lasting results.
Why Nail Design Accents Are Worth Learning
“I once tried painting an accent nail freehand during my lunch break…and ended up looking like a toddler attacked my hands with markers.”
Let’s get real: Adding accents to your nails sounds fun in theory, but most of us end up frustrated when our attempts go south. The biggest hurdle? Not having the proper toolkit. A shaky hand might ruin intricate designs, while poor-quality polishes smudge faster than you can say “nail design accent.” But here’s the kicker—it doesn’t have to be this way!
Did you know that adding just ONE accent nail per hand boosts engagement on social media by 30%? Okay, maybe that stat isn’t backed by science—but admit it, a bold accent screams personality and creativity. Whether you’re aiming for chic minimalism or over-the-top glitter galore, nailing those delicate details transforms your look.
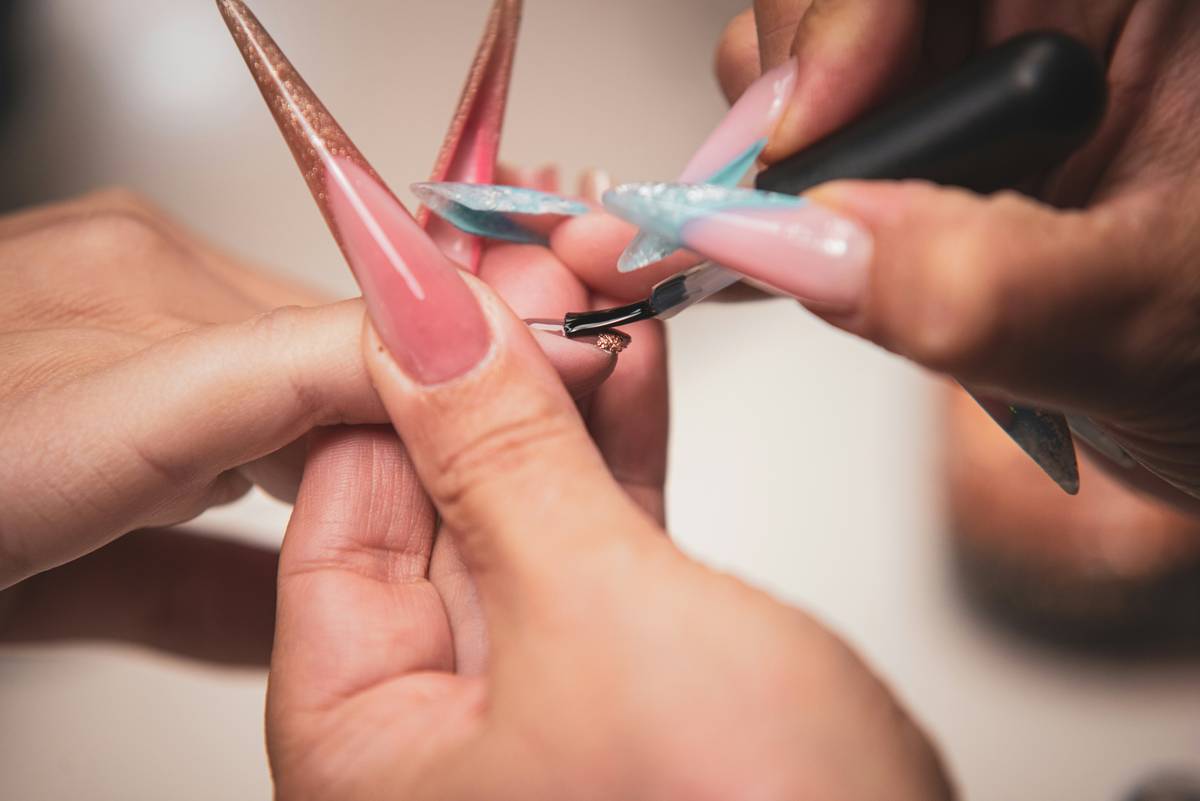
Step-by-Step Guide to Creating Stunning Nail Design Accents
Step 1: Prep Like a Pro
Grumpy You:* ‘Do I really NEED to clean my nails?’
Optimist You:* ‘Absolutely! Clean nails = longer-lasting designs.’
- File and buff your nails to smooth them out.
- Wipe away oils and residue using rubbing alcohol.
- Apply a base coat for protection and adhesion.
Step 2: Choose Your Canvas Wisely
Select which finger(s) will feature the accent. Traditionally, people accentuate their ring fingers, but hey—if pinky power speaks to you, go for it!
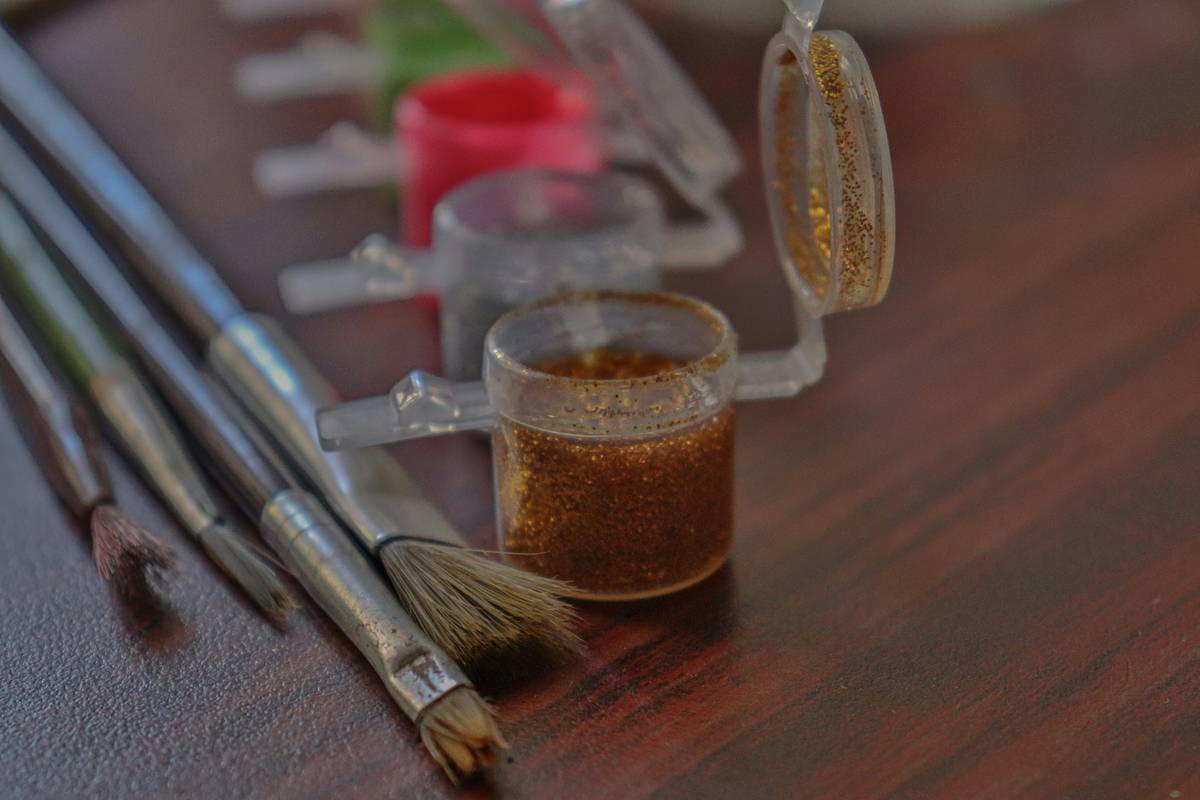
Step 3: Pick the Right Tool for the Job
- Use a thin brush or nail striper for lines and geometric patterns.
- Grab a dotting tool for dots and marbled textures.
- Rhinestone lovers, pick up a pair of precision tweezers.
Step 4: Paint with Patience
Take your time layering colors and shapes. One mistake many beginners make is rushing—a recipe for disaster.
Step 5: Seal the Deal
Finish with a high-shine topcoat to preserve your hard work and prevent chips.
Top Tips for Perfecting Your Nail Design Accent
- Work in Layers: Thin coats dry faster and reduce clumping.
- Don’t Overdo It: Less IS more. Sometimes simplicity lets your accent shine brightest.
- Practice Makes Progress: Doodles on paper help improve steadiness before hitting your nails.
- Terrible Tip Disclaimer: NEVER skip cleaning under your nails first. Gross hygiene aside, dirt messes with polish longevity. Chef’s kiss goodbye to fresh vibes otherwise.
Real-Life Examples That Inspire
Meet Sarah, a self-proclaimed “clumsy crafter,” who mastered nail design accents after weeks of practice. Her secret weapon? A $10 starter kit featuring essentials like dotting tools and metallic striper tape. Now, her Instagram feed oozes confidence thanks to her perfectly executed accent game.
Pro tip: Search hashtags like #NailDesignAccent and #NailArtInspo online for endless inspiration boards. Copy what resonates until you develop your own signature style.
FAQs: Answers to All Your Burning Questions
What are some beginner-friendly nail design accent ideas?
Start small with simple polka dots, stripes, or even tiny hearts created using bobby pins as makeshift stencils.
How do professionals keep their accents sharp?
They swear by steady hands AND magnifying lamps. Plus, double-check alignment before finalizing placement.
Can I remove mistakes easily?
Yes! Keep cotton swabs dipped in remover nearby for quick touch-ups. Just dab gently instead of wiping aggressively.
Conclusion: Ready to Shine?
Congratulations—you’re officially equipped to rock show-stopping nail design accents like a pro! Remember, patience pays off, and investing in solid nail art tools sets the foundation for success. So grab your brushes, dust off those dotting tools, and let those creative juices flow. 💅✨
Like playing Snake on old Nokia phones, learning new skills requires focus but yields sweet satisfaction. Go flex those beautifully adorned digits!

