Ever stared at your nails, wishing they could look like those Pinterest-perfect designs—but felt utterly defeated trying to replicate them? You’re not alone. Whether it’s shaky lines or smudged polish, nail art can feel like an uphill battle. But what if there was a foolproof way to create salon-worthy designs from home? Enter: nail design strips. These magical tools are about to revolutionize your mani game.
In this post, we’ll cover everything you need to know about nail design strips—from how they work and why they’re worth it, to step-by-step instructions for creating breathtaking nail art. Ready to nail (pun intended) your next manicure? Let’s dive in.
Table of Contents
- Why Nail Design Strips Are Game-Changers
- Step-by-Step Guide to Using Nail Design Strips
- Pro Tips for Perfect Nail Art
- Real-Life Examples of Stunning Nail Designs
- Frequently Asked Questions About Nail Design Strips
Key Takeaways
- Nail design strips make professional-looking nail art accessible even for beginners.
- A little prep goes a long way—clean, dry nails are essential for flawless application.
- Pairing nail design strips with other tools like dotting pens can elevate your creativity.
Why Nail Design Strips Are Game-Changers
I once spent two hours attempting freehand polka dots on my nails… only to end up with something resembling a toddler’s art project. Yeah, it wasn’t pretty. Thankfully, I discovered nail design strips—a true godsend for anyone who craves intricate patterns without the steady hand of Michelangelo.
According to beauty industry reports, over 60% of women now prefer DIY nail solutions due to convenience and cost-effectiveness. And among these, nail design strips have surged in popularity because they offer endless possibilities without requiring artistic genius.
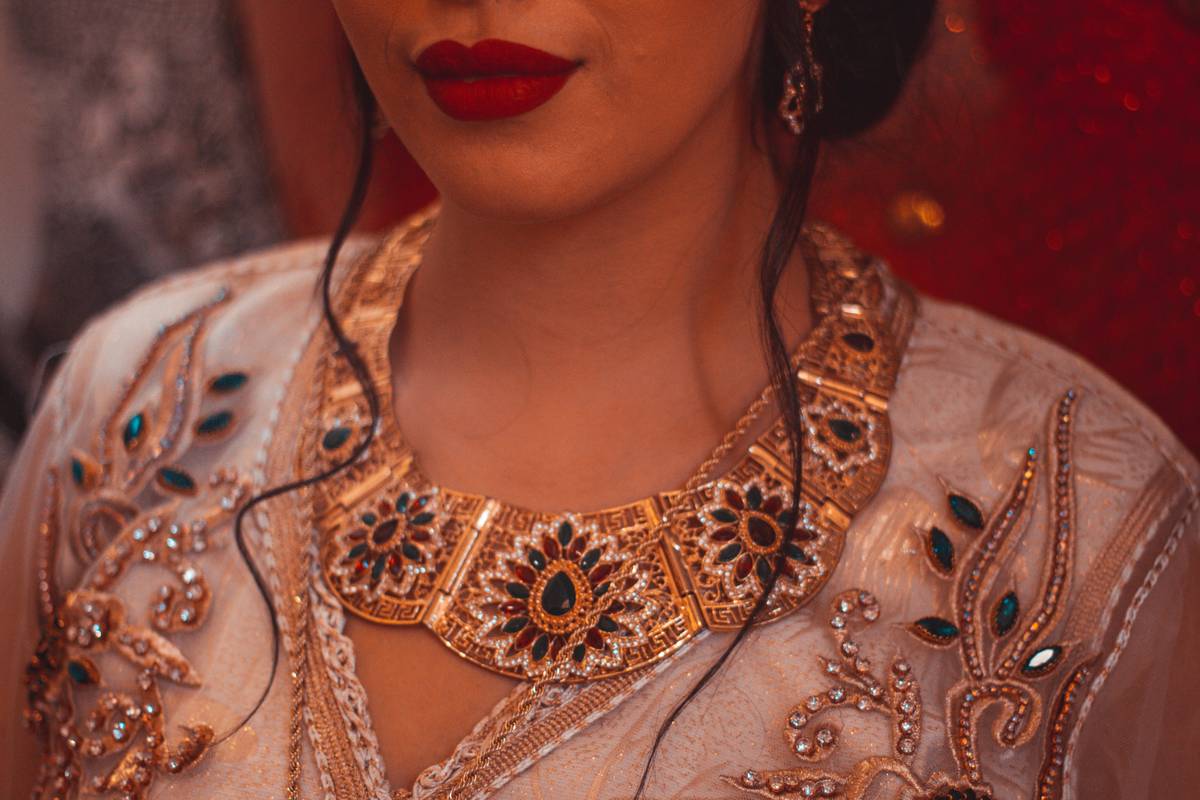
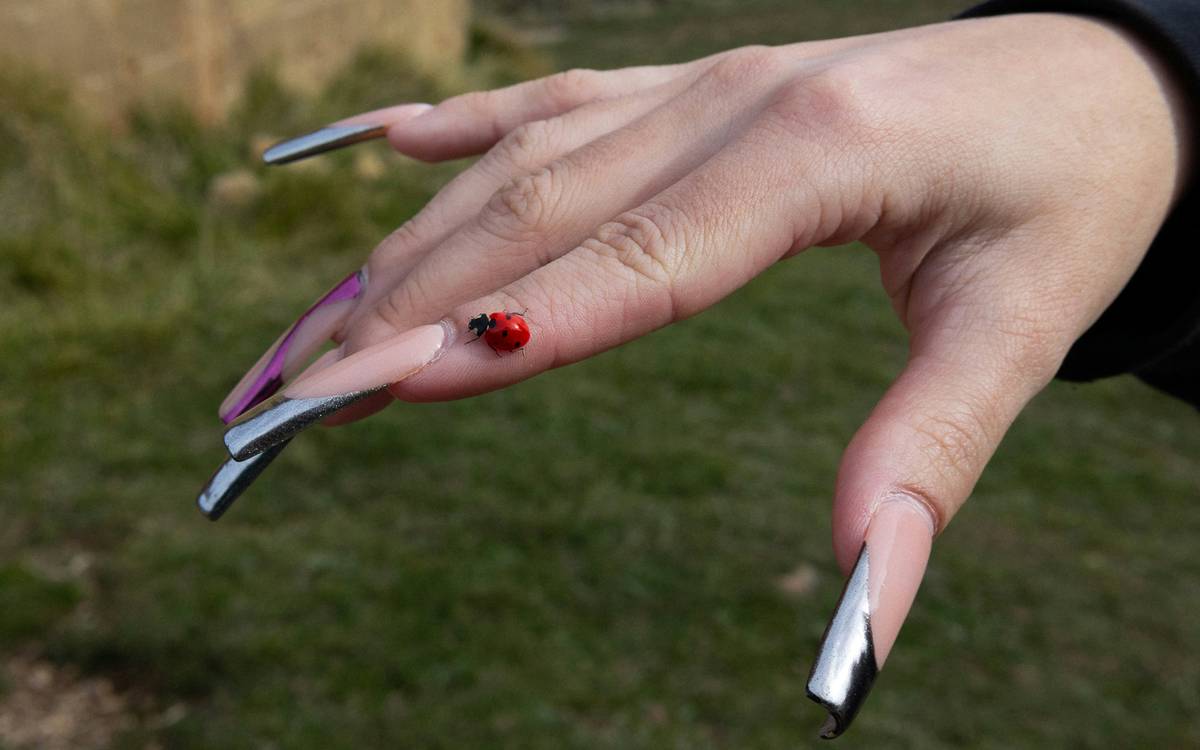
Image: A collection of vibrant nail design strips waiting to transform your nails.
Step-by-Step Guide to Using Nail Design Strips
Optimist You:
“Just follow these simple steps!”
Grumpy You:
“Ugh, fine—but let’s not mess this up again.”
- Prep Your Nails: Start with clean, dry nails. File and shape them as desired. Pro tip: Use a quick-drying base coat to help the strips adhere better.
- Choose Your Strip: Select a design that matches your vibe. From geometric shapes to florals, there’s no shortage of options.
- Apply the Strip: Peel off the strip carefully and place it where you want the design. Gently press down to smooth out any air bubbles.
- Secure It: Top it all off with a clear topcoat to seal the deal and prevent chipping.
Pro Tips for Perfect Nail Art
- Stay Patient: Applying nail design strips may feel awkward at first, but practice makes perfect.
- Experiment: Mix and match different styles. Try layering metallic strips over matte polish for a chic contrast.
- Avoid This Terrible Tip: Don’t skip the topcoat. Without it, your hard work will chip faster than you can say “nail emergency.”
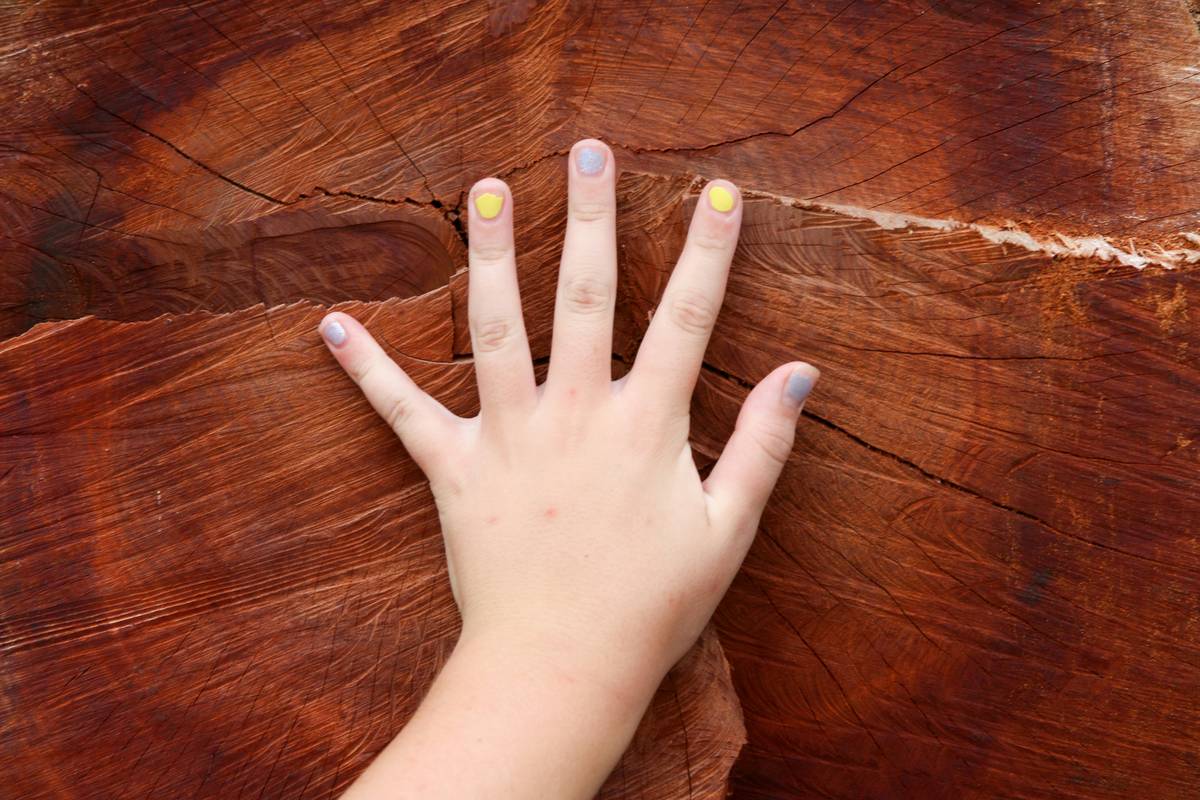
Image: Example of stunning nail art created with nail design strips.
Real-Life Examples of Stunning Nail Designs
Sarah, a self-proclaimed “nail noob,” shared her experience online after using nail design strips for the first time. Her before-and-after photos went viral—it was like night and day! Before: plain pink nails. After: bold zebra stripes paired with tiny gold accents.
Image: Transformation of plain nails into dazzling works of art using nail design strips.
Frequently Asked Questions About Nail Design Strips
Q: Can I use nail design strips on gel polish?
Absolutely! Just ensure your gel polish is fully cured before applying the strips. Seal with another layer of gel topcoat afterward.
Q: How long do nail design strips last?
“With proper care, these babies can last up to two weeks!” —Your Future Self
Q: What if the strip doesn’t fit perfectly?
Trim it to size! Most strips come oversized so you can customize them easily.
Conclusion
There you have it—the ultimate guide to mastering nail design strips. With their versatility, ease of use, and jaw-dropping results, these tools deserve a permanent spot in your nail care arsenal.
Remember, nail art isn’t just about aesthetics; it’s about expressing yourself and having fun while doing it. So grab those strips, channel your inner artist, and get ready to slay every selfie.
P.S. Here’s a nostalgic haiku to wrap things up:
Strip by shiny strip,
Nails turn into masterpieces.
DIY magic!

