Ever stared at your nails after painstakingly placing stud after stud, only to realize they’re lopsided? Yeah, been there.
In this guide, we’ll dive deep into the world of nail art studs. You’ll learn why these tiny embellishments are a game-changer for nail artists, how to use them like a pro, and tips to avoid disasters (like gluing one on crooked). Plus, insider secrets that’ll make you say, “Why didn’t I think of that sooner?” Let’s get studded!
Table of Contents
- What Are Nail Art Studs?
- Step-by-Step Guide to Using Nail Art Studs
- Best Practices for Nailing It with Studs
- Real-Life Examples of Stunning Nail Art Studs
- FAQs About Nail Art Studs
Key Takeaways
- Nail art studs are versatile and add instant dimension to any manicure design.
- Using proper tools, such as tweezers or dotting pens, is essential for precision when applying studs.
- A well-planned layout and high-quality adhesive can prevent smudging and ensure longevity.
- Finding inspiration from professionals will help elevate your creativity in designs.
What Are Nail Art Studs?
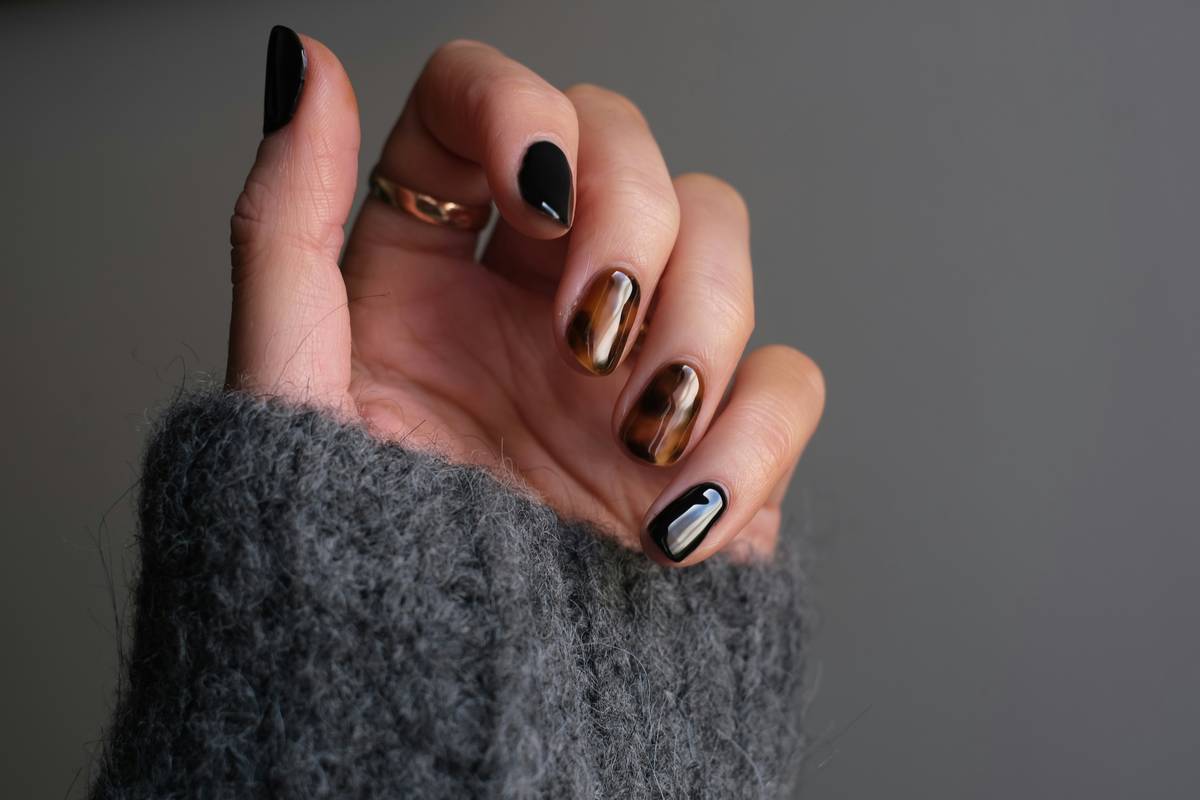
If you’ve ever flipped through Instagram pages showcasing intricate nail art designs, chances are you’ve noticed those metallic accents elevating plain polish. These little gems—nail art studs—are minuscule metallic dots, spikes, stars, or other shapes used to create texture and visual interest.
From runway shows to DIY salon sessions, nail art studs have become increasingly popular. They give off an elegant vibe while maintaining affordability compared to elaborate rhinestones or charms.
Step-by-Step Guide to Using Nail Art Studs
Optimist You: “Applying nail art studs sounds easy enough!”
Grumpy Me: “Uh-huh, until you find yourself trying not to swear over uneven placement.”
Let me walk you through it so you won’t end up wishing you hadn’t started:
Step 1: Gather Your Tools
- Pick up quality tweezers designed for precision work.
- Get a fine-tipped dotting tool or even a toothpick if you’re on a budget.
- Don’t forget top-notch nail glue or a long-lasting base coat/lacquer for adhesion.
Step 2: Prep Those Nails
Start by prepping your nails just like you would for regular polish application—cleanse, buff, and shape them. Apply a smooth coat of your desired base color and let it dry completely before moving forward.
Step 3: Plan Your Design
Lay out where each stud should go without actually sticking it down yet. Sketch ideas beforehand if needed. Trust me; planning keeps frustration levels low later.
Step 4: Apply Adhesive & Place Studs
Use either nail glue or wet polish as your adhesive layer. Carefully pick up each stud using tweezers or a dotting pen, place it precisely where intended, then gently press down to secure.
Best Practices for Nailing It with Studs
- Select Quality Studs: Cheap ones oxidize quickly, turning ugly greens instead of gleaming silver.
- Vent Rant Alert: Why do brands always sell tweezers too big for delicate jobs?! Invest in mini versions made specifically for nails.
- Pro Tip: Seal everything under a glossy topcoat once finished—it locks them in tighter than Hogwarts’ secret passages.
Real-Life Examples of Stunning Nail Art Studs
Take cues from industry leaders who ace their craft every day. One standout designer created a galaxy-themed manicure featuring black polish dotted with sparkles AND studded comets streaking across fingertips—a true showstopper!
Another favorite involves geometric patterns accented by gold studs along edges—chef’s kiss perfection. Proving once again that sometimes less truly is more when done right.
FAQs About Nail Art Studs
Q1: Can I Remove Nail Art Studs Without Damaging My Manicure?
Absolutely. Soak cotton pads in acetone-free remover, press onto nails for 5–10 minutes, then wipe away gently. Avoid rubbing aggressively since this might strip polish underneath.
Q2: How Long Do Nail Art Studs Last?
With good technique and sealing products? Upwards of two weeks depending on wear-and-tear habits.
Conclusion
To recap our journey into mastering nail art studs: understanding what they are, learning correct application methods, knowing best practices, and drawing creative inspiration leads to mind-blowing results. Remember—the key lies in patience and preparation!
Like finding Waldo hidden among stripes, nailing perfect placements takes time—but oh boy, isn’t it worth it?
“Life’s too short for boring nails.
Glitter, gemstones, glory awaits…
Studs forevermore.”

