Ever stared at your nails, dreaming of a holographic or metallic masterpiece but ended up with smudged foil and shattered confidence? You’re not alone. Whether you’re a nail newbie or a seasoned DIY diva, working with nail art foil can feel like trying to tame glitter in a windstorm. But here’s the deal—nail art foil is actually easier than it looks if you have the right tools and techniques. Spoiler: Your next Insta-worthy mani is closer than you think.
In this guide, we’ll cover everything from the best nail art foil tools to pro-level tips that will make your manicure dreams come true. Buckle up because you’re about to become a foil-wielding wizard.
Table of Contents
- Why Nail Art Foil Is the Hottest Trend Right Now
- The Essential Tools You Need for Nail Art Foil Magic
- Step-by-Step Guide: Applying Nail Art Foil Like a Pro
- Pro Tips to Elevate Your Foil Game
- Real-Life Examples of Jaw-Dropping Nail Art Foil Designs
- FAQs About Nail Art Foil
Key Takeaways
- Nail art foil is a versatile tool for creating stunning metallic finishes on nails.
- You need specific tools like adhesive gel, a silicone tool, and high-quality foils to achieve salon-worthy results.
- A step-by-step approach ensures clean lines and vibrant foil effects.
- Avoid common mistakes like skipping prep work or using cheap products.
Why Nail Art Foil Is the Hottest Trend Right Now
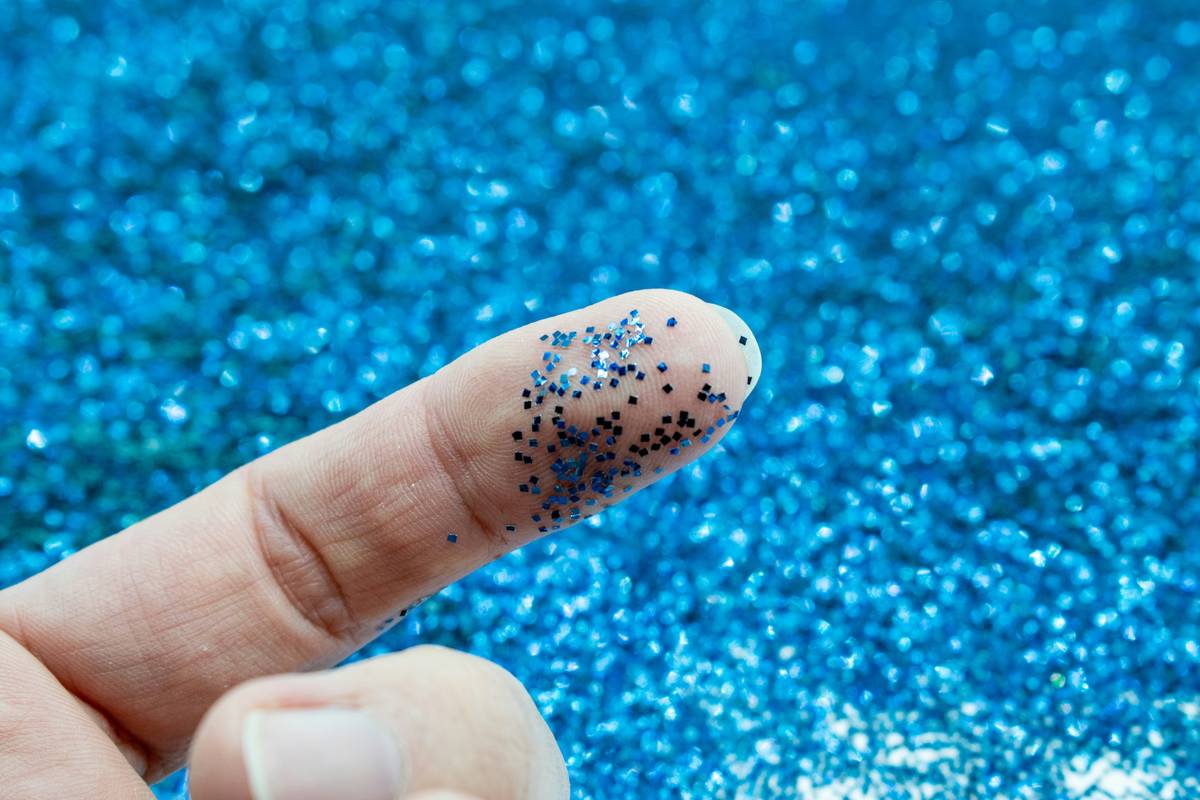
Pssst… did you know that nail art isn’t just an aesthetic choice? It’s also a form of self-expression! And guess what? Statista says the global beauty industry has been booming, with nail care taking center stage. Nail art foil adds dimension and shine to any design without needing advanced skills.
But let me be brutally honest for a second—I once tried doing foil nails without prepping my base coat. Cue disaster. My shiny dream turned into peeling chaos within hours. Don’t make the same rookie mistake!
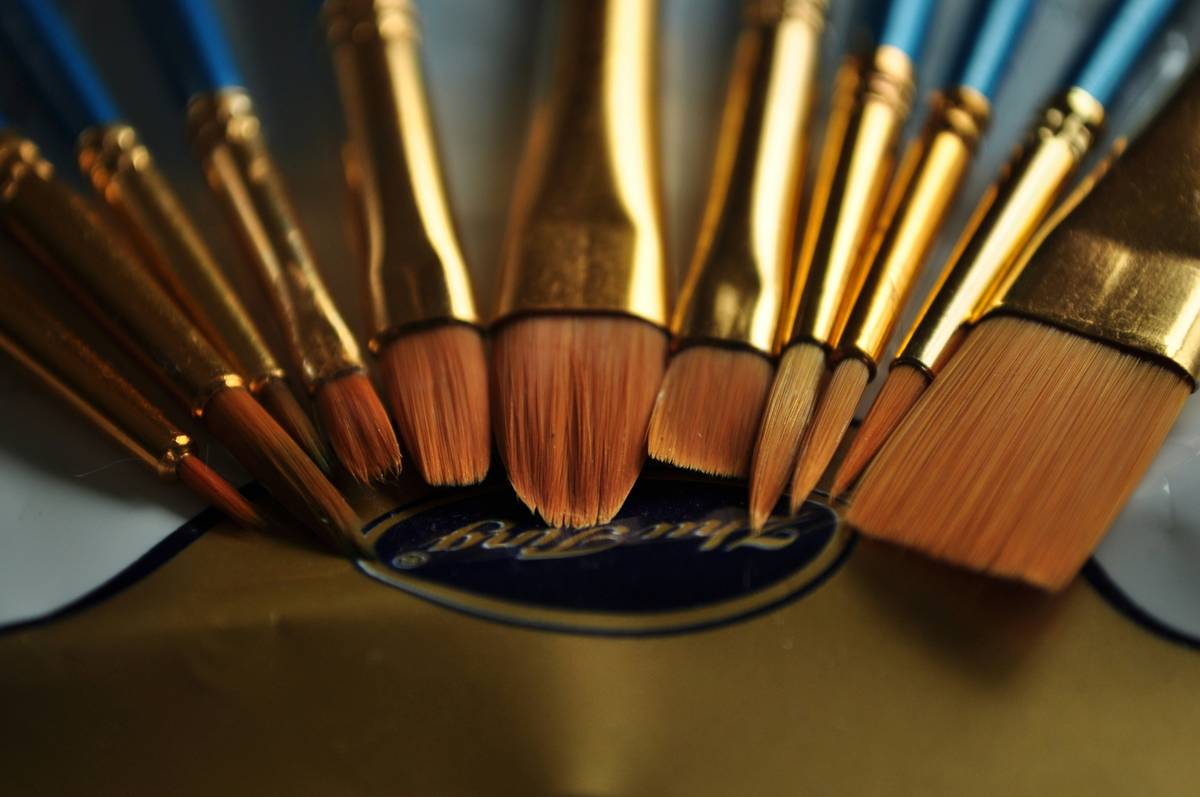
The Essential Tools You Need for Nail Art Foil Magic
“Optimist You:” ‘I’ve got scissors and duct tape; I’m ready!’
“Grumpy Me:” ‘Ugh, darling, hold up—you NEED these essentials.’
- Adhesive Gel: Think of this as the glue holding your masterpiece together.
- Silicone Applicator Tool: Perfect for smoothing out those finicky foil sheets.
- Tweezers: For precision placement so your designs look sharp AF.
- Nail Art Foil Sheets: Choose between metallic, holographic, or patterned options based on your vibe du jour.
- Top Coat: Seal the deal (literally) to prevent chipping.
Step-by-Step Guide: Applying Nail Art Foil Like a Pro
Alright, grab some coffee—you’re going to need energy for this transformation journey.
Step 1: Prep Your Nails
File, buff, and sanitize your nails to create a smooth canvas. If you skip this part, even Beyoncé couldn’t save your foil job.
Step 2: Apply Base Coat
Let it dry completely before moving forward. Yes, patience pays off.
Step 3: Paint On Adhesive Gel
Only apply where you want the foil. Less is more unless you’re aiming for a disco ball effect.
Step 4: Press the Foil Sheet
Place the foil sheet shiny-side down, then use your silicone tool to gently press it into place.
Step 5: Seal With Top Coat
Lock that foil baby in place. Voila—flawless, sparkly perfection!
Rant Alert: Why do people still buy dollar-store nail tools?! Invest in quality products—it’s worth every penny when your nail game slaps harder than avocado toast trends.
Pro Tips to Elevate Your Foil Game
- Mix and match foil colors for a unique ombré effect.
- Use stencils under the adhesive gel for intricate patterns.
- If something goes wrong, DON’T PANIC. Grab remover and start again. No one died from a bad mani-pedi.
Real-Life Examples of Jaw-Dropping Nail Art Foil Designs
Need inspo? Scroll through Pinterest or Instagram and feast your eyes on these stunners:
- Holographic galaxy nails
- Metallic accent tips
- Floral patterns with foil details
FAQs About Nail Art Foil
Q: How long does nail art foil last?
A: With proper application and sealing, it can last up to two weeks.
Q: Can I use regular glue instead of adhesive gel?
A: Absolutely not. Regular glue won’t adhere properly and will ruin your design faster than spilled polish.
Q: Do I really need all those tools?
A: Look, I get it—budget constraints. BUT trust me, having the right tools makes ALL the difference.
Conclusion
Congrats—you survived the ultimate guide to mastering nail art foil! From the essential tools to foolproof steps, you now have everything you need to create jaw-dropping designs. So, channel your inner nail artist, embrace the process, and slap a top coat on that bad boy.
Oh, and if anyone asks how you achieved such greatness, feel free to act mysterious. 😉
Like a Tamagotchi, your nail game thrives on daily TLC. Happy foiling!

