Ever stared at your nails, armed with tools and polish, only to end up with something that looks like abstract art gone wrong? Yeah, it happens to the best of us. But what if I told you that creating a creative nail look doesn’t have to feel like climbing Mount Everest in stilettos? Let’s dive into how mastering the right tools can make all the difference.
Table of Contents
- Key Takeaways
- Why Your Nail Game Is Falling Flat
- Step-by-Step Guide to Nail Perfection
- Pro Tips for a Flawless Creative Nail Look
- Real-Life Examples That’ll Inspire You
- Nail Care FAQs Answered
Key Takeaways
- The right creative nail look starts with quality tools—invest wisely!
- A step-by-step approach ensures precision without wasting time or product.
- Trends matter, but personalizing your designs is key to standing out.
Why Your Nail Game Is Falling Flat
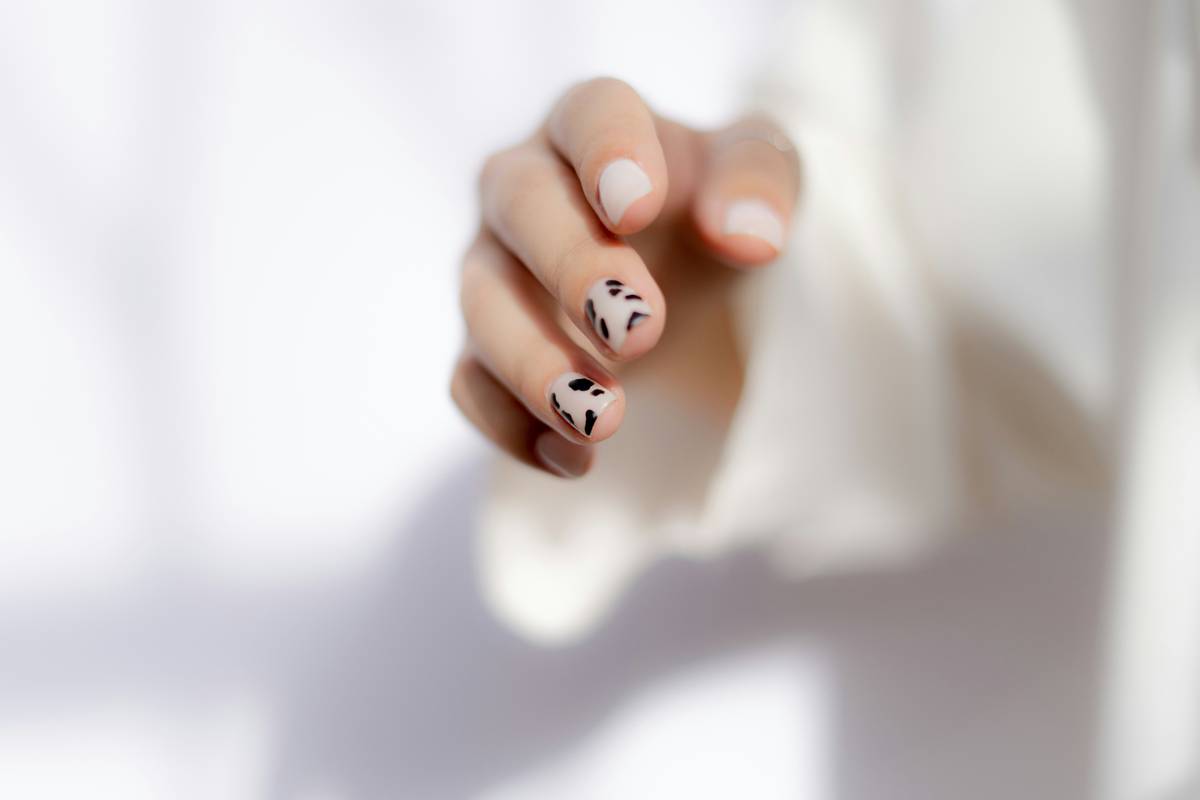
Nail care isn’t just about slapping on some polish and calling it a day. If you’ve ever tried achieving a creative nail look, you know how frustrating it can be when things go haywire. I once spent an entire afternoon attempting leopard print using toothpicks (yes, *toothpicks*) because I didn’t have dotting tools. Spoiler alert: It looked more zebra than leopard. RIP my patience.
“Sounds like someone using a butter knife instead of a scalpel—ineffective and messy.”
Here’s the good news: With the right tools and techniques, even beginners can create stunning designs. From dotting tools to striping brushes, nailing that perfect design is all about preparation and practice.
Optimist You:
“Just grab these tools, follow this guide, and voilà!”
Grumpy You:
“Or…you could cry over spilled polish for hours. Up to you.”
Step-by-Step Guide to Nail Perfection
Creating a breathtaking creative nail look is easier than you think. Follow these steps to elevate your game:
Step 1: Prep Like a Pro
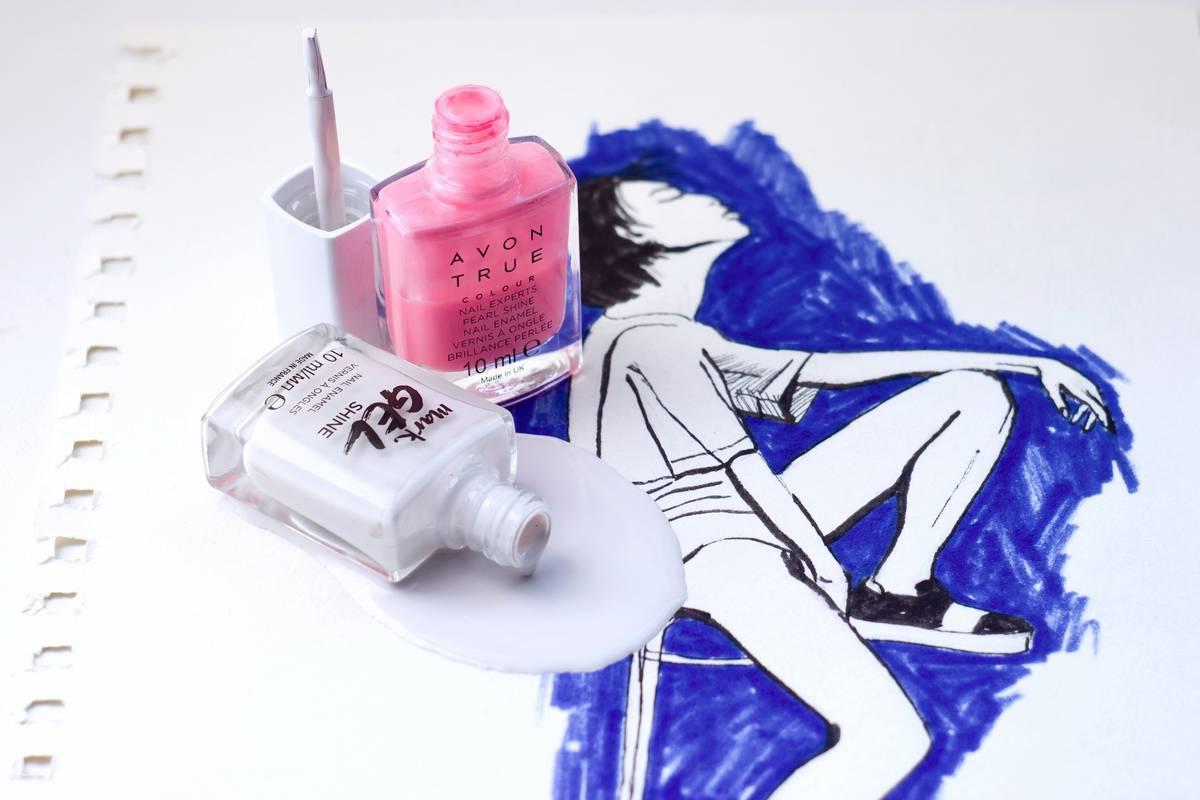
Start by giving your nails a clean slate. Trim, file, and buff them until they’re smooth. Apply a base coat to prevent staining and ensure polish adheres better.
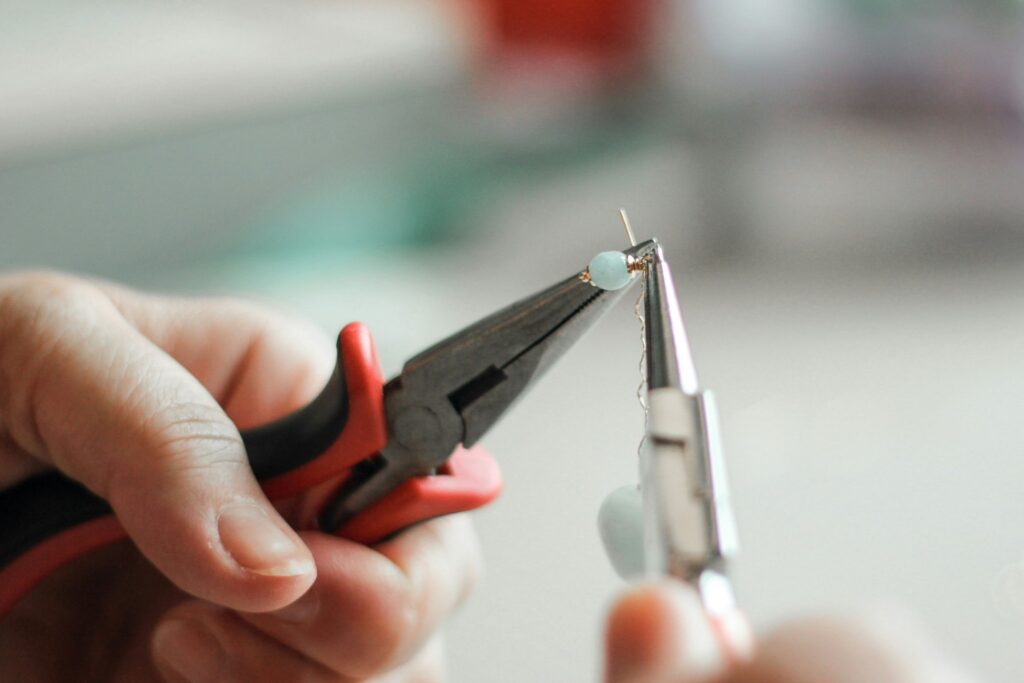
Step 2: Choose Your Weapons
- Dotting Tool: Perfect for polka dots, hearts, and intricate details.
- Striping Brush: Creates clean lines and geometric patterns.
- Stamping Kit: Ideal for replicating complex designs quickly.
- Rhinestones & Stickers: Add bling and texture effortlessly.
Step 3: Build Your Design Gradually
Don’t rush! Start with the base color, then layer accents one at a time. Use tweezers for small embellishments and finish with a topcoat to seal everything in place.
Pro Tips for a Flawless Creative Nail Look
If you want your nails to double as conversation starters, here are nine tips to keep in mind:
- Keep tools organized in a portable case—no rummaging needed mid-design.
- Use scotch tape around nails during application to avoid smudging edges.
- Invest in quick-dry drops; drying times kill creativity faster than anything else.
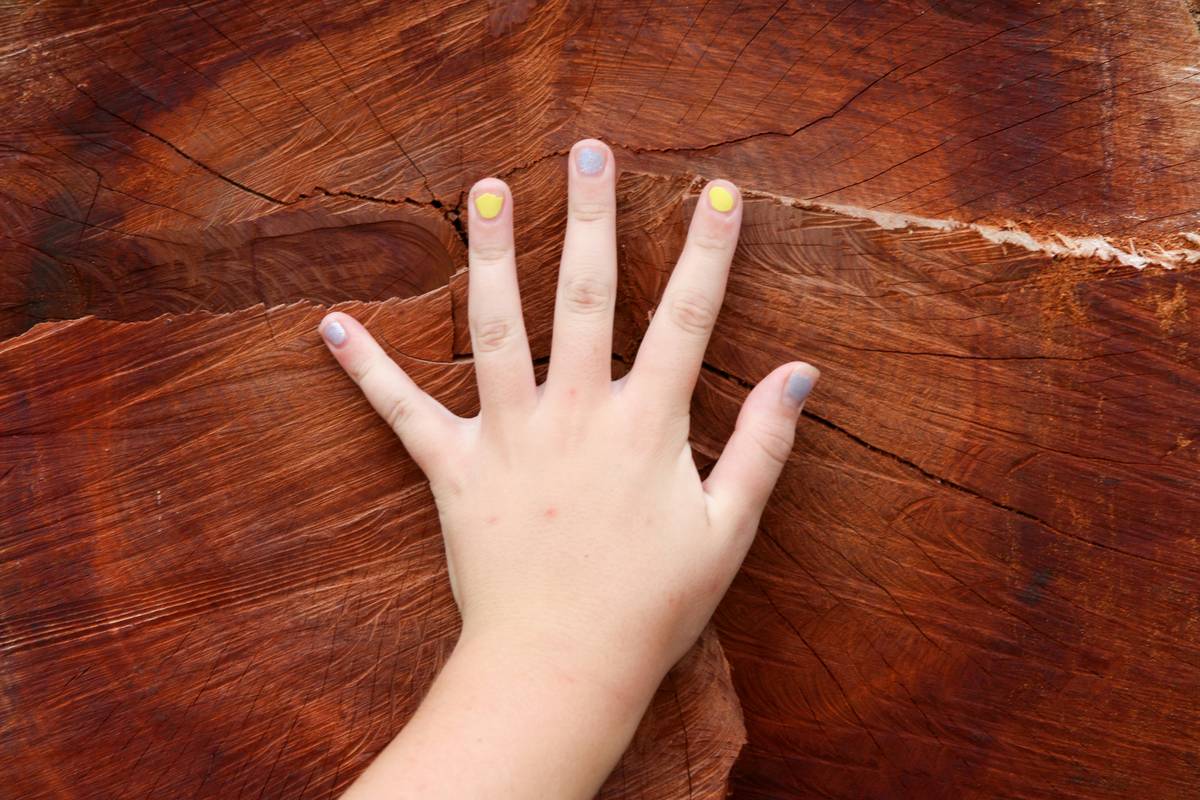
- Experiment with negative space—sometimes less really is more.
- Stick to two-three colors max unless you’re aiming for full-blown maximalism.
- Have cotton swabs dipped in remover handy for accidental slips.
- Pick seasonal themes like flowers for spring or snowflakes for winter.
- Follow tutorials from trusted creators who specialize in creative nail look trends.
- Bonus Tip: Take breaks between layers—it’s not worth the stress-induced shaky hands.
Real-Life Examples That’ll Inspire You
Take inspiration from pros who’ve turned their nail obsession into thriving businesses. For instance, Sarah Chen (@nailqueen), started experimenting with a basic $15 stamping set and now creates mesmerizing galaxy-inspired creative nail looks for celebrities. She credits her success to consistency and patience—not perfectionism.
“Looks impossible until you break it down—like baking sourdough.”
Nail Care FAQs Answered
What tools do I need for beginners?
Start simple: Dotting tool, striping brush, base coat, topcoat, polish shades, and stickers.
How long does it take to master a creative nail look?
Depends on dedication! Practice weekly, and within three months, you’ll see noticeable improvement.
Will expensive tools guarantee better results?
Nope. High-quality basics work wonders—it’s skill over price tags.
Can I achieve salon-level designs at home?
Absolutely. Patience + YouTube tutorials = DIY magic.
Conclusion
Mastering a creative nail look boils down to arming yourself with the right knowledge and tools. Whether you’re dabbling as a hobbyist or gearing up for pro status, remember: Every mistake is just part of the journey. So, stock up on essentials, embrace your inner artist, and get ready to turn heads with your newfound skills.
And before you go…
Polish flows, fingers glow,
Creativity never slows.
Try again tomorrow, watch yourself grow.