Ever stared at your nails wondering why they don’t look like those Pinterest-perfect designs? You’re not alone. I once tried to create a galaxy-themed manicure only to end up looking like I dipped my fingers in spilled ink. Spoiler alert: it wasn’t cute. But here’s the good news—having the right creative nail flair tools can turn even the clumsiest beginner into a nail art wizard.
In this post, we’ll dive deep into everything you need to know about mastering creative nail flair. From must-have tools for beginners to advanced techniques that will make your friends jealous, we’ve got your polish-covered fingertips covered!
Table of Contents
- Key Takeaways
- Why Nail Art Tools Are Essential for Creative Nail Flair
- Step-by-Step Guide to Choosing and Using Nail Art Tools
- Pro Tips for Perfecting Your Creative Nail Flair
- Nail Art Success Stories to Inspire You
- Frequently Asked Questions About Creative Nail Flair
Key Takeaways
- The right tools are crucial for achieving professional-looking creative nail flair.
- A beginner-friendly toolkit includes dotting tools, striping brushes, and stencils.
- Practice and patience are key—but so is knowing when to toss out bad advice.
- Inspiration is everywhere—from social media trends to nature itself.
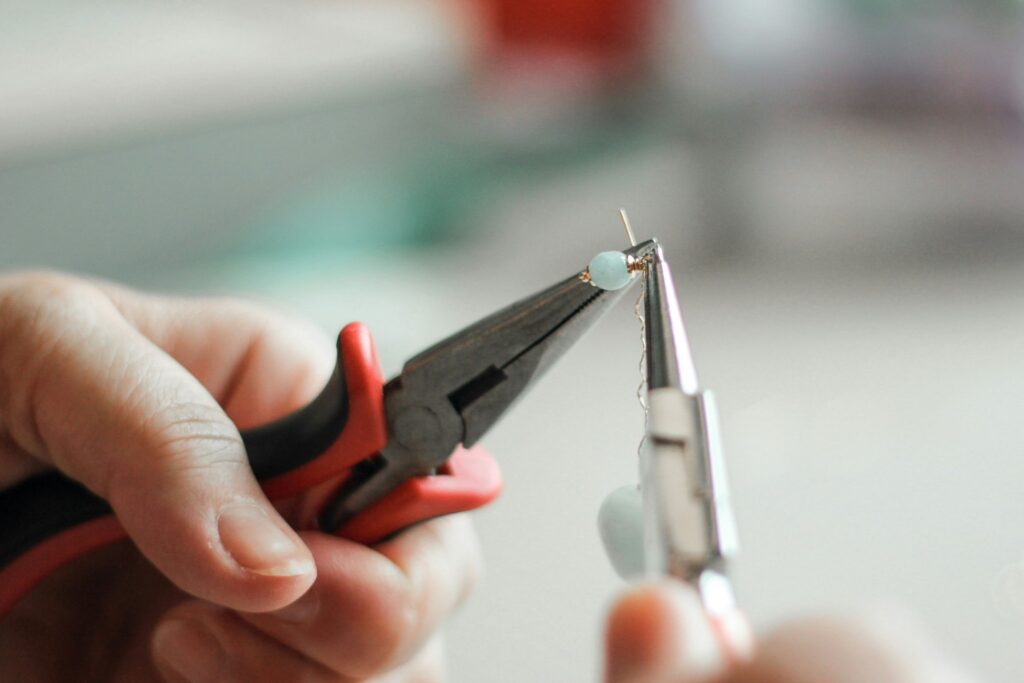
Why Nail Art Tools Are Essential for Creative Nail Flair
Nail art isn’t just slapping on some glitter and calling it a day (trust me, I tried). It’s an intricate craft where every tiny brushstroke matters. Without the proper tools, even the simplest design can feel impossible.
“Optimist You: ‘Anyone can be a nail artist!’ Grumpy Me: ‘Yeah, if you’ve got the right tools and six hours to spare.'”
Rant Time: Let’s talk about those DIY hacks floating around TikTok. Using toothpicks as dotting tools? Sure, if you want uneven polka dots that scream “I gave up halfway.” Don’t skimp on quality tools—they’re worth every penny.
Step-by-Step Guide to Choosing and Using Nail Art Tools
Step 1: Start with the Basics
Before diving into complex designs, stock up on these essentials:
- Dotting Tools: Perfect for creating precise dots and dainty patterns.
- Striping Brushes: Ideal for clean lines and geometric shapes.
- Stencils: Great for beginners who struggle with freehand work.
Step 2: Experiment Safely
Test new products on one nail first before committing fully. That way, if things go south (and oh, they sometimes do), you won’t have ruined all ten digits.
Step 3: Cleanliness Matters
Always sanitize your tools between uses. Dirty brushes = bacterial nightmares. Nobody wants their creative nail flair to double as a germ farm.
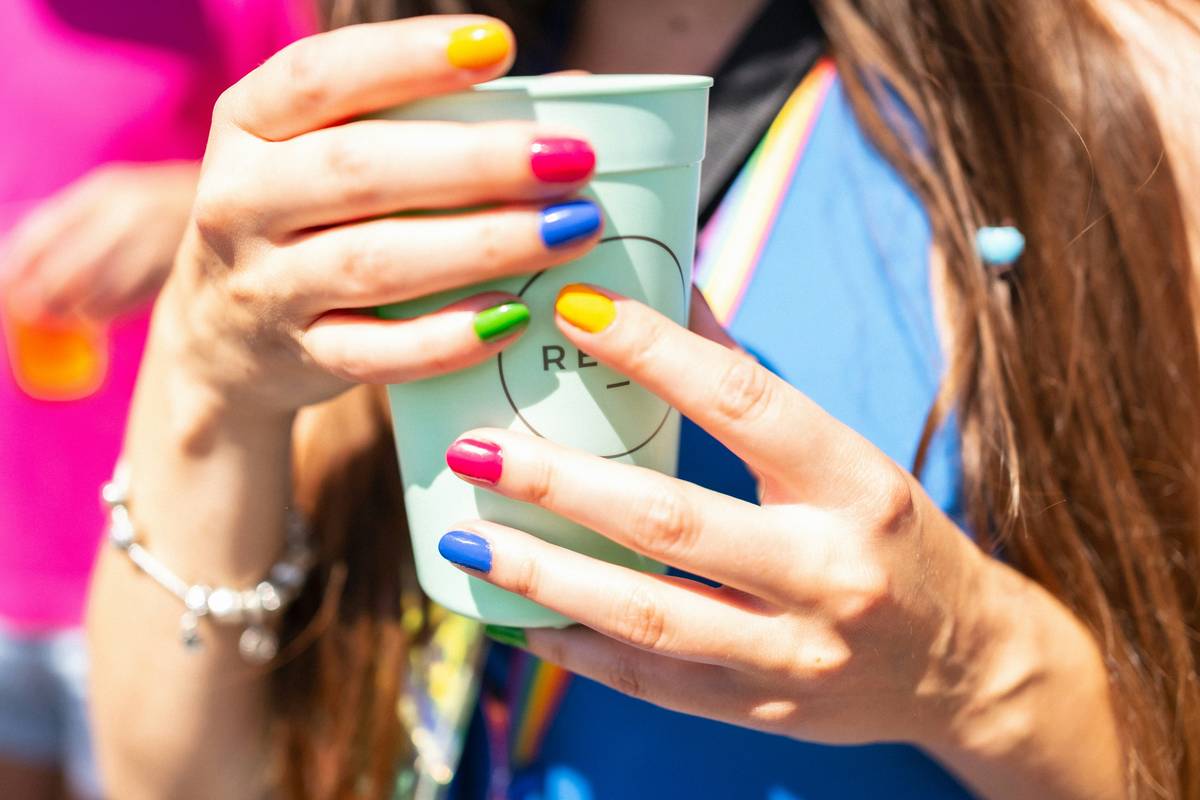
Pro Tips for Perfecting Your Creative Nail Flair
Now let’s get practical. Here are five tips to elevate your game:
- Use Thin Layers: Thick polish takes forever to dry and often smudges. Patience pays off here.
- Invest in a Base Coat: This protects your nails and ensures your design lasts longer.
- Keep Q-Tips Handy: They’re lifesavers for fixing mistakes without restarting.
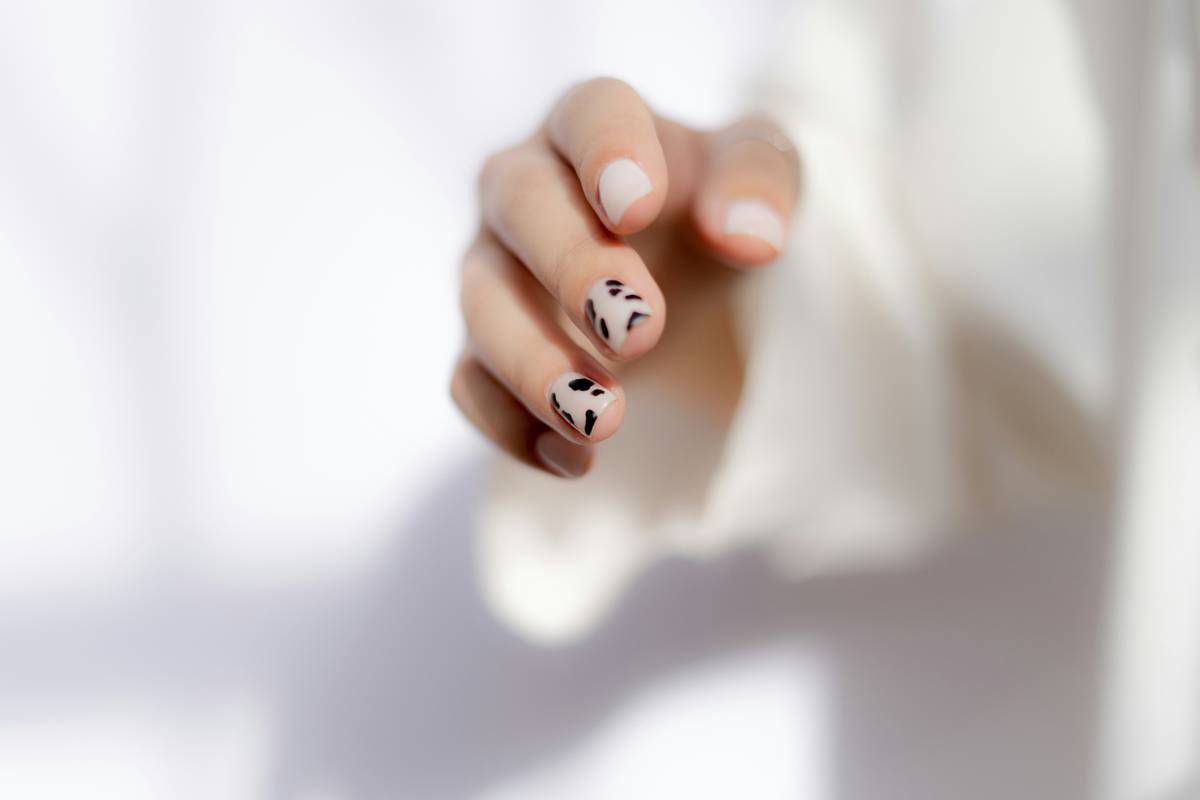
- Don’t Overdo It: Sometimes less truly is more—especially when aiming for elegance.
- (Anti-Tip!) Skip “All-in-One Kits”: These often lack versatility and quality. Stick with individual items tailored to specific tasks.
Nail Art Success Stories to Inspire You
Meet Sarah, a busy mom who transformed her love for doodling into a thriving side hustle selling custom nail art kits. Her secret? A solid understanding of how to combine basic tools with endless creativity. She swears by using holographic flakes over matte finishes—it’s “chef’s kiss,” she says.
Frequently Asked Questions About Creative Nail Flair
Q: How long does it take to master nail art?
A: It depends on practice frequency and natural aptitude. Some people nail it within weeks; others take months.
Q: Can I achieve salon-quality results at home?
A: Absolutely! With high-quality tools and tutorials, you can save money while impressing everyone.
Q: What’s the worst mistake beginners make?
A: Rushing through steps or neglecting prep work (like filing and moisturizing).
Conclusion
Finding joy in your creative nail flair journey starts with the right foundation—and that means having the best tools by your side. Remember, perfection doesn’t happen overnight. Be kind to yourself, lean into experimentation, and most importantly, have fun!
Oh, and here’s a little haiku to inspire you:
Polish meets canvas,
Dots and stripes dance together,
Beauty blooms beneath.