Have you ever sat down to create your dream nail art concept, only to end up with a mess that looks like toddler finger painting? Trust me—you’re not alone.
From droopy brush strokes to smudged polish, we’ve all been there. But what if I told you mastering the perfect nail art concept is less about talent and more about using the right tools (and knowing how to wield them)? In this post, we’ll unpack everything from essential tools to pro tips so you can elevate your nail game without losing your sanity—or your patience.
Table of Contents
- Why You Need the Right Tools for Your Nail Art Concept
- Step-by-Step Guide to Building Your Nail Art Toolkit
- Pro Tips for Nailing That Perfect Design
- Case Studies: Real-Life Nail Artists Who Crushed It
- Frequently Asked Questions About Nail Art Concepts
Key Takeaways
- Invest in high-quality nail art tools—it’s worth every penny.
- Start simple; even pros begin with basic techniques before moving on to complex designs.
- The secret sauce lies in practice + persistence. Keep trying!
Ever Wondered Why Nail Art Fails So Often?
Let’s get real for a second. Remember the time I decided it would be smart to use an old bobby pin as a dotting tool because “who needs fancy brushes”? Spoiler alert: It ruined my entire manicure. Not only did the cheap metal scratch my nails, but it smeared the polish too. This taught me an important lesson—you don’t just need tools; you need *good* tools.
Think about it: Would Picasso have painted masterpieces with Crayola crayons? Of course not. For a solid nail art concept, choosing the correct implements makes all the difference between “meh” and “OMG.”
Nail artist wisdom: “The right tools transform frustration into finesse.” – Me, probably quoting someone smarter than me.
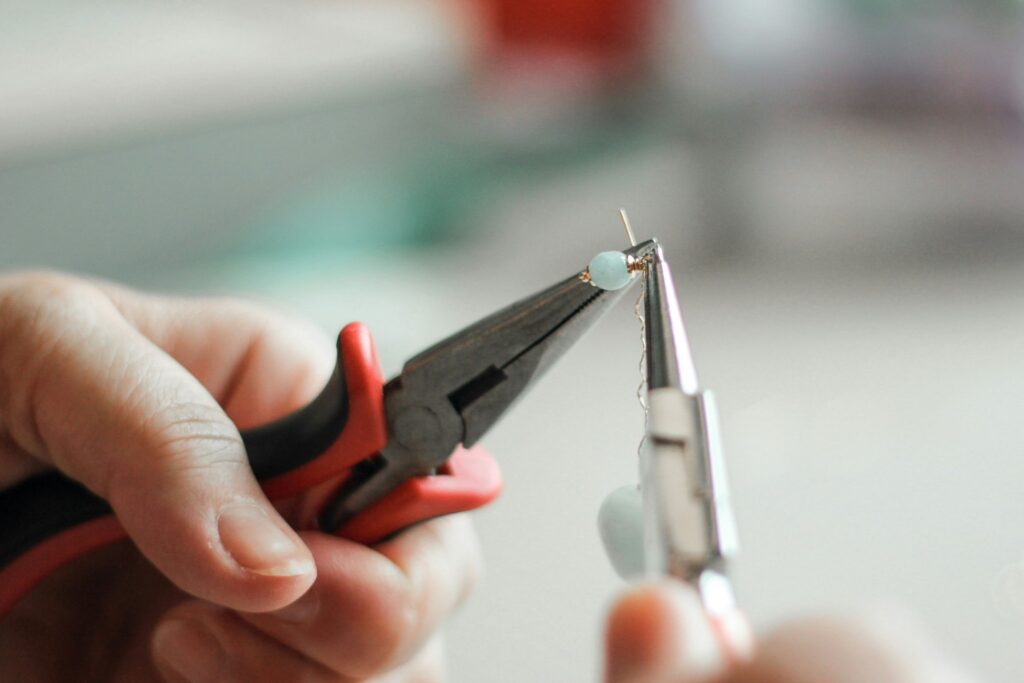
How to Build Your Dream Nail Art Toolkit
Step 1: Start With the Basics
Don’t overwhelm yourself by buying every single thing at once. Begin with these essentials:
- Fine-Line Brushes: Perfect for intricate details like lines and shapes.
- Dotting Tools: Ideal for creating dots, hearts, or tiny patterns.
- Striping Tape: A lifesaver when you want clean geometric designs.
Step 2: Level Up With Advanced Tools
Once you’re comfortable with basics, invest in advanced gear like:
- Stamping plates for repetitive yet flawless prints.
- Airbrush kits for gradient effects that look professionally done.
- Gel UV lamps if you’re working with gel polishes.
Step 3: Practice Makes Progress
Sounds cliché, but here’s a brutal truth: no one goes from zero to hero overnight. Give yourself grace during trial runs. Even top artists started somewhere!
Pro Tips for Mastering Your Nail Art Concept
- TIP 1: Prep your canvas properly—clean, push back cuticles, and apply a base coat. Think of it as laying the groundwork for success.
- TIP 2: Don’t rush drying times. Patience prevents smudging disasters. Use quick-dry drops if necessary.
- PETTY FAIL TIP ALERT: Don’t buy bargain-bin polish. Cheaper isn’t better; trust me, I’ve learned this the hard way.
Real-Life Inspiration: Meet These Nail Art Pros
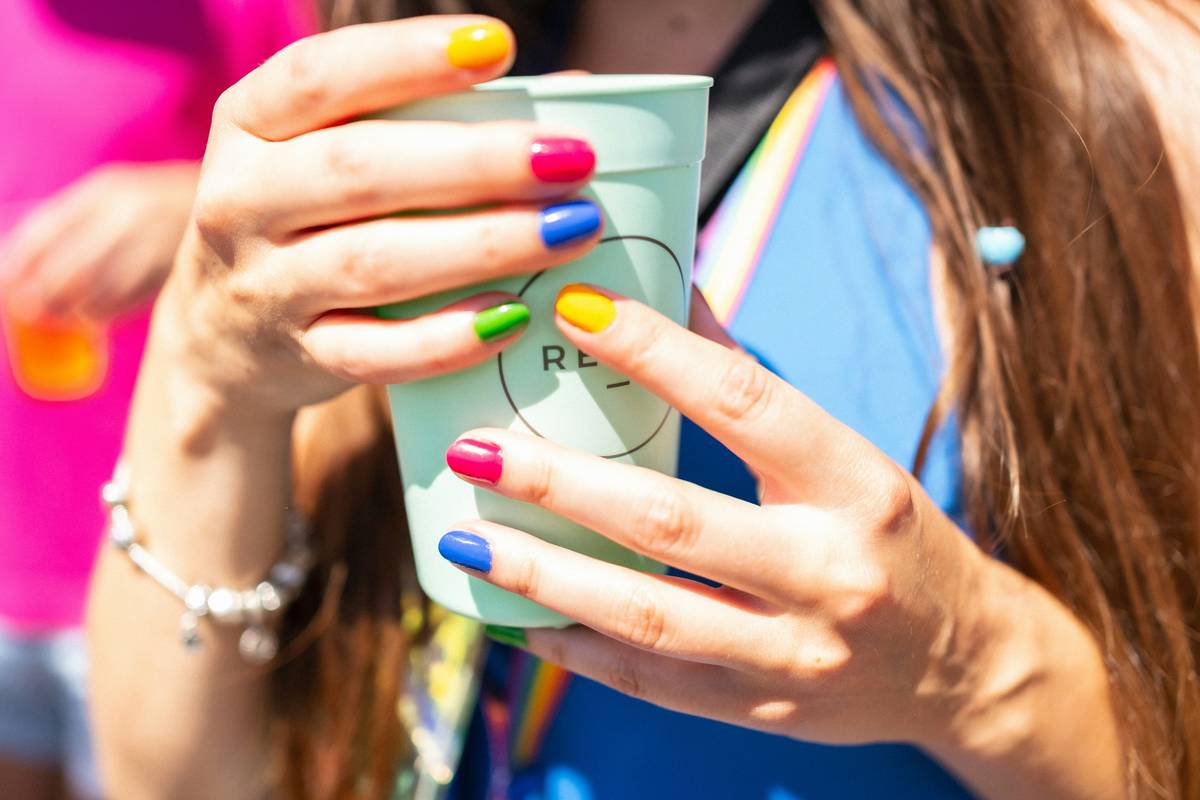
Case Study #1: Lily’s Journey
When Lily first started her Instagram account @NailBitesAndBeauty, she posted shaky attempts at floral designs. Fast forward two years later, she was featured in major beauty magazines thanks to her bold experimentation with neon gradients and textured finishes. What changed? She upgraded her kit and practiced daily.
Case Study #2: Sarah’s Struggles Turned Success
Sarah used masking tape for months until she splurged on striping tapes. Her feed went from amateurish to artsy almost instantly.
Frequently Asked Questions About Nail Art Concepts
Q1: How Do I Choose a Good Theme for My Nail Art Concept?
Consider inspiration around you: seasons, holidays, pop culture trends, etc. Stick to cohesive themes rather than mixing unrelated elements haphazardly.
Q2: Can I Create Intricate Designs Without Expensive Tools?
While possible, investing in quality supplies ensures smoother execution and fewer headaches. Cheap tools often lead to uneven results.
Q3: Where Should Beginners Start Practicing?
Try experimenting on fake nails first—they’re forgiving and help build confidence.
Conclusion
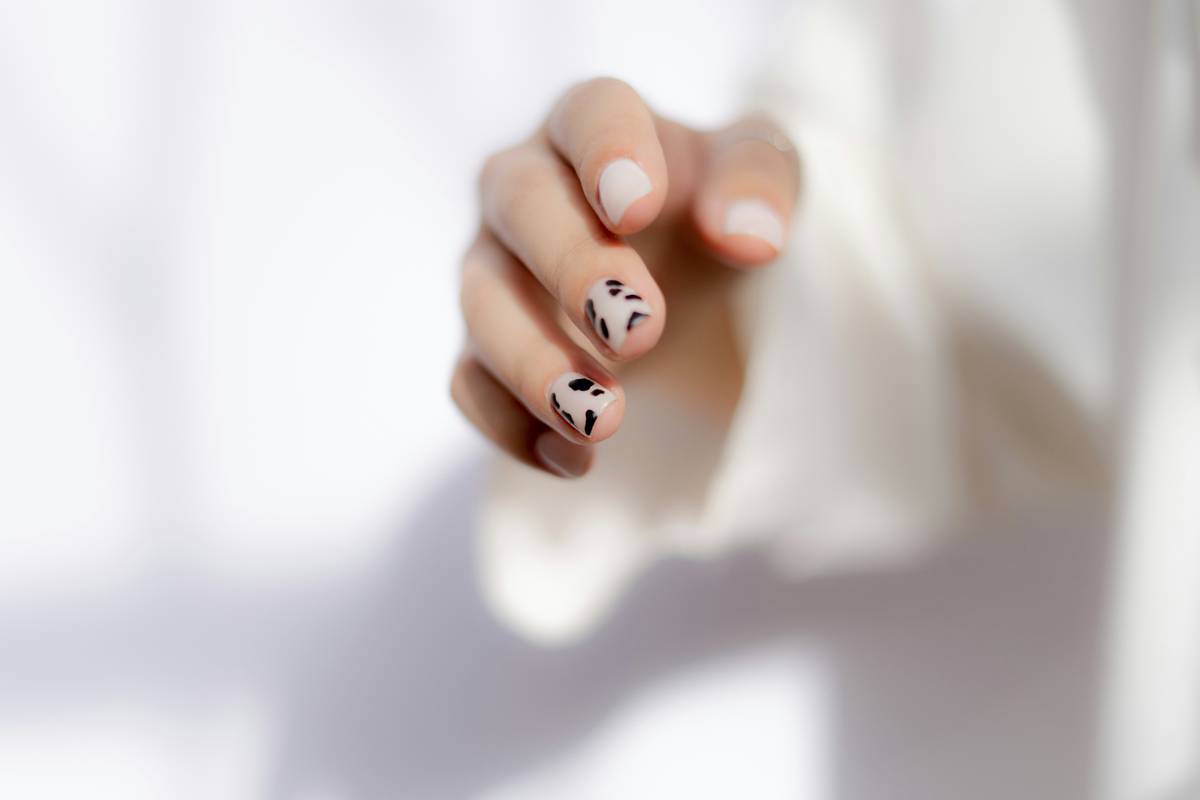
Mastering your nail art concept isn’t rocket science—it’s all about finding joy in the process while equipping yourself with the best tools possible. Whether you’re aiming for minimalist chic or maximalist madness, remember that perfection comes through practice. So grab those brushes, embrace the learning curve, and let your creativity shine bright.
Like sprinkling glitter onto wet polish—your next dazzling creation awaits!
Oh, and because nostalgia never hurts: “Marbled swirls remind me / Of Y2K fashion trends / Glitter forever.” ✨💅