Ever spent 2 hours on nail art only to end up with something that looks like a toddler’s finger painting? Yeah, we’ve been there too.
In this ultimate guide to achieving a stunning nail art aesthetic, we’ll walk you through the must-have tools, step-by-step techniques, and expert tips that will elevate your nail game. You’ll also learn common mistakes to avoid, get inspired by jaw-dropping examples, and even find answers to FAQs like “What’s the best brush for intricate designs?” Let’s dive in!
Table of Contents
- Key Takeaways
- Why Nail Art Aesthetic Matters
- Essential Nail Art Tools You Can’t Live Without
- Step-by-Step Guide to Achieving Your Nail Art Goals
- Pro Tips for Mastering Nail Art Aesthetic
- Inspirational Examples of Jaw-Dropping Nail Art
- FAQs About Nail Art Aesthetic
Key Takeaways
- The right tools make all the difference when creating a flawless nail art aesthetic.
- Practice consistency and prep work—skip these at your peril.
- Avoid overloading designs; simplicity often reigns supreme.
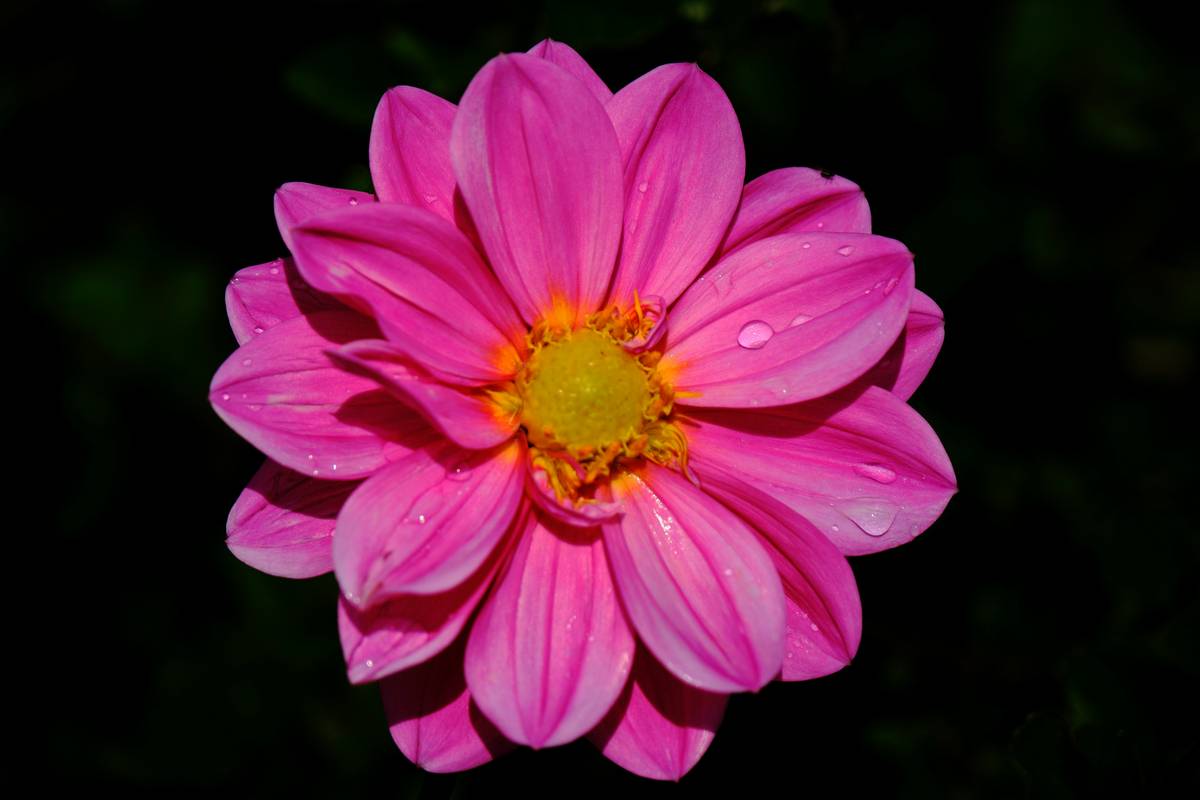
- Inspiration is everywhere: Pinterest boards, Instagram accounts, and even nature.
- Don’t underestimate the power of high-quality images to showcase your skills online.
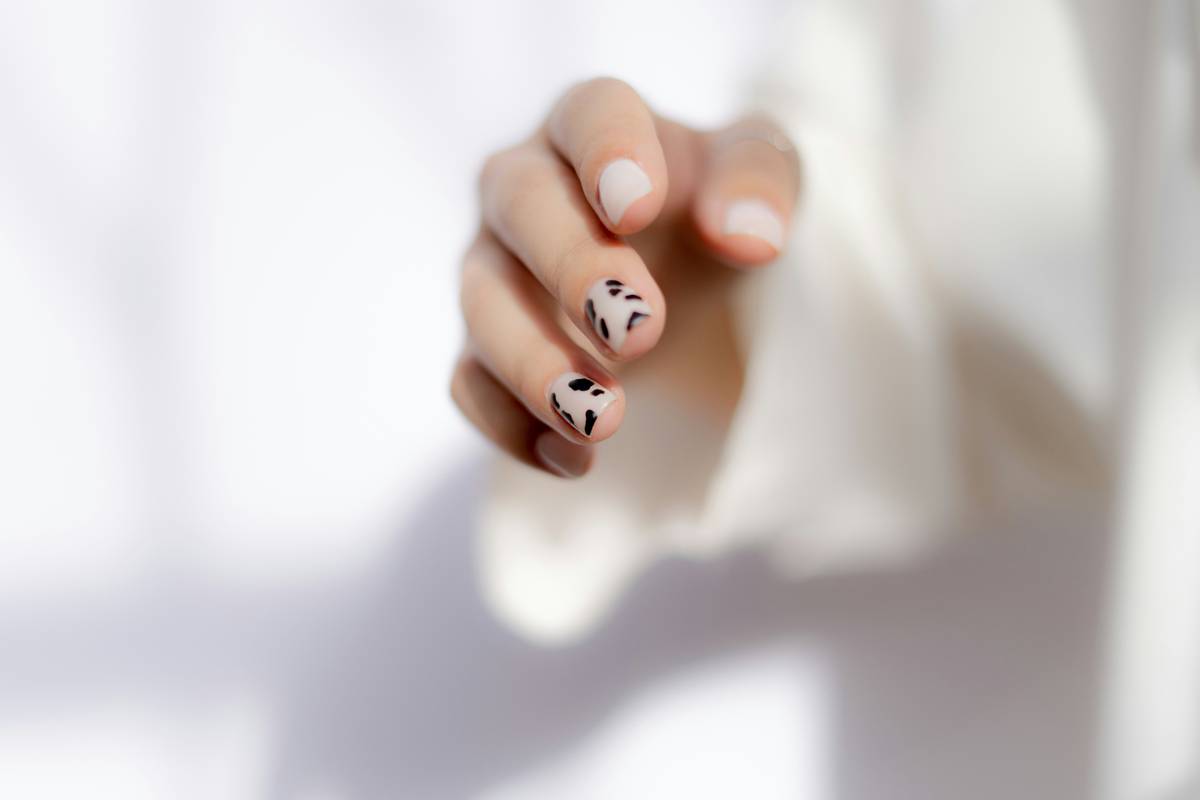
Why Nail Art Aesthetic Matters
Nail art isn’t just about polish—it’s an expression of personality. From minimalist French tips to bold abstract patterns, nailing the perfect aesthetic can boost confidence, spark creativity, and turn heads wherever you go.
But here’s the tea: without the proper tools, your vision might fall flat. I once tried freehanding butterflies using a bobby pin because I was too lazy to buy a legit detailing brush. Spoiler alert: They looked more like mutant moths than elegant insects.
Sensory oversharing time—if you’ve ever heard the screech of cheap acrylics breaking mid-design or felt the frustration of smudged polish ruining hours of effort—you know how vital quality tools are.
Essential Nail Art Tools You Can’t Live Without
“Optimist You:” *‘I bet I already have everything I need for awesome nail art!’*
Grumpy Me: *Ugh, fine—but only if duct tape counts as “tool”… Nope.*
Seriously though, let’s talk essentials:
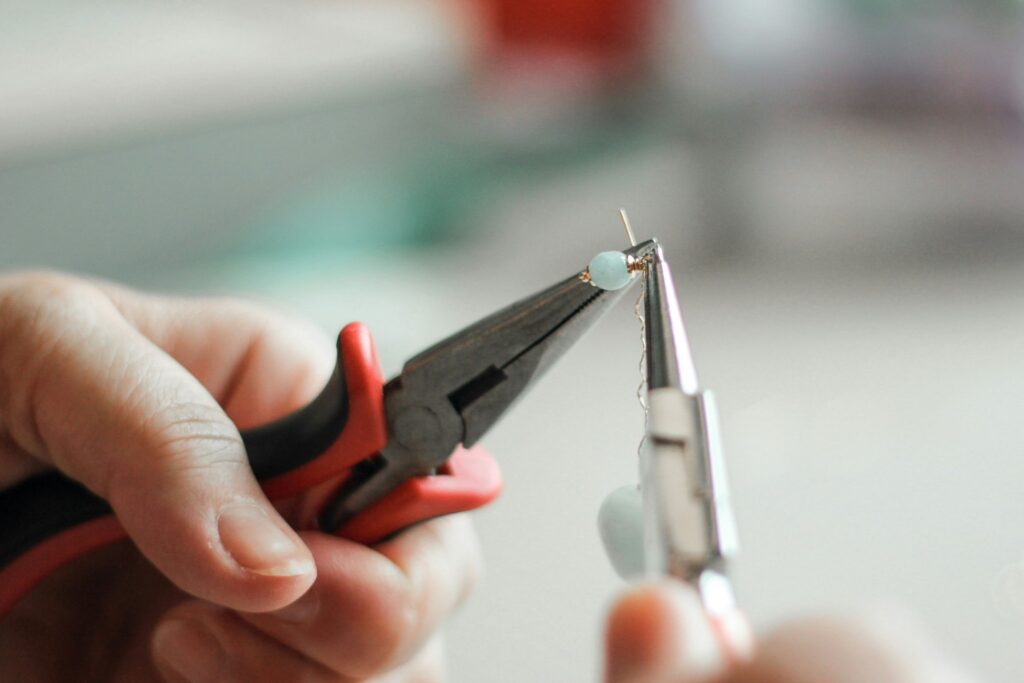
Dotting Tools
For polka dots, flowers, and precision accents, dotting tools are non-negotiable. These tiny wands give you control over placement and size.
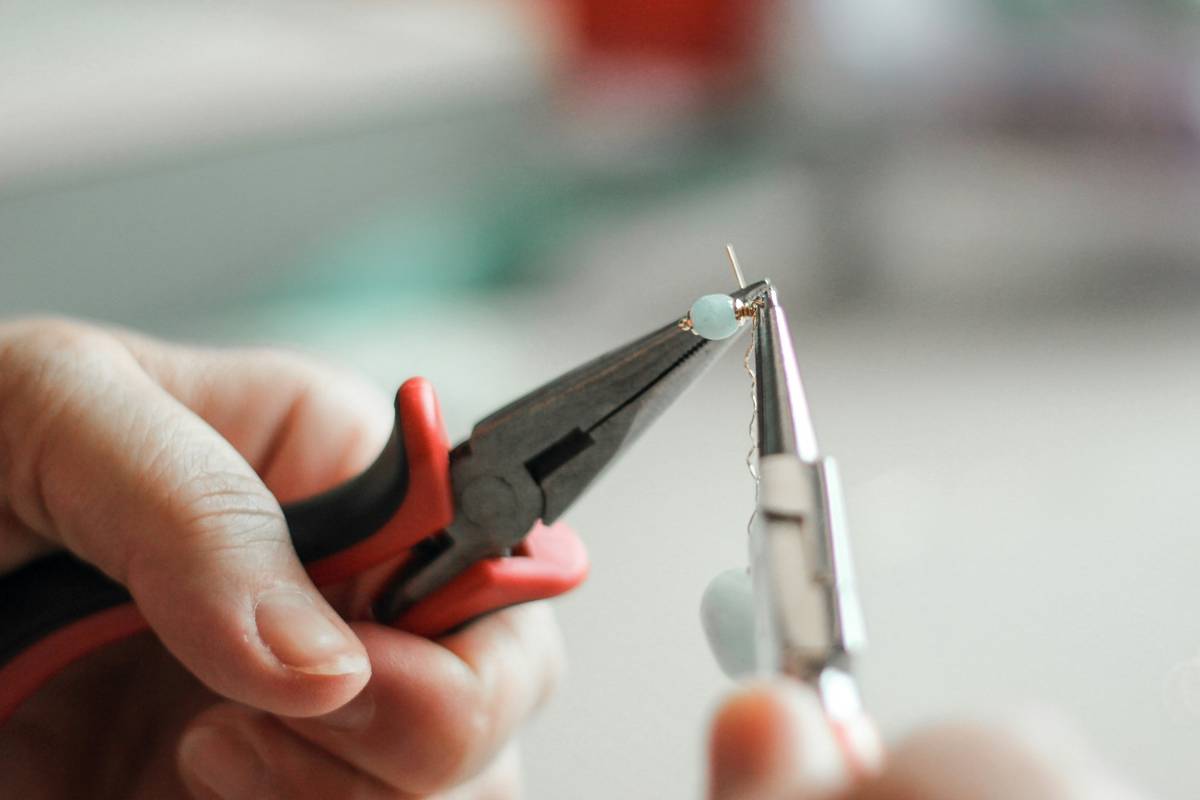
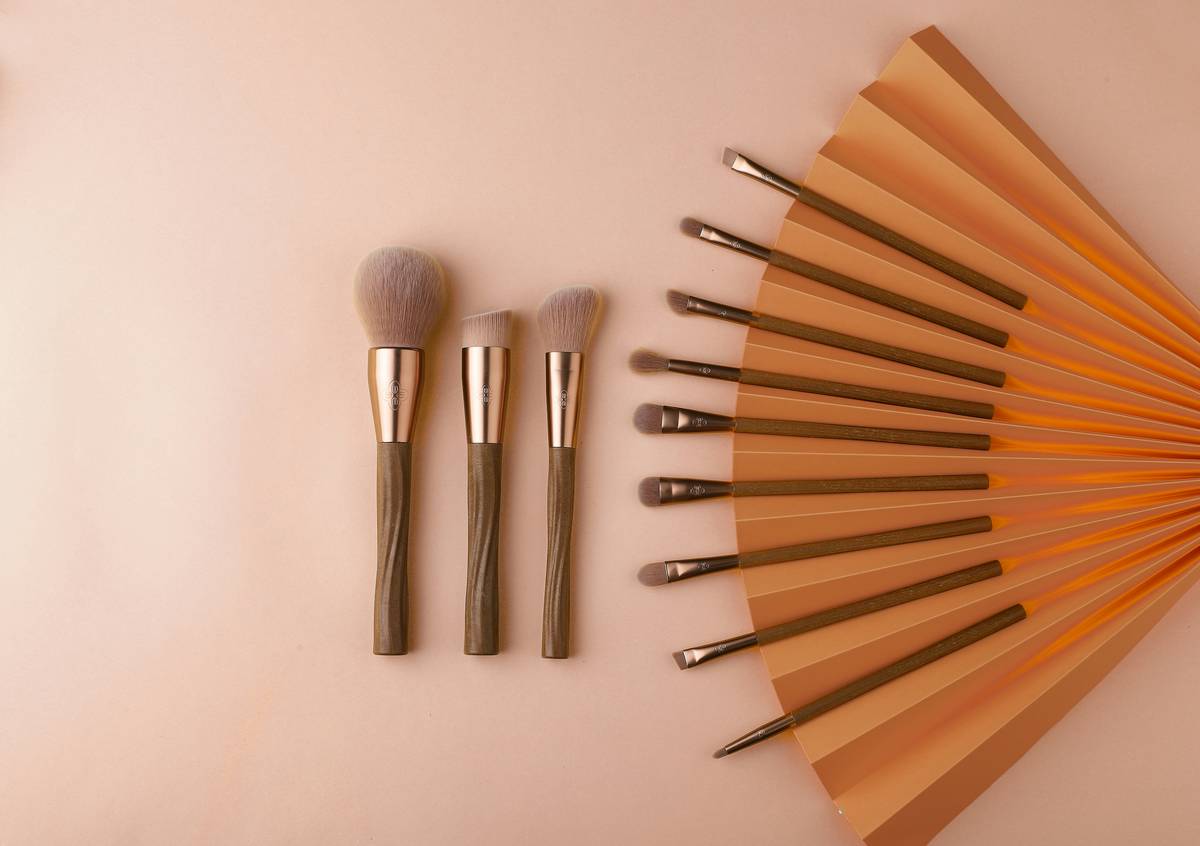
Detailing Brushes
Fine-tipped brushes allow for intricate line work and delicate patterns. Trust me, they’re chef’s kiss for those floral motifs.
Stamping Kits
If hand-painting feels overwhelming, invest in a stamping kit. It’s like screen printing but for your nails.
Rhinestones & Glitter
Add sparkle strategically. Overdo it, and you’ll look like disco fever hit your fingertips.
Step-by-Step Guide to Achieving Your Nail Art Goals
- Prep Like a Pro: File, buff, and cleanse your nails before applying any product.
- Apply Base Coat: This protects your natural nails and ensures smooth adhesion.
- Create Your Design: Use stencils, stamps, or freehand techniques based on your comfort level.
- Seal with Top Coat: Lock in your masterpiece and prevent chipping.
TIP: Work one hand at a time. Attempting both simultaneously is asking for disaster (speaking from experience).
Pro Tips for Mastering Nail Art Aesthetic
- Less Is More: Avoid overcrowding your nails. Balance bold elements with negative space.
- Mix Textures: Combine matte, glossy, and metallic finishes for visual interest.
- Invest in Good Lighting: Natural light is ideal for spotting imperfections.
- Swatch First: Test colors and tools on paper before committing to your nails.
RANT ALERT: Why do people think glittery mess equals “cute”? Glitter should accent—not assault!
Inspirational Examples of Jaw-Dropping Nail Art
From sunset gradients to galaxy swirls, the possibilities are endless. Follow artists like @NailArtByJenni for daily dose of envy-inducing inspiration.
FAQs About Nail Art Aesthetic
What’s the Best Beginner Tool?
Start simple—with a dotting tool or basic stamping plate. Build confidence gradually.
How Long Does Nail Art Last?
With proper care and sealant, expect 7–10 days of wear.
Can I Remove Mistakes Easily?
Yes! Use a small brush dipped in nail polish remover for precise touch-ups.
Conclusion
Achieving a standout nail art aesthetic takes practice, patience, and premium tools—but it’s worth every second. Remember the golden rules: prep meticulously, use quality products, and embrace creativity. Now go slay those manis!
Like a Tamagotchi, your nail art needs daily love—and a sprinkle of chaos.