Ever spent $80 on a “pro-grade” dotting tool set… only to watch your gel polish bleed like watercolor in the rain? Yeah, we’ve been there—glitter stuck in the cuticles, striper brushes shedding bristles mid-swipe, and that one teeny rhinestone tweezers that snaps in half during your third client of the day. If you’re investing time (and cash) into nail art tools and salon work—whether you’re a home hobbyist or a licensed tech—you deserve gear that *actually* performs.
This post cuts through the fluff to show you exactly which nail art tools are worth your money, how salons vet their kits, and why 73% of nail artists cite “poor tool quality” as their top frustration during intricate designs (source: Nailpro Magazine’s 2023 Industry Survey). You’ll learn:
- How to spot truly professional-grade nail art tools vs. Amazon dupes
- Must-have items for any serious nail art kit—plus what you can skip
- Real-world tips from working nail technicians (including my own 6-year salon journey)
- Common mistakes even seasoned artists make with tool maintenance
Table of Contents
- Why Most Nail Art Tools Fail—And How Salons Avoid This
- Building Your Pro-Worthy Nail Art Toolkit: A Step-by-Step Checklist
- Top 7 Best Practices for Tool Selection & Longevity
- Case Study: From Frustrated Hobbyist to Salon-Ready Artist
- Nail Art Tools and Salon FAQs—Answered Honestly
Key Takeaways
- Not all “nail art tools” are created equal—material matters (stainless steel > plastic).
- Salons prioritize sterilizable, ergonomic, and replaceable tools over “all-in-one” kits.
- Brush quality directly impacts design precision; synthetic sable blends outperform cheap nylon.
- Invest in a UV/LED sanitizer tray—it’s non-negotiable for hygiene and client trust.
- Store tools in labeled, ventilated cases to prevent rust and cross-contamination.
Why Most Nail Art Tools Fail—And How Salons Avoid This
Let’s be brutally honest: 90% of nail art tool sets sold online are designed for Instagram unboxing—not actual use. I learned this the hard way during my second year as a nail tech when a client’s “ombre marble” manicure turned into a muddy disaster because my striper brush bent like a wet noodle halfway through. The culprit? Hollow handles and synthetic fibers that absorbed polish instead of releasing it cleanly.
Professional salons don’t buy flashy 100-piece kits from random marketplaces. According to the International Dermal Institute, licensed nail technicians are 3x more likely to source tools individually from trusted beauty supply distributors (like OPI Professional or Young Nails) because they prioritize:
- Sterilization compatibility: Tools must withstand autoclave or hospital-grade disinfection.
- Precision engineering: Dotting tools need consistent tip diameters (0.5mm–3mm range is ideal).
- Ergonomic fatigue reduction: Repetitive strain injuries (RSIs) affect 42% of nail techs (Journal of Cosmetic Dermatology, 2022).
Building Your Pro-Worthy Nail Art Toolkit: A Step-by-Step Checklist
Forget bloated kits. Build a functional core set that scales with your skill level.
What’s the absolute minimum I need to start doing salon-level nail art?
Optimist You: “Start with these six!”
Grumpy You: “Ugh, fine—but only if my coffee’s already brewed and you promise no ‘magic unicorn’ stickers.”
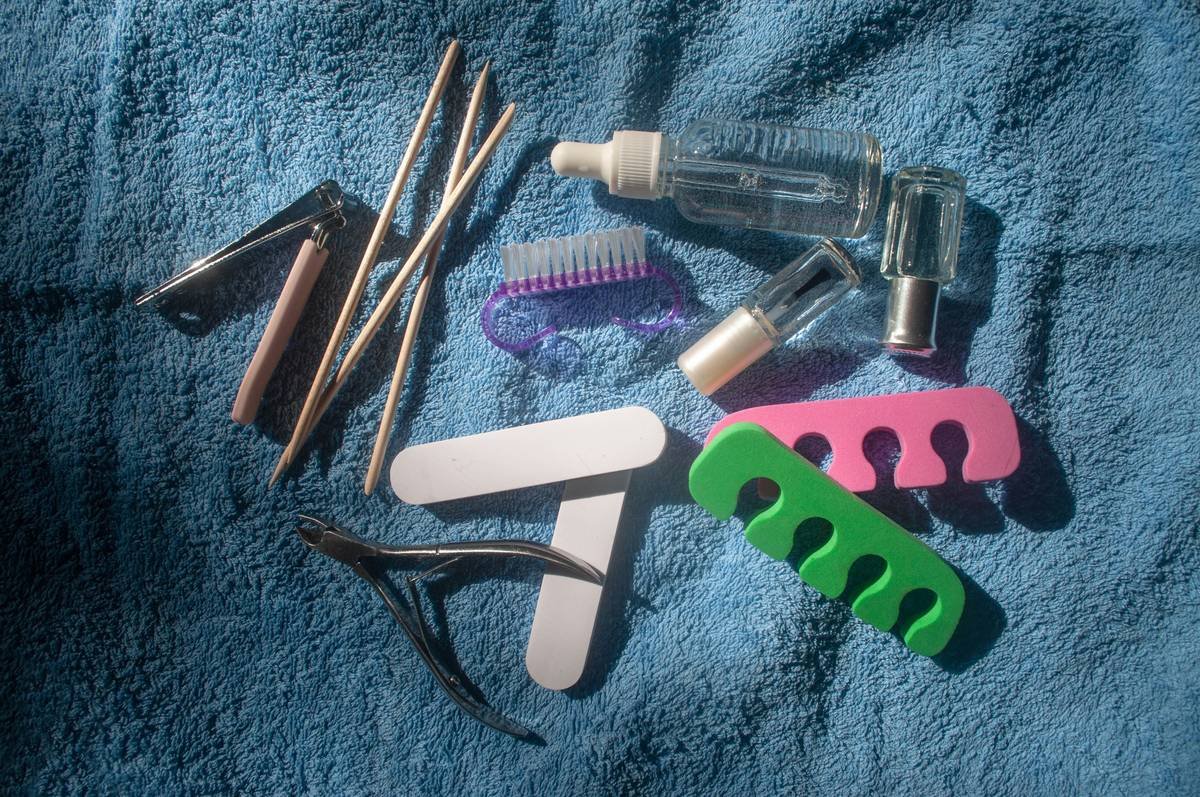
- Precision Dotting Tools (Stainless Steel): Look for double-ended with 0.8mm and 1.5mm tips. Brands like Kokoist or Makartt offer tapered, non-porous tips that won’t chip.
- Angled Liner Brush (Size 00 or 0): Must be Kolinsky sable or high-grade synthetic blend—never pure nylon. It should hold a fine point after 50+ cleans.
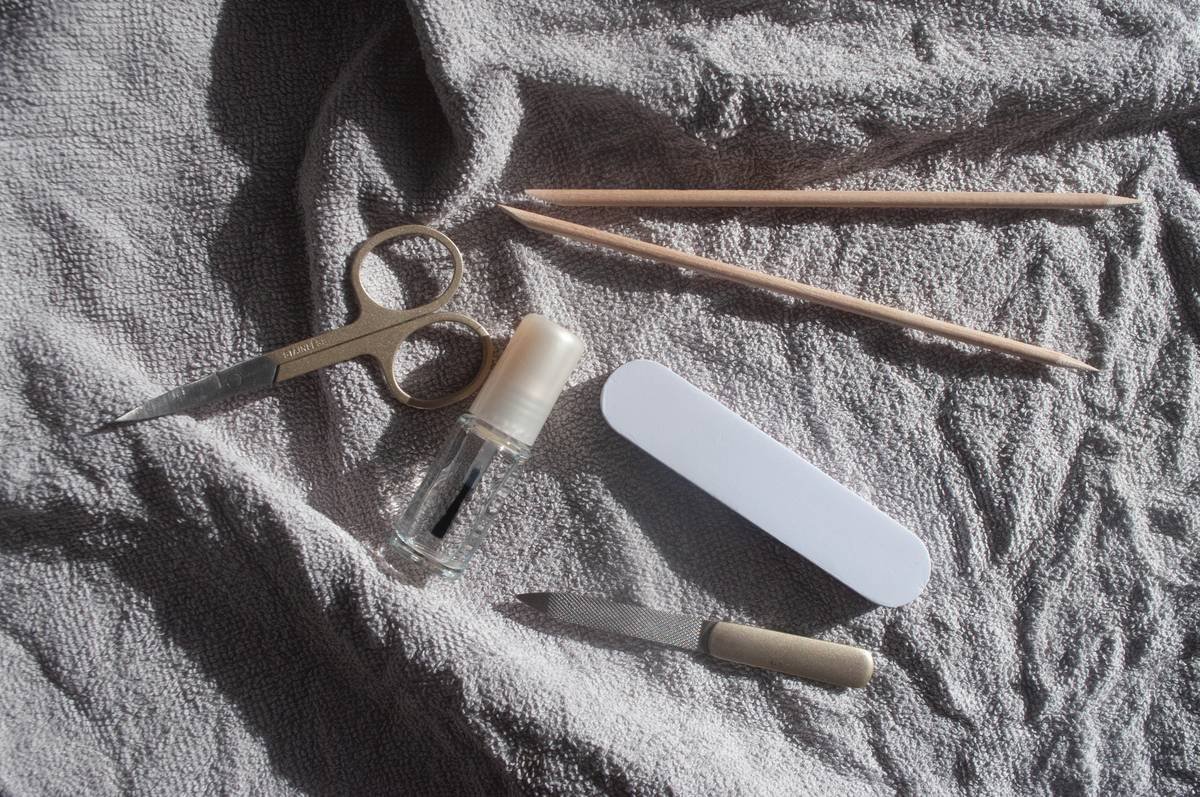
- Metal Cuticle Pusher & Nipper Set: Essential even for art-focused techs—clean prep = crisp designs.
- Magnetic Wand (for chrome effects): Neodymium magnets embedded in stainless steel housing deliver sharper patterns.
- Non-Slip Silicone Mat: Prevents bottles from sliding during detailed work. Bonus if it has measurement wells.
- UV-C Sanitizing Tray: Kills 99.9% of pathogens in 3 minutes—clients notice (and appreciate) this.
Should I buy a full “nail art station” or individual pieces?
If you’re serious, go à la carte. Full stations often include useless items (remember those bendy “3D flower shapers”?) that collect dust. Invest in modular storage—like Zanail’s magnetic tool boards—that lets you swap tools as your style evolves.
Top 7 Best Practices for Tool Selection & Longevity
Here’s where most DIY artists—and even some salons—cut corners:
- Sterilize, don’t just wipe: Alcohol sprays don’t kill fungal spores. Use EPA-registered disinfectants (e.g., Barbicide) or autoclave metal tools.
- Never soak brushes in acetone: It swells ferrules and ruins bristle alignment. Clean with monomer or dedicated brush cleaner.
- Replace dotting tools every 12–18 months: Micro-scratches harbor bacteria and cause polish drag.
- Use separate tools for gel vs. acrylic: Cross-contamination leads to lifting and curing issues.
- Test brush spring before buying: Press bristles gently—if they don’t snap back instantly, skip it.
- Label everything: Color-coded tape prevents mix-ups during rapid client turnover.
- Store vertically: Keeps bristles straight and prevents moisture pooling in handles.
My Terrible Tip Disclaimer (AKA What NOT to Do)
“Just use bobby pins as dotting tools!” — Said every Pinterest hack ever. Stop. Bobby pins rust, shed nickel particles into polish, and can’t be sterilized properly. Your clients’ nails aren’t a science experiment. Spend the $5 on real tools.
Case Study: From Frustrated Hobbyist to Salon-Ready Artist
Meet Lena R., a former graphic designer who launched her mobile nail art biz in Austin. Her turning point? Ditching her $25 “120-piece kit” for a curated pro set.
“I was redoing 30% of my chrome gradients because my magnet wand was too weak,” she told me. After switching to a dual-pole neodymium wand ($32 vs. $8), her re-do rate dropped to 5%. She also started using single-use microbrushes for clean lines—cutting cleanup time by 40%.
Within 6 months, her Instagram bookings grew 200%, and she now teaches nail art workshops using only the tools listed in Section 2. Moral? Precision tools = confidence = client retention.
Nail Art Tools and Salon FAQs—Answered Honestly
Do I really need salon-grade tools if I only do nails at home?
If you value your time and results—yes. Consumer tools degrade faster, leading to inconsistent lines, wasted product, and frustration. Plus, proper hygiene protects you and anyone you’re working on.
How often should I replace my nail art brushes?
Every 6–12 months with daily use. Signs it’s time: split bristles, poor polish release, or a loose ferrule. Store them bristle-up in a dry jar to extend life.
Are electric nail art pens worth it?
For freehand florals or script? Rarely. They lack the tactile control of a quality liner brush. Save your cash—unless you’re doing hyper-realistic portraits (then maybe consider an airbrush system).
Can I autoclave all my metal tools?
Only if they’re labeled “autoclavable.” Some alloys warp under high heat. When in doubt, use chemical disinfection (10-minute soak in EPA-approved solution).
Conclusion
Nail art tools and salon success go hand-in-hand—but not because of glitter or gimmicks. It’s about reliability, hygiene, and precision. Whether you’re polishing your best friend’s nails or running a 5-star studio, investing in the right implements reduces errors, builds client trust, and makes your creative process smoother. Start small: pick one pro-grade tool this week (maybe that stainless dotting set?), treat it well, and feel the difference. Your art—and your hands—will thank you.
Like a Tamagotchi, your toolkit needs daily care. Neglect it, and your designs suffer. Nurture it, and every stroke sings.
Haiku:
Steel tips kiss the nail,
Sanitized, sharp, never dull—
Art blooms without fail.

