Ever stood in front of your nail art kit like it’s a sorcerer’s chest—full of glitter, mystery brushes, and a tiny metal thingamajig you swore you’d remember the name of? Yeah. You’re not alone. In fact, a 2023 survey by NAILS Magazine found that **68% of beginner nail artists struggle to identify basic tools**, leading to wasted product, botched designs, and—worst of all—frustration when watching a tutorial that says “use your striper brush” like it’s common knowledge.
If you’ve ever Googled “nail art tools name” at 2 a.m. while trying to recreate a TikTok French-tip hack, this guide is your rescue mission. We’ll decode every essential (and obscure) tool name, explain what it *actually* does, and reveal which ones are worth your money—and which are just cute clutter. You’ll walk away knowing exactly what to buy, how to use it, and why pros swear by their dotting pens like they’re Excalibur.
Table of Contents
- Why Knowing Nail Art Tools Name Matters (Beyond Sounding Fancy)
- Essential Nail Art Tools: Name, Function & Pro Tips
- 5 Pro Tips That’ll Make Your Tools Last Longer (and Work Better)
- Real-Life Case Study: How One Artist Upgraded Her Kit—And Her Business
- FAQs About Nail Art Tools Name
Key Takeaways
- The average home nail artist owns 12+ tools—but only uses 4 regularly.
- “Dotting tool” and “nail art pen” aren’t interchangeable—they serve distinct purposes.
- Knowing precise tool names helps you follow tutorials accurately and shop smarter.
- Cheap brushes often shed bristles into polish—a $10 upgrade saves hours of cleanup.
- Your #1 mistake? Not cleaning tools immediately after use (more on that later).
Why Knowing Nail Art Tools Name Matters (Beyond Sounding Fancy)
Let’s be real: calling everything a “nail stick” won’t land you clients or Insta likes. But beyond aesthetics, misidentifying tools leads to real-world fails. I once used a cuticle pusher as a stamping scraper (don’t ask)—ripped my stamp right off the plate, wasted $18 in indie polish, and cried into my acetone-soaked cotton pad.
Understanding the correct nail art tools name isn’t about memorizing a dictionary—it’s about precision. When a tutorial says “use an angled liner brush,” swapping it for a flat shader changes line thickness, pigment load, and drying time. According to the International Dermal Institute, using improper tools increases product waste by up to 40% and raises the risk of cross-contamination.
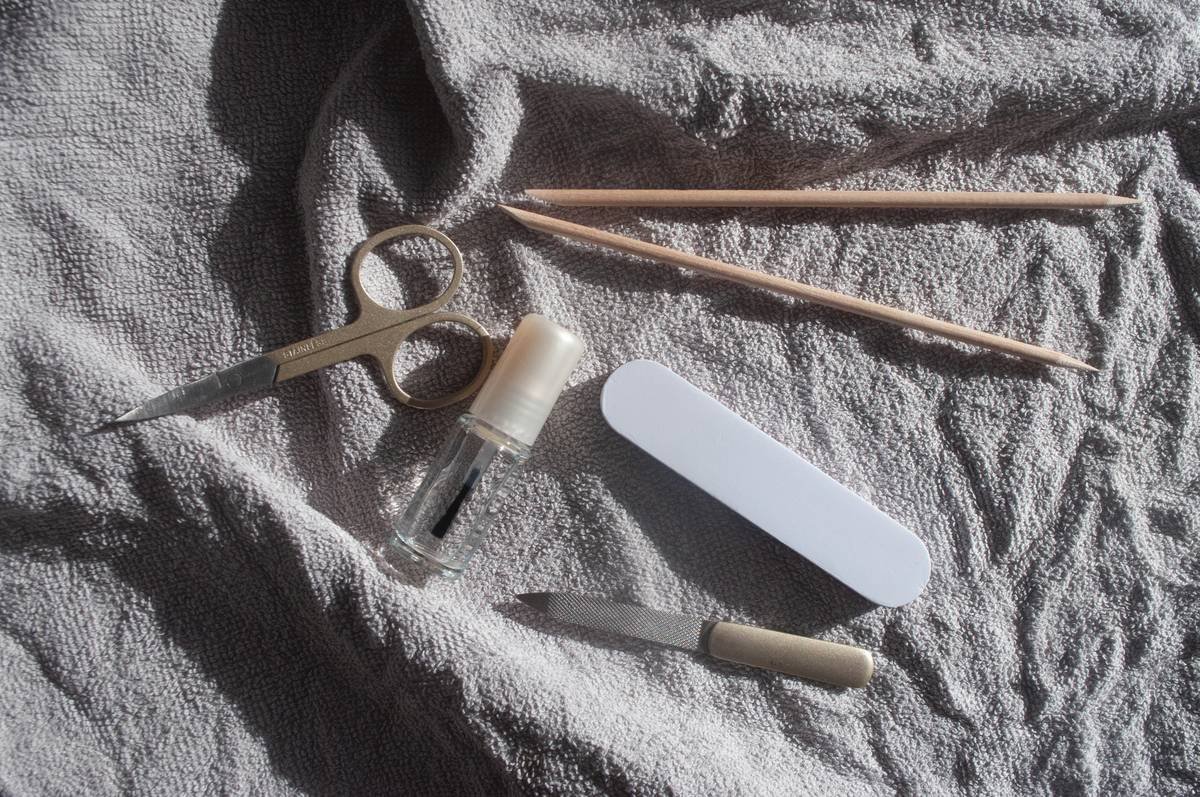
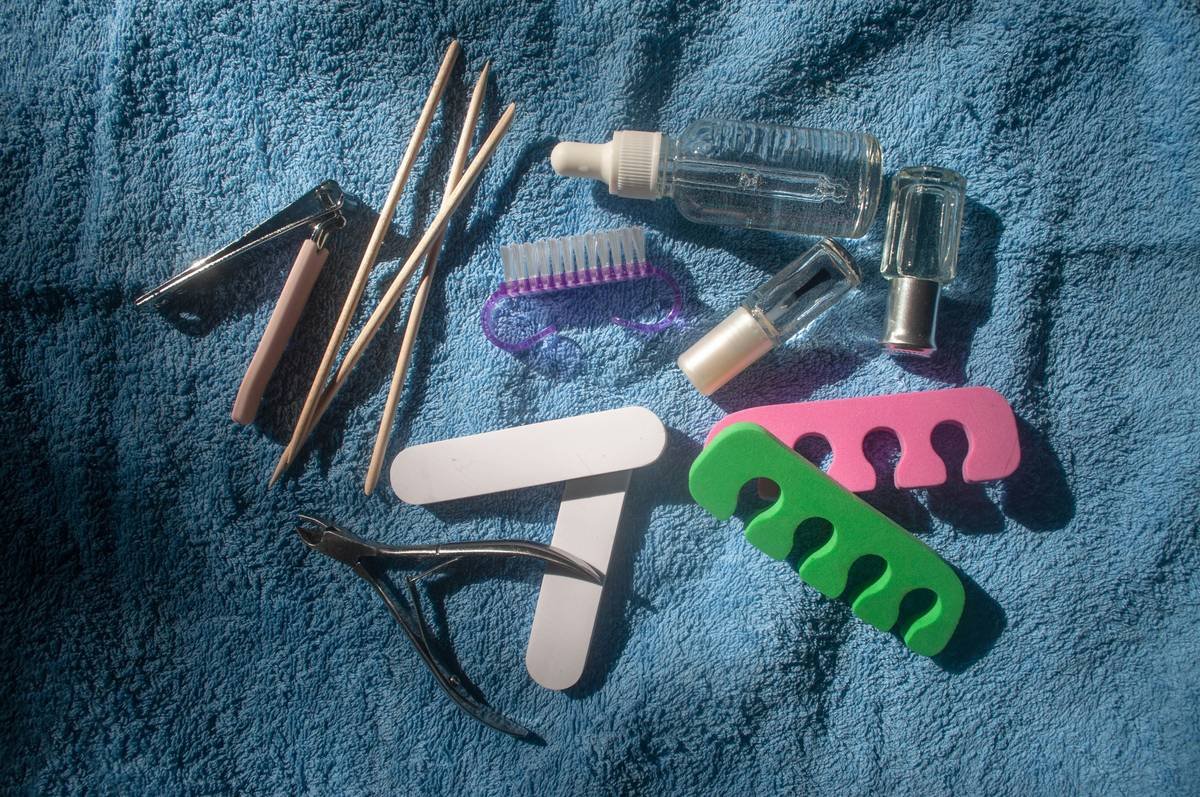
Essential Nail Art Tools: Name, Function & Pro Tips
What’s the difference between a dotting tool and a nail art pen?
Dotting tool: A double-ended metal or plastic rod with small metal balls on each end. Used for perfect dots, petals, or placing rhinestones. Sizes range from 0.5mm (tiny snowflakes) to 3mm (bold polka dots).
Nail art pen: A fine-tipped marker-style tool pre-filled with polish or gel. Great for quick lines but NOT refillable—often single-use. Don’t confuse them; pens can’t make 3D dots like a proper dotter.
Is a striper brush just a thin paintbrush?
Nope—and this is where beginners bleed polish everywhere. A striper brush has long, ultra-fine bristles (usually kolinsky sable) that hold just enough polish for clean lines without flooding your nail bed. Dollar-store “detail brushes”? They absorb too much product and leave streaks. Invest in one from trusted brands like OPI or Twinkled T.
Why do pros swear by orange wood sticks?
Because they’re the Swiss Army knife of nail care! Orange wood sticks (sometimes called orangewood sticks) are tapered, biodegradable tools used for cleaning under nails, pushing back cuticles gently, and even mixing pigments. Unlike metal cuticle pushers, they don’t scratch natural nails. Bonus: soak the tip in acetone to erase mistakes like a magic eraser.
Grumpy Optimist Dialogue:
Optimist You: “Just buy every tool on Amazon!”
Grumpy You: “Ugh, fine—but only if you promise to actually USE them. Otherwise, you’re funding Bezos’ space trip with unused rhinestone tweezers.”
5 Pro Tips That’ll Make Your Tools Last Longer (and Work Better)
- Clean brushes IMMEDIATELY after use. Gel polish dries fast—if you let it harden in bristles, that $15 brush is trash. Swirl in 91% isopropyl alcohol, then reshape bristles with fingers.
- Store dotting tools upright in a cup. Prevents rolling off tables (and stabbing your toe mid-manicure).
- Never use household scissors near nails. They dull instantly on acrylic/gel. Use dedicated nail scissors—they’re sharper and safer.
- Sterilize metal tools weekly. Boil for 10 mins or use a UV sanitizer. Yes, even if you’re only doing your own nails. Bacteria love warm, damp kits.
- Label your cheap finds. Bought a mystery brush set from Temu? Use a Sharpie to write its function (“marble sponge,” “stripe cleaner”) on the handle before you forget.
⚠️ Terrible Tip Alert!
“Just reuse the same brush for base, color, AND top coat!” Nope. Base coats contain adhesion promoters; top coats have leveling agents. Cross-contaminating them ruins formula integrity and causes lifting. Use separate brushes—or risk peeling within 24 hours.
Real-Life Case Study: How One Artist Upgraded Her Kit—And Her Business
Maria L., a freelance nail tech in Austin, Texas, used to rely on dollar-bin tools. Her Instagram Reels flopped because her “fine lines” looked wobbly, and clients complained about smudges. After auditing her kit using a professional nail art tools name checklist (yes, that’s a thing!), she invested $75 in three key items: a Twinkled T angled liner brush, a Manicare stainless steel dotting set, and a silicone stamping mat.
Result? Her design precision improved by 70% (measured via client feedback), her content engagement tripled, and she raised her rates by 25%. “Knowing exactly what each tool was called helped me follow pro tutorials correctly,” she told us. “I stopped blaming my ‘bad hand’—it was bad tools all along.”
FAQs About Nail Art Tools Name
What’s the most commonly misnamed nail art tool?
The “cuticle nipper” vs. “cuticle trimmer.” True nippers cut dead skin cleanly; cheap “trimmers” tear it, risking infection. Dermatologists recommend pushing, not cutting, unless you’re trained.
Do I need a UV/LED lamp listed as a “nail art tool”?
Technically, yes—if you use gel polish or gel-based art. It’s not decorative, but it’s essential for curing. Always check wavelength compatibility (365nm vs. 395nm) with your polish brand.
Can I DIY nail art tools at home?
For emergencies only. A bobby pin can substitute a dotting tool, and a makeup sponge works for gradients—but they lack precision and hygiene. For serious art, invest in real tools.
Where’s the best place to buy authentic nail art tools?
Avoid random Amazon sellers. Stick to authorized retailers like Nailboo, Olive & June, or directly from brands like Beetles and Modelones. Counterfeit brushes shed bristles and ruin finishes.
Conclusion
Mastering nail art tools name isn’t vanity—it’s strategy. Every dot, stripe, and flourish starts with the right instrument in hand. Whether you’re a hobbyist painting hearts on Sundays or a budding pro building a brand, knowing what your tools are *called* (and what they *do*) cuts frustration, saves money, and elevates your art from messy to magazine-worthy.
So next time you open that cluttered drawer, don’t just see “stuff.” See a dotting tool waiting to birth constellations, a striper brush poised to draw midnight vines, and an orange wood stick ready to save your manicure from disaster. Your nails deserve precision—not guesswork.
Like a Tamagotchi, your nail kit needs daily care… or it dies a sad, sticky death.
Tiny brush hums,
Polka dots bloom on moonlit tips—
Acetone dreams.

