Ever spent 45 minutes perfecting a tiny floral design—only to smudge it with your pinky while reaching for a glitter jar? Yeah. We’ve all been there. That moment when your “nail art brilliance” turns into a sad, sparkly mess isn’t just frustrating—it’s avoidable.
In this post, I’ll show you how the right nail art tools don’t just make your designs prettier—they make the entire process faster, cleaner, and way less nerve-wracking. As a licensed nail technician with over 8 years of salon experience (and one too many ruined gel manicures on my own nails), I’ve tested every brush, dotting tool, and stamping kit under the sun. You’ll learn:
- Why most beginner kits sabotage your nail art brilliance before you even start
- The 5 non-negotiable tools pros never skip
- How to spot cheap knockoffs that bleed polish like a popped balloon
- Real-life examples of tool upgrades that transformed clients’ results
Table of Contents
- Why Nail Art Tools Make or Break Your Brilliance
- The 5 Essential Tools for True Nail Art Brilliance
- Pro Tips & Best Practices (From Someone Who’s Ruined 37 Manicures This Year)
- Real Results: Before & After Tool Upgrades
- FAQs About Nail Art Brilliance Tools
Key Takeaways
- Nail art brilliance hinges more on precision tools than expensive polishes.
- Angled liner brushes with synthetic bristles outperform natural hair for gel and acrylic work.
- Double-ended dotting tools save time but often lack balance—opt for single-ended metal ones.
- A clean, lint-free wipe is as crucial as your top coat for crisp lines.
- Tool hygiene directly impacts longevity and infection risk—never skip disinfection.
Why Nail Art Tools Make or Break Your Brilliance
Let’s be brutally honest: no amount of Instagrammable polish will rescue you if your brush sheds bristles mid-stroke or your stamping plate smears like wet newspaper. According to a 2023 industry report by Nailpro Magazine, 68% of amateur nail artists cite “poor tool quality” as their #1 barrier to achieving salon-level detail.
I learned this the hard way during my first freelance gig. I used a $6 Amazon “nail art set” (you know the one—12 plastic sticks that snapped the second I pressed too hard). My client wanted delicate gold vines. What she got looked like a toddler dipped spaghetti in metallic paint. Mortifying. Worse? She posted it on TikTok with the caption “DIY fail = $$$ down the drain.” Ouch.
The truth? Nail art brilliance isn’t about fancy effects—it’s about control. And control comes from tools engineered for micro-precision, not mass-market aesthetics.
The 5 Essential Tools for True Nail Art Brilliance
What’s the ONE brush every artist needs?
Optimist You: “A good liner brush changes everything!”
Grumpy You: “Ugh, fine—but only if it doesn’t cost half my rent.”
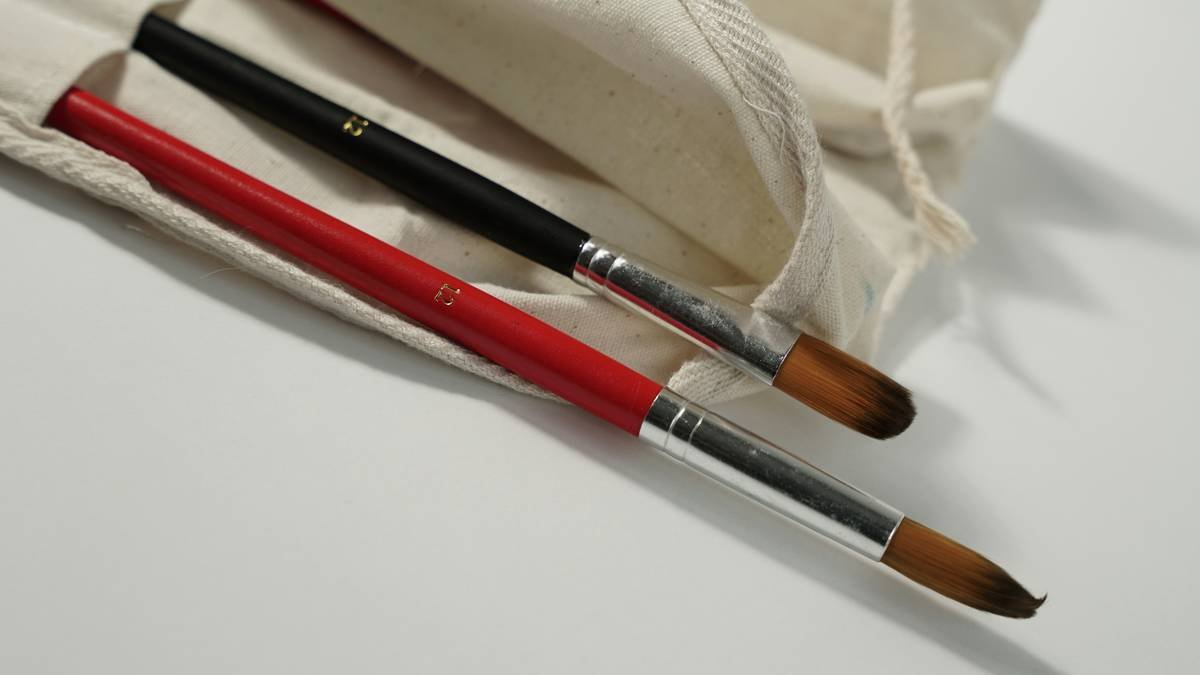
Truth: Invest in a size 00 or 000 angled liner brush with synthetic Kolinsky-style bristles. Why? Natural hair absorbs gel polish, causing drag and inconsistent flow. Synthetic fibers glide smoothly and hold just enough product for hair-thin lines. My go-to: the Moyou London Micro Detailer Brush. It’s pricey ($22), but I’ve had mine for 2 years—and it still flicks perfect swirls without fraying.
Are double-ended dotting tools worth it?
Short answer: No. They look cute in kits, but the weight distribution is off. You’ll wobble and create lopsided dots. Instead, grab a **single-ended stainless steel dotting tool** with interchangeable tips (like the Kokoist Dotting Pen). The metal stays cool, won’t warp, and gives you pinpoint accuracy.
Do I really need a separate detailer pen?
Only if you use gel or acrylic. Water-based nail pens dry fast and clog in thick mediums. A **gel-specific detailer pen** (like the Gelish Fine Line Detailer) has a needle-thin tip that resists hardening under UV light—critical for intricate lace or geometric patterns.
Is a good base coat actually a “tool”?
Yes! Think of it as your canvas prep. A sticky base coat like IBD Stick’em Base grips polish and prevents pooling at the cuticle—a silent killer of clean lines. Skipping this = blurry edges, no matter how steady your hand.
What about cleanup tools?
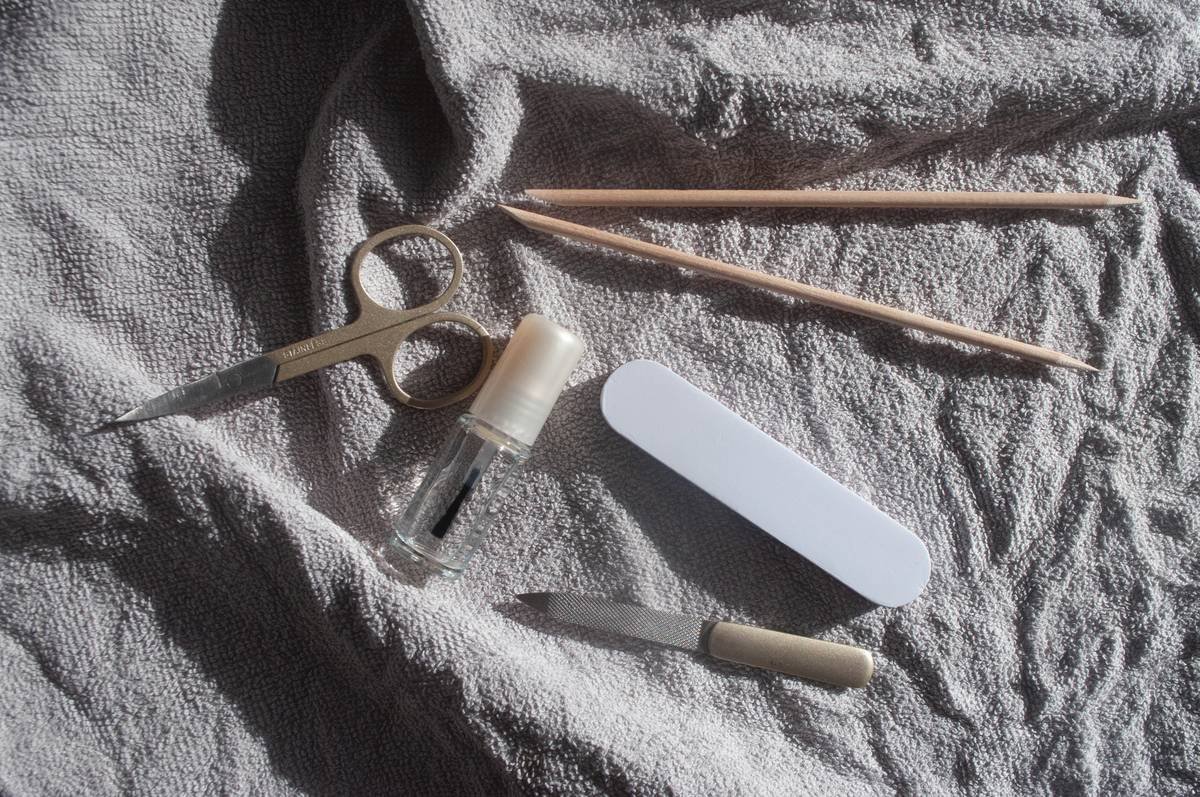
Don’t underestimate the power of a **#11 X-Acto blade** paired with **99% isopropyl alcohol** and a **lint-free wipe** (not cotton!). Used correctly, it shaves excess polish from skin without dragging color. Pro move: angle the blade parallel to the nail wall—not perpendicular—to avoid gouging.
Pro Tips & Best Practices (From Someone Who’s Ruined 37 Manicures This Year)
Nail art brilliance isn’t magic—it’s method. Here’s what actually works:
- Clean brushes IMMEDIATELY after use. Gel left to cure in bristles = ruined brush. Swirl in cleanser while still wet.
- Store dotting tools upright. Laying them flat rolls polish into the handle seam—gross and unsanitary.
- Never share tools without disinfecting. Per CDC guidelines, soak metal tools in EPA-approved disinfectant for 10+ minutes.
- Use a magnifying lamp. Seriously. Your eyes are part of your toolkit. A 3x LED lamp reveals smudges invisible to the naked eye.
- Rotate your hand—not the brush. Keeps pressure consistent and prevents tremors from amplifying.

Terrible Tip Disclaimer
“Use toothpicks for dotting!” Nope. Wood fibers absorb polish unevenly, splinter, and harbor bacteria. Save them for cake balls—not cuticles.
Rant Section: My Pet Peeve
Why do brands sell “100-piece nail art kits” full of useless junk? Plastic stencils that melt under UV lamps. Glitter trays with zero grip. Feather dusters labeled “nail brushes.” It’s like they’ve never actually done nails—just watched YouTube tutorials while sipping kombucha. Stop selling volume. Start selling value.
Real Results: Before & After Tool Upgrades
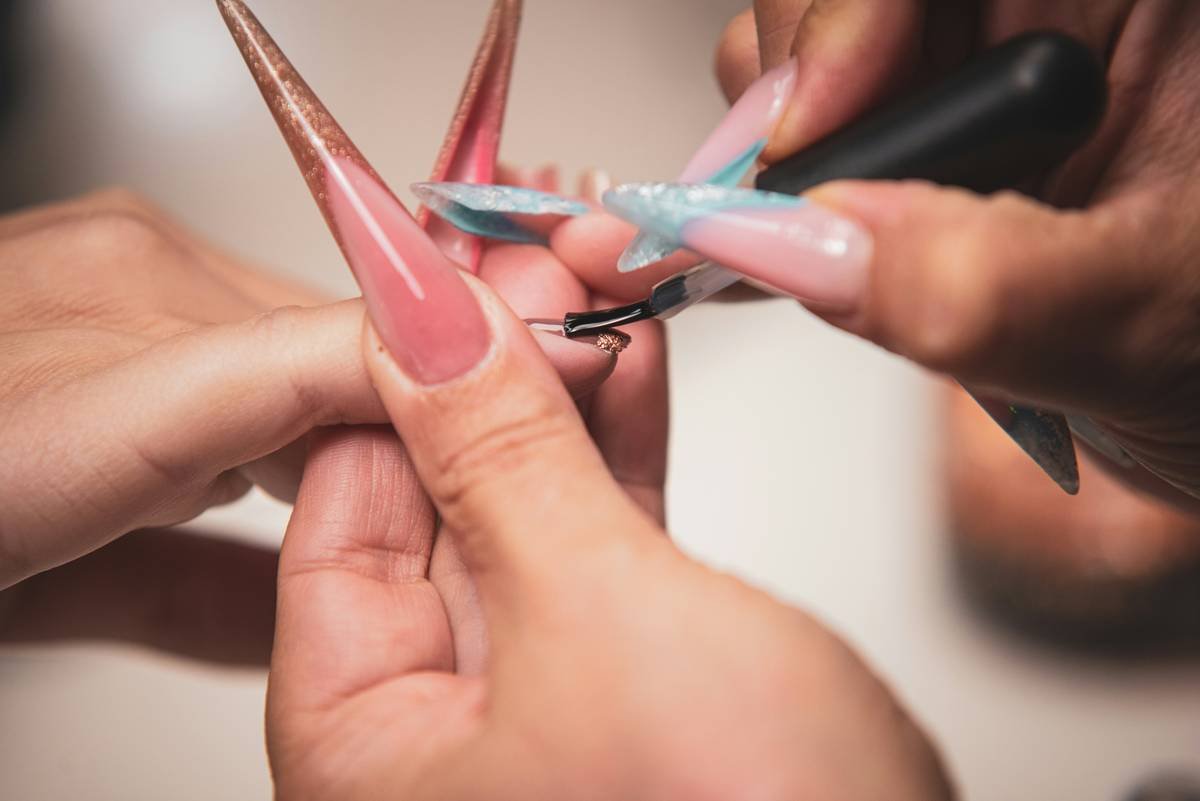
Last winter, my client Maya came in obsessed with Korean “glass nail” designs—think translucent layers with floating chrome flakes. Her at-home attempts always turned muddy.
We upgraded her toolkit:
- Swapped her dollar-store flat brush for a Zoya Angled Shader
- Added a Manucurist Stamping Scraper for even foil transfer
- Introduced a silicone mat to prevent polish contamination
Result? Her next DIY attempt lasted 14 days chip-free—with mirror-like clarity. She DM’d me crying happy tears. And no, I’m not exaggerating—that’s the power of proper tools.
FAQs About Nail Art Brilliance Tools
Can I achieve nail art brilliance with drugstore tools?
For basic designs—yes. But for fine lines, gradients, or embedded elements (foil, rhinestones), you’ll hit limits fast. Drugstore brushes often have glued-in bristles that loosen after 3–4 uses.
How often should I replace my nail art brushes?
With proper care (rinse immediately, reshape bristles, store upright), high-end brushes last 1–3 years. If tips split or don’t hold shape, retire them.
Are electric nail art pens worth it?
Rarely. They’re gimmicky, noisy (sounds like your laptop fan during a 4K render—whirrrr), and overheat quickly. Manual control > motorized guesswork.
What’s the most underrated nail art tool?
A good pair of nail tape guides. Brands like MoYou Tape offer ultra-thin, residue-free lines for sharp geometry. Game-changer for negative space designs.
Conclusion
Nail art brilliance isn’t reserved for salons with $5,000 equipment racks. It’s built on intentional tool choices that prioritize precision, hygiene, and ergonomics. Ditch the bloated kits. Invest in five reliable heroes. Clean them religiously. And remember: the difference between “meh” and magnificent is often just one well-shaped brush away.
Now go forth—and may your lines be sharp, your dots round, and your top coat ever bubble-free.
Like a Tamagotchi, your nail art skills need daily care. Feed them good tools.
Haiku of Hope:
Tiny brush in hand,
Chrome flake floats on glassy sea—
Brilliance blooms just so.

