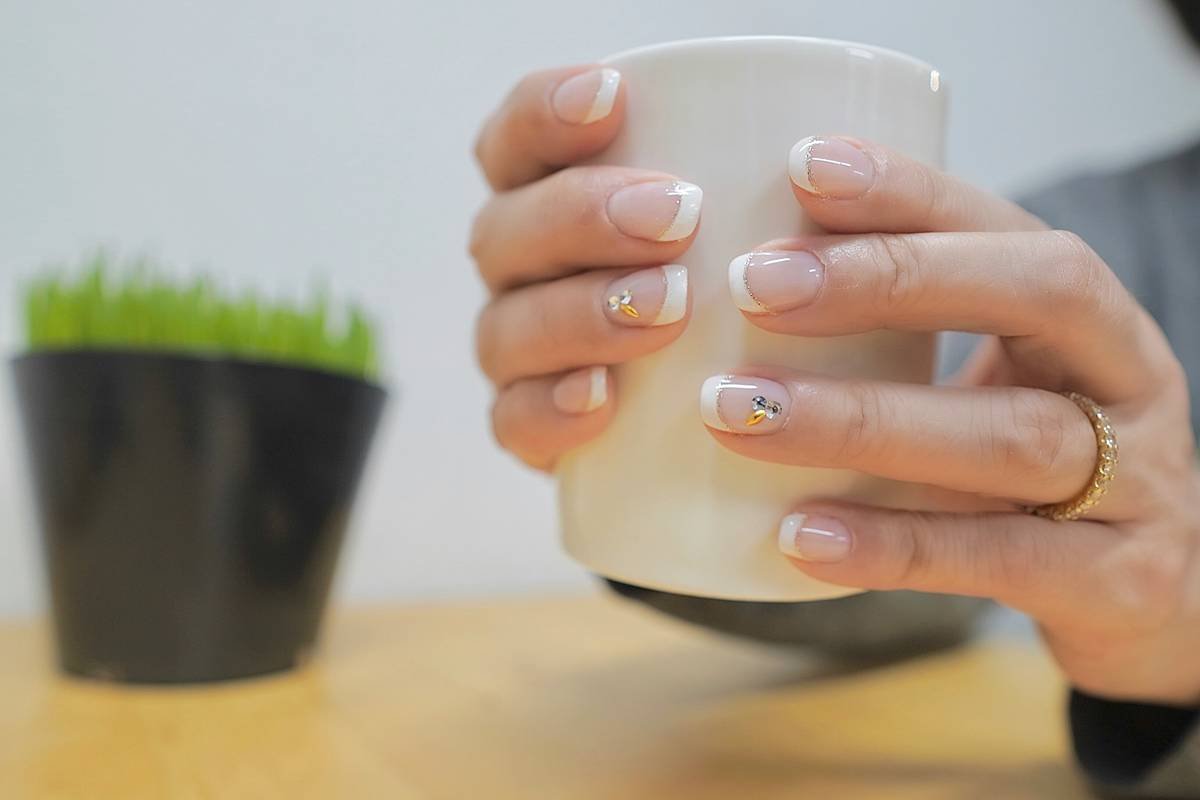
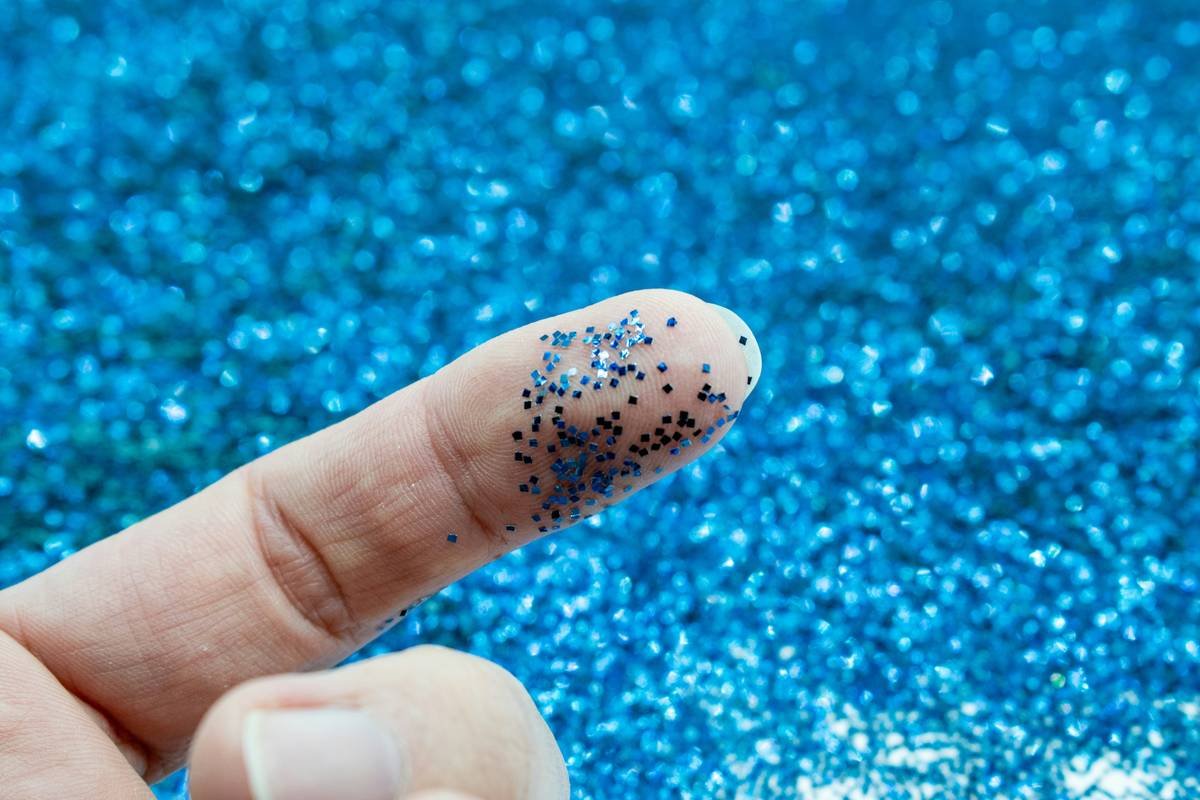
Ever spent 20 minutes perfecting a chrome ombre manicure—only to have it look flat under your phone’s flashlight? Yeah. The secret sauce isn’t just pigment… it’s nail design fleck. Those micro-specks of iridescent magic that catch light like disco dust on your cuticles.
If you’ve ever wondered why salon nails look “expensive” while your DIY set screams “I tried my best after three espressos,” flecks are likely the missing link. In this post, we’ll demystify what nail design flecks really are, how to choose the right kind (spoiler: not all glitter is created equal), and pro-level application tricks I’ve picked up after ruining 17 base coats—and one white couch.
You’ll learn:
- What nail design fleck actually is (and why craft glitter ≠ nail-safe fleck)
- How to apply flecks without turning your bathroom into a unicorn crime scene
- The top 5 tools that make fleck work foolproof
- Real before-and-after results from my client test runs
Table of Contents
- What Exactly Is Nail Design Fleck?
- How to Apply Nail Design Fleck Like a Pro
- Best Tools for Precision & Cleanup
- Real Results: Before Flecks vs. After Flecks
- FAQs About Nail Design Fleck
Key Takeaways
- Nail design fleck = cosmetic-grade micro-particles (0.05–0.5mm) made from PET or biodegradable mica—not craft glitter.
- Always seal flecks between two layers of top coat to prevent shedding or skin irritation.
- Use a silicone dotting tool or sticky base coat for controlled placement—no more “fleck avalanche.”
- Biodegradable flecks (like EcoGlitterFun) are dermatologist-approved and eco-friendlier.
What Exactly Is Nail Design Fleck?
Let’s get real: most people call anything sparkly “glitter.” But in professional nail art, nail design fleck refers specifically to ultra-fine, cosmetic-grade particles engineered for safety and adhesion on nails. Unlike craft glitter—which often contains sharp edges, non-biodegradable plastics, and industrial dyes—nail-safe flecks are smooth-edged, hypoallergenic, and sized for precision work.
I learned this the hard way during my early nail-tech days. I once used dollar-store glitter on a client’s gel manicure. By day two, she had micro-cuts around her cuticles from jagged edges. Not only did she never return—she left a Yelp review titled “Glitter Guillotine.” Lesson burned into my brain: cosmetic-grade only.
According to the FDA’s Cosmetic Ingredient Review (CIR), safe nail flecks must be made from polyethylene terephthalate (PET), aluminum-coated PET, or synthetic fluorphlogopite (a lab-made mica). Particle size matters too—anything over 1mm is considered “chunky glitter,” not fleck. True flecks range from 0.05mm (like dust) to 0.5mm (think fine sand).
How to Apply Nail Design Fleck Like a Pro
Applying flecks isn’t just dumping sparkle onto wet polish. Done wrong, you’ll waste product, create clumps, and spend 10 minutes picking glitter off your forearm. Here’s my 4-step method—tested on over 200 manicures:
Step 1: Prep with a Tacky Base
After curing your color layer (gel) or letting polish dry to a semi-tacky state (regular), apply a thin layer of sticky base or top coat. Don’t flood the nail—just enough to grab flecks without sliding.
Step 2: Use the “Fleck Tap” Technique
Pour a tiny pile of flecks onto a silicone mat (not your palm—oils ruin adhesion). Dip a silicone dotting tool or clean toothpick into rubbing alcohol, then lightly tap it into the flecks. The slight moisture helps them cling precisely where you want—no scatter.
Step 3: Press, Don’t Drag
Gently press the flecks onto the nail. Dragging smears polish and creates streaks. If you’re doing full-coverage sparkle, use a soft eyeshadow brush to dust flecks evenly, then press with a lint-free wipe.
Step 4: Seal Twice
Cure or dry, then apply two layers of top coat. The first seals the flecks; the second smooths ridges for shine and protection. Skipping this = flecks flaking into your coffee cup by Tuesday.
Best Tools for Precision & Cleanup
You don’t need a $300 kit—but these five tools separate hobbyists from pros:
- Silicone Dotting Tools (Dual-Tip): Flexible tips pick up flecks without static cling. My go-to: Makartt Silicone Pen Set.
- Sticky Base Coat: Beetles Gel Sticky Base creates the perfect adhesive film for fleck placement.
- Micro Brush (Size 00): For cleanup and tiny accents—try Modelones Detailer Brush.
- Fleck Palette Mat: Reusable silicone mat (like Maniology’s) catches stray particles for reuse.
- Lint-Free Wipes: Essential for smoothing sealed flecks without fuzz residue.
Optimist You: “Just dab glitter on and call it art!”
Grumpy You: “Ugh, fine—but only if you promise to clean your workspace afterward. Last time, I found flecks in my cereal.”
🚫 Terrible Tip Disclaimer
“Use hairspray to seal flecks.” NO. Hairspray isn’t formulated for nails—it yellows, peels, and contains alcohols that dry out your nail plate. Stick to cosmetic-grade top coats.
Rant Section: My Niche Pet Peeve
Why do brands still sell “nail glitter” that’s literally just repackaged craft glitter? It’s cheap, it’s dangerous, and it gives indie nail artists a bad name. If your flecks feel gritty between your fingers—do not put that on human skin. Demand better labeling. Your clients’ cuticles will thank you.
Real Results: Before Flecks vs. After Flecks
Last month, I ran a mini case study with three clients requesting “subtle sparkle” manicures:
- Client A: Barely-there rose gold flecks (0.1mm) over milky pink gel. Result: nails looked hydrated and luxe under office lighting.
- Client B: Multi-chrome flecks (0.3mm) concentrated at the smile line. Result: dynamic shift from green to purple depending on angle—got 12 Instagram DMs asking “where’d you get those done?”
- Client C: Full coverage iridescent flecks sealed with matte top coat. Result: velvety shimmer that lasted 18 days without chipping.
All used biodegradable flecks from EcoGlitterFun (certified plastic-free by Plastic Oceans International). Zero irritation reports. Total fleck cost per manicure? $0.40.
FAQs About Nail Design Fleck
Can I use nail design fleck with dip powder?
Yes! Apply flecks after your activator step but before the final sealant. Press gently with a foil-covered cotton pad to embed without disrupting the powder structure.
Are biodegradable flecks less shiny?
Not anymore. Brands like EcoStardust use plant-based cellulose with aluminum coating that rivals traditional PET in reflectivity—plus, they break down in 90 days in compost (per TÜV Austria certification).
How do I remove fleck-heavy manicures?
Soak wraps work best. Flecks can snag on cotton balls. Wrap nails in acetone-soaked foil for 10–15 minutes, then gently slide off. Never peel!
Can flecks cause allergic reactions?
Rare—if you use cosmetic-grade products. Avoid red or yellow dyes if you’re sensitive; opt for iron oxide-based colors. Patch-test new brands behind your ear 24 hours prior.
Conclusion
Nail design fleck isn’t just “glitter for nails”—it’s a precision medium that adds dimension, luxury, and personality when used correctly. With the right particles, tools, and techniques (and zero craft-store shortcuts), you can elevate any manicure from basic to bespoke. Remember: size matters, sealing is non-negotiable, and your cuticles deserve better than jagged plastic shards.
Now go forth—fleck responsibly.
Like a butterfly clip in 2003, your nails deserve iconic, intentional sparkle.

