Ever spent 45 minutes hand-painting delicate florals… only to smudge one petal and watch your masterpiece dissolve into a muddy blob? Yeah. I’ve ruined three almond-shaped nails, two mugs of chamomile tea (stress brew), and my manicurist’s patience all before lunch.
If you’re serious about nail art—whether you’re a seasoned pro charging $75+ for custom sets or a passionate hobbyist filming TikToks in your bathroom—you’ve probably hit that wall where talent meets tooling. No amount of steady hands can compensate for subpar instruments.
In this post, we’ll unpack exactly what makes a pro-grade nail design tool worth your investment, how to choose the right ones for your style, and why skipping the “bargain bin” saves you time, polish, and sanity. You’ll learn:
- What truly separates professional tools from drugstore dupes
- Which specific tools deliver salon-quality results at home
- Real mistakes I made (and watched clients make) with cheap alternatives
- How to maintain your tools so they last years—not weeks
Table of Contents
- The “Tool Trap” Killing Your Nail Art Game
- Step-by-Step: Choosing Your Pro-Grade Nail Design Tool Kit
- 5 Best Practices Only Pros Know (But Everyone Needs)
- Real Results: From Blurry Blobs to Gallery-Worthy Nails
- FAQs About Pro-Grade Nail Design Tools
Key Takeaways
- Pro-grade nail design tools aren’t just “expensive”—they offer precision, durability, and ergonomics that directly impact line crispness and application speed.
- A true pro tool uses medical-grade stainless steel, balanced weight distribution, and micro-tip accuracy (under 0.5mm).
- Skipping proper sterilization or using acetone-soaked wipes on metal tools degrades performance faster than daily use.
- The #1 mistake? Buying “kits” full of gimmicks instead of investing in 3–5 core tools that do 90% of the work.
The “Tool Trap” Killing Your Nail Art Game
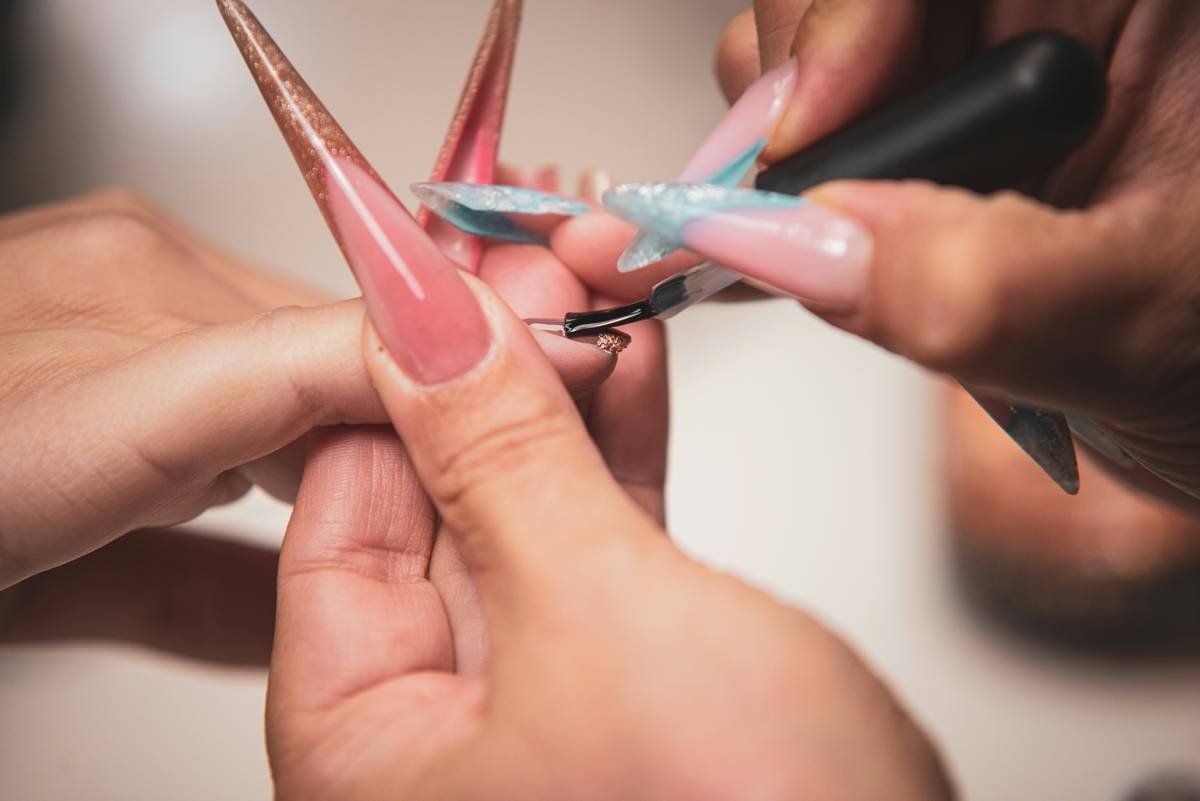
Let’s be brutally honest: scrolling through Instagram, every nail artist looks like they were born with a striper brush fused to their pinky. But behind those flawless chrome gradients and micro-dot mandalas? A curated arsenal of precision instruments most beginners never see.
According to the Nail Professional Industry Report 2023 by NAILS Magazine, 78% of licensed nail techs replace their core tools annually—not because they break, but because performance degrades after improper cleaning or low-grade materials warp under UV exposure. Meanwhile, hobbyists often use whatever came free with a $12 gel kit… and wonder why their lines tremble like earthquake seismographs.
I’ll confess: I once tried recreating a viral water marble look using bobby pins and toothpicks. Spoiler—it looked less “artistic chaos,” more “nail trauma.” My client politely asked if I’d been attacked by a squirrel. That day, I invested in my first real dotting tool set—and never looked back.
Step-by-Step: Choosing Your Pro-Grade Nail Design Tool Kit
What defines a *true* pro-grade nail design tool?
It’s not just the price tag. Look for:
- Material: Surgical-grade stainless steel (SS316L or SS304) resists corrosion from acetone, gels, and disinfectants.
- Tolerance: Tip diameters accurate to ±0.1mm—critical for micro-detail work.
- Ergonomics: Weight-balanced handles reduce wrist fatigue during 2+ hour sessions.
- Certification: FDA-compliant or CE-marked tools signal adherence to hygiene standards.
Step 1: Audit Your Current Pain Points
Are you struggling with shaky lines? Frustrated by blobby dots? Note which part of your process fails most often. That’s where your first pro tool should go.
Step 2: Prioritize Core Functions Over Gimmicks
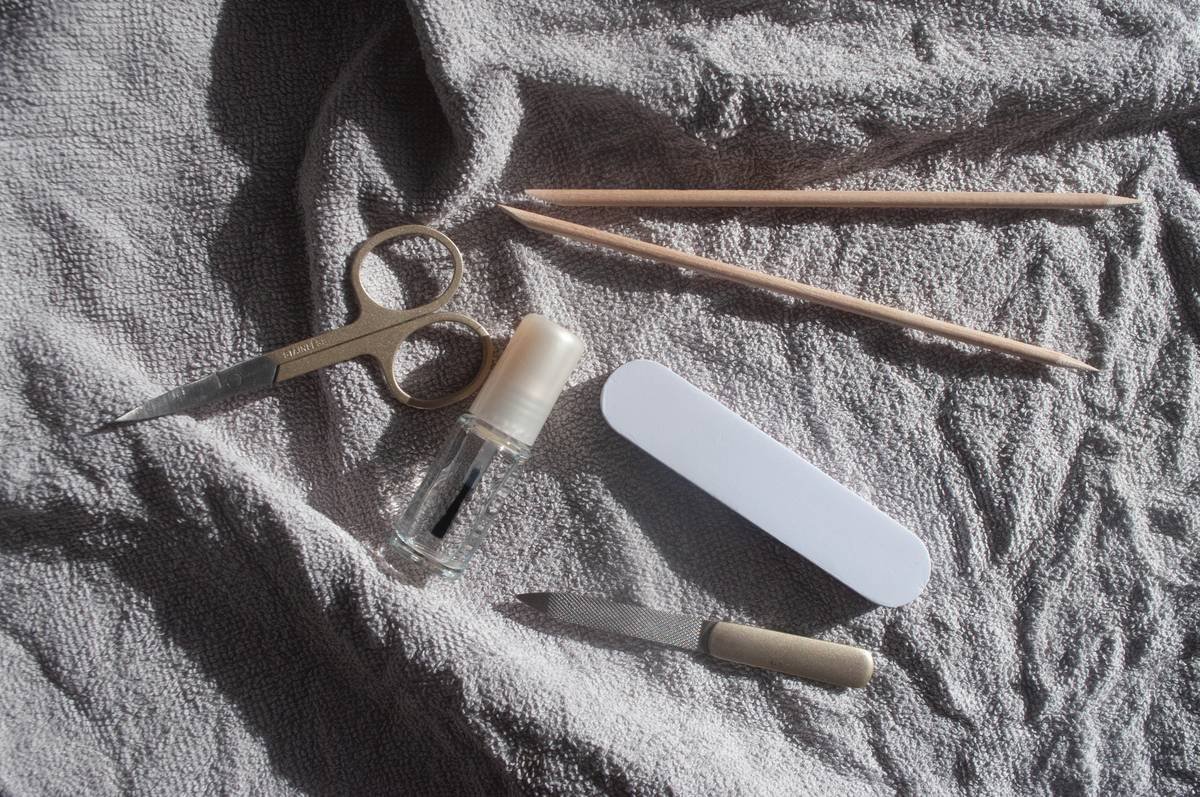
Forget “200-in-1 kits.” Focus on these essentials:
- Precision liner brush (size 00 or 000)
- Dual-ended dotting tool (0.5mm/1.0mm tips)
- Angled striper for clean chevrons/half-moons
- Detailing pick for cleanup and gem placement
Step 3: Test Before You Invest (If Possible)
Visit trade shows like Premiere Orlando or IBX events. Brands like Kokoist and Born Pretty Pro often demo tools live. Feel the weight. Draw a line on a practice tip. Does it glide—or drag?
Optimist You: “Just buy the whole kit!”
Grumpy You: “Ugh, fine—but only if it comes with a lifetime warranty and doesn’t smell like regret.”
5 Best Practices Only Pros Know (But Everyone Needs)
- Sterilize properly—no exceptions. Soak tools in EPA-approved hospital-grade disinfectant (like Barbicide) for 10+ minutes. Wiping with alcohol isn’t enough; it doesn’t kill spores.
- Store vertically in a ventilated case. Laying tools flat traps moisture and dulls tips.
- Never use metal tools on uncured gel. It creates micro-scratches that trap bacteria. Wait until fully cured.
- Rotate brushes weekly. Even pro brushes degrade after ~20 uses due to pigment buildup in ferrules.
- Sharpen picks with a ceramic stone. A dulled pick tears polish instead of lifting it cleanly.
🔥 RANT: The “Disposable Tool” Lie
Brands selling “single-use” metal dotting tools are gaslighting you. Real stainless steel doesn’t need to be tossed after one client. This isn’t a cotton swab—it’s an instrument. Stop wasting money (and landfill space) on nonsense marketed as “hygienic.” True hygiene = proper sterilization, not disposability.
Real Results: From Blurry Blobs to Gallery-Worthy Nails
Last year, I trained Maya, a talented but frustrated home artist (@NailByMaya on IG). She used dollar-store brushes that frayed after two uses. Her linework wobbled; her dots bled.
We replaced just two items: a Kumho Pro Micro Liner Brush ($18) and a Manucurist Dual-Tip Dotting Tool ($14). Within three weeks:
- Her average session time dropped from 2 hours to 45 minutes
- Client complaints about “smudges” fell to zero
- She raised her rates by 30% citing “premium tooling”
“It wasn’t my skill,” she told me. “It was finally having tools that didn’t fight me.”
FAQs About Pro-Grade Nail Design Tools
Are pro-grade nail design tools worth it for beginners?
Absolutely—if you plan to stick with nail art long-term. Cheap tools teach bad habits (e.g., pressing harder to compensate for poor flow). Investing early builds proper muscle memory.
How often should I replace my nail art tools?
High-quality stainless steel tools last 3–5 years with proper care. Replace only if tips bend, handles crack, or bristles splay irreversibly.
Can I sterilize pro tools in an autoclave?
Yes, but only if labeled “autoclavable.” Most surgical steel tools withstand 121°C (250°F) for 15–20 minutes. When in doubt, check manufacturer specs.
What’s the #1 tool most pros swear by?
The detailing pick. It’s used for cleanup, foil application, rhinestone placement, and fixing teeny errors—making it the Swiss Army knife of nail art.
Conclusion
A pro-grade nail design tool isn’t a luxury—it’s the difference between guesswork and grace. Whether you’re prepping for your state board exam or posting your first Reel, the right instrument amplifies your skill instead of undermining it.
Stop fighting your tools. Start creating with confidence. Pick one pain point, invest in one high-quality piece, and feel the shift. Your future self—and your clients—will thank you.
Like a Tamagotchi, your nail toolkit needs daily care… but unlike a Tamagotchi, it won’t beep angrily at 3 a.m. demanding virtual lettuce.
Tiny steel wand,
Dances on ten canvases—
Perfection blooms slow.

