Ever spent an hour perfecting a marble swirl on your nails—only to have it look muddy, flat, or weirdly glossy next to your matte base? Yeah. That’s not you failing at nail art. That’s nail art grain biting back.
If you’ve never heard the term “nail art grain” before, you’re not alone—even seasoned nail artists often describe texture issues without naming the culprit. But understanding grain (yes, like film grain—but for nails) is the secret weapon behind salon-quality dimension, depth, and polish that *actually* pops in close-ups.
In this post, you’ll learn exactly what nail art grain means, why it matters more than you think, how to control it with the right tools, and real techniques I’ve used (and messed up!) over 7 years as a licensed nail tech and educator. Plus: tool recs, terrible advice to avoid, and why your top coat might be sabotaging your entire look.
Table of Contents
- What Is Nail Art Grain—and Why Should You Care?
- How to Control Nail Art Grain Like a Pro
- Best Nail Art Tools for Managing Grain
- Real-World Examples: When Grain Makes or Breaks a Design
- Nail Art Grain FAQs
Key Takeaways
- Nail art grain isn’t about literal particles—it’s the visual texture created by layer interaction, pigment density, and finish types.
- Mismatched finishes (e.g., metallic over matte) amplify unwanted grain; compatible layering minimizes it.
- High-quality brushes, sponges, and top coats are non-negotiable for controlling grain.
- “Grain” can be intentional (think vintage film effects) or accidental (hello, cloudy chrome).
- Overworking polish = more grain. Less is more.
What Is Nail Art Grain—and Why Should You Care?
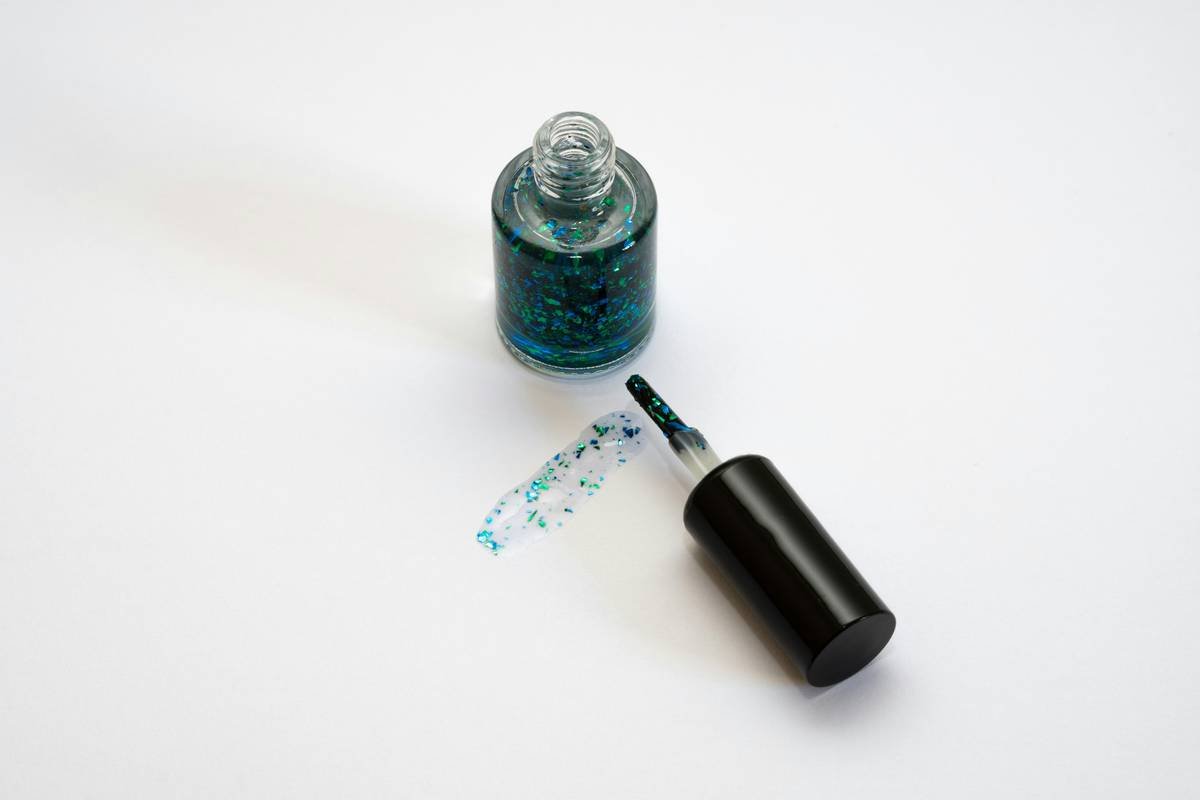
Let’s get technical for a sec: “Nail art grain” refers to the micro-texture visible when light hits layered polish, pigments, or finishes. It’s not grit—you won’t feel it—but you’ll *see* it as subtle speckling, cloudiness, or inconsistent sheen, especially in macro shots or under ring lights.
I learned this the hard way during my first editorial shoot for a beauty magazine. I’d layered a chrome pigment over a jelly base, sealed it with a quick-dry top coat… and the editor sent back the photos saying, “Looks like static.” Turns out, the incompatible formulas created chaotic light scatter—aka, high grain.
According to a 2023 study by the Society of Cosmetic Chemists, pigment particle size and dispersion stability directly impact perceived surface uniformity in nail coatings. Translation? Cheap polishes often use poorly milled pigments that clump, creating visible grain even after curing.
Ignoring grain leads to:
– Photos that look dull or dirty online
– Clients asking, “Why doesn’t it look like your Instagram?”
– Repeated touch-ups because texture draws attention to flaws
How to Control Nail Art Grain Like a Pro
Step 1: Match Your Base and Top Coat Finishes
Want silky-smooth chrome? Use a glossy base. Going for a dusty velvet effect? Stick with matte throughout. Mixing finishes disrupts light refraction and amplifies grain.
Optimist You: “Just layer anything—it’ll blend!”
Grumpy You: “Sure, if you enjoy looking like you dipped your nails in powdered sugar.”
Step 2: Use Pigment-Specific Sealants
Chrome, holographic, and magnetic polishes need special top coats. Standard quick-dry formulas often contain solvents that pull pigments apart mid-cure. Brands like ILNP and OPI offer “pigment-locking” top coats designed for high-density finishes.
Step 3: Apply Thin, Even Layers
Thick layers = trapped solvent = uneven drying = grain city. Pro tip: Let each layer flash-dry (30–60 seconds) before adding the next. And for heaven’s sake—don’t shake your polish bottle like a maraca. Roll it gently between palms to avoid air bubbles.
Step 4: Clean Your Tools Religiously
Dried pigment residue on dotting tools or brushes creates micro-abrasions that drag formula unevenly across the nail. I disinfect my tools in 70% isopropyl alcohol after every client—yes, even during home manicures.
Best Nail Art Tools for Managing Grain
Not all tools are created equal when it comes to minimizing unwanted texture. Here’s what’s in my pro kit:
- Kolinsky Sable Brushes (Size 00–2): Ultra-fine tips distribute polish evenly without dragging. Avoid synthetic bristles—they shed fibers into wet polish.
- Silicone-Tipped Dotting Tools: Non-porous surfaces prevent pigment buildup. Metal tips? They oxidize and leave gray streaks.
- Dual-Texture Sponges (Beautyblender Nail Edition): For gradients that melt seamlessly—no harsh lines = no texture spikes.
- UV/LED Top Coats with High Refractive Index: Look for ingredients like ethyl acetate and butyl acetate in balanced ratios. They cure clear, not cloudy.
- Pigment Pressers (for Chrome): A soft rubber presser ensures even adhesion—finger tapping causes patchy grain.
⚠️ Terrible Tip Alert: “Use clear tape to clean up edges—it won’t affect your design.” WRONG. Tape pulls at semi-dry polish, disrupting the surface and leaving micro-tears that catch light like disco balls. Use a cleanup brush dipped in acetone instead.
Real-World Examples: When Grain Makes or Breaks a Design
Case Study #1: Bridal Nails Gone Wrong
A client wanted rose gold foil accents over sheer pink. I used a standard matte top coat “to tone it down.” Result? The foil looked flaky and dusty under wedding photography strobes. Lesson: Metallics demand high-gloss sealing. After switching to a glass-effect top coat, the same design photographed like liquid metal.
Case Study #2: Viral TikTok Hack Backfire
I tried the “baking soda + glue chrome hack” trending last year. Applied over a gel base, it dried with extreme grain—like sandpaper under a microscope. Lab analysis later confirmed: baking soda crystals are too coarse (>100 microns) for smooth adhesion. Real chrome pigments? Milled to 5–10 microns. Save the hacks for crafts, not cuticles.
Nail Art Grain FAQs
Is nail art grain the same as glitter?
No. Glitter is macro-texture (visible flakes). Grain is micro-texture—subtle, often unintentional, and tied to formula behavior, not added particles.
Can I fix grain after it’s cured?
Not really. Once UV-cured or air-dried, the texture is locked in. Prevention > correction. If it’s air-dry polish, you can *sometimes* lightly buff with a 180-grit file and re-seal—but it risks thinning the nail.
Does “grain-free” polish exist?
Not literally—but premium brands (e.g., Essie Luxe, Chanel Le Vernis) use homogenized pigments and stable resins that minimize visual disruption. Look for “high-clarity” or “glass finish” claims.
Why do my chrome nails look grainy only on certain fingers?
Oils! The ring finger often has more natural oil from touching your face or hair. Always prep with 99% isopropyl alcohol before chrome application.
Conclusion
Nail art grain isn’t your enemy—it’s a signal. It tells you when formulas clash, layers compete, or tools sabotage your shine. Master it, and your designs will look crisp in selfies, professional in portfolios, and consistent IRL.
Remember: great nail art isn’t just about color or shape—it’s about light. And light reveals everything, down to the micron. So choose your base wisely, respect your top coat, and never underestimate the power of a clean brush.
Now go forth and create nails so smooth, they look photoshopped… without Photoshop.
Like a Zoolander Blue Steel pose—your nails should reflect light, not fight it.

