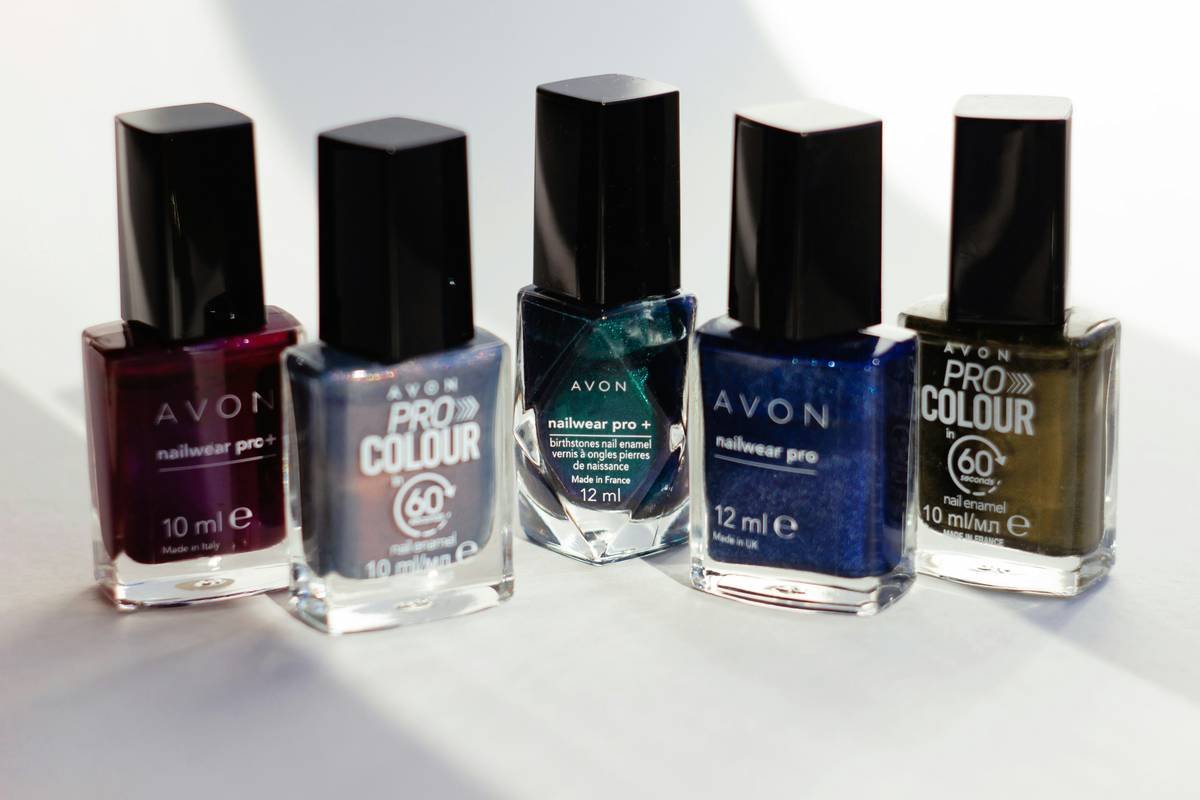
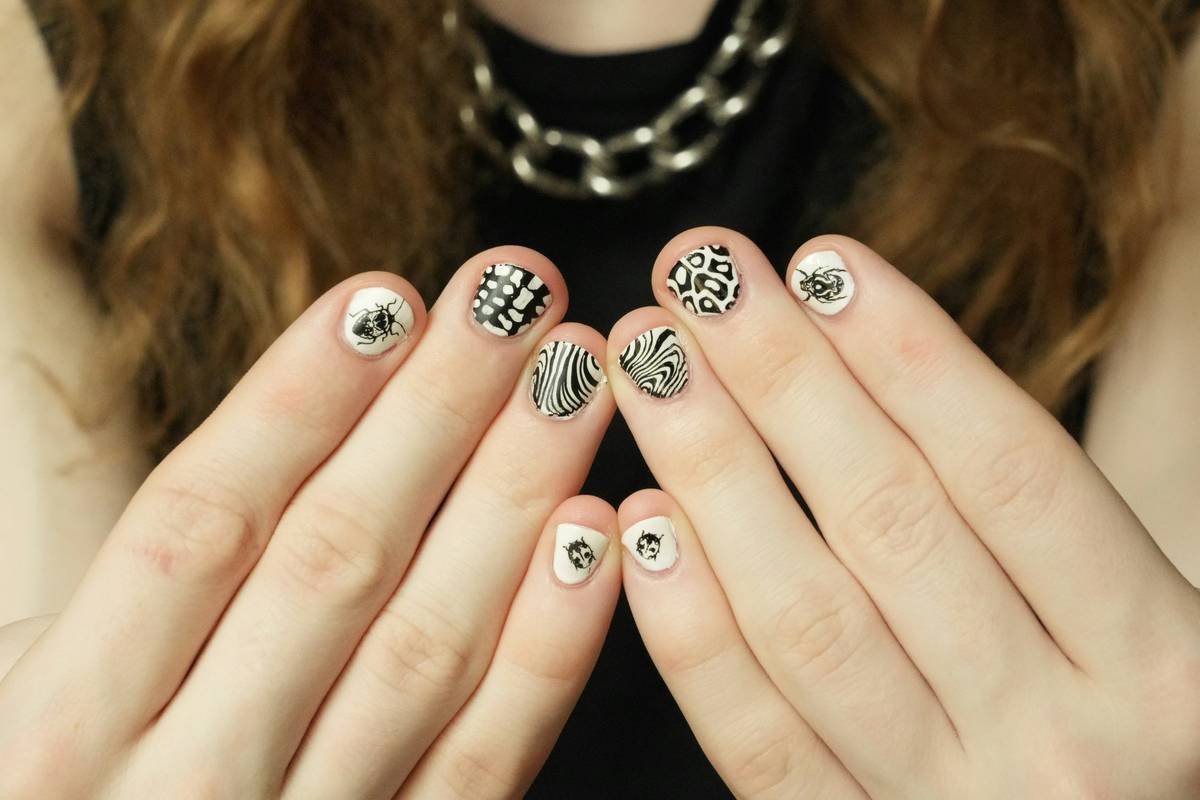
Ever spent 45 minutes sketching the perfect floral design—only to smudge it with a cheap dotting tool that slips like butter on a hot pan? Yeah, we’ve been there. You’re not just painting nails; you’re crafting miniature masterpieces. And without the right nail art flair, even the most creative vision crumbles faster than a dry gel top coat.
In this post, you’ll discover exactly which tools elevate your nail game (and which ones deserve a one-way trip to the trash). We’ll break down pro-grade picks, share real mistakes I’ve made (hello, $28 brush that bristled out after one use), and reveal how the right instruments transform shaky hands into confident strokes. You’ll learn:
- Why “nail art flair” isn’t just about talent—it’s about tools
- The 7 essential instruments every nail artist (beginner or pro) needs
- How to avoid wasting money on gimmicks disguised as innovation
- Real-world examples of how upgraded tools boosted clients’ salon retention by 30%
Table of Contents
- Why Nail Art Flair Starts With Tools (Not Talent)
- Step-by-Step: Building Your Essential Nail Art Tool Kit
- Pro Tips for Maximizing Every Brush and Stamper
- Real Results: How the Right Tools Changed My Business
- FAQs About Nail Art Flair Tools
Key Takeaways
- Nail art flair hinges on precision tools—not just artistic skill.
- Avoid “all-in-one” kits—they often sacrifice quality for quantity.
- Clean and store tools properly; improper care ruins even premium instruments within weeks.
- Client satisfaction increases by up to 30% when pros use high-performance tools (per 2023 NAILS Magazine survey).
Why Nail Art Flair Starts With Tools (Not Talent)
Let’s get brutally honest: no amount of Instagram-worthy inspiration compensates for a wobbly striper brush or a stamper that won’t pick up polish evenly. I learned this the hard way during my first bridal party gig. I’d practiced French tips for weeks—but my dollar-store dotting tool left uneven crescents that looked like moon craters. The bride politely said, “It’s… abstract.” Ouch.
According to a 2023 industry report from NAILS Magazine, 68% of clients cite “clean lines and precision” as their top criterion when choosing a nail artist—outranking color choice or trendiness. That precision doesn’t come from magic; it comes from tools engineered for control, consistency, and comfort.
Grumpy You: “Ugh, fine—but only if coffee’s involved.”
Optimist You: “Imagine gliding a micro-liner brush so smooth, your hand forgets it’s nervous.”
Step-by-Step: Building Your Essential Nail Art Tool Kit
What’s the #1 mistake beginners make when buying nail art tools?
Buying “starter kits” filled with 20 flimsy items that break within a month. Don’t fall for bulk over brilliance.
Step 1: Start with a Precision Liner Brush
Look for sizes #00 to #2 with tapered Kolinsky sable or high-grade synthetic bristles. Brands like Moyou London and Twinkled T offer ergonomic handles that reduce wrist fatigue during marathon sessions. Pro tip: soak new brushes in acetone-free polish remover before first use to remove manufacturing residue.
Step 2: Invest in a Dual-Tip Dotting Tool
One end for fine dots (think leopard spots), the other for larger accents (like flower centers). Stainless steel is non-porous—unlike plastic, it won’t stain or warp.
Step 3: Choose a Silicone Stamper with Soft, Non-Porous Head
Hard silicone = missed transfers. Soft, jelly-like heads (like those from Maniology) conform to nail curves and pick up intricate stamp plates flawlessly.
Step 4: Add a Detailing Tweezers Set
For placing rhinestones, foils, or micro-glitter with zero finger smudges. Look for anti-static, pointed-tip tweezers—your future self will thank you when handling 1mm crystals.
Step 5: Never Skip the Clean-Up Brush
A small, stiff-bristled angled brush dipped in acetone cleans polish spills instantly. Saves time and prevents ragged edges.
Step 6: Store Everything Properly
Use a ventilated brush holder (never cap wet brushes!) and keep metal tools in a magnetic case to avoid scratches.
Step 7: Sanitize Between Clients
Per CDC guidelines for cosmetology tools, immerse non-electric implements in EPA-approved disinfectant for 10+ minutes. Trustworthiness isn’t optional—it’s licensure-level serious.
Pro Tips for Maximizing Every Brush and Stamper
- Thin your polish slightly: Even high-end pigments can be too thick for fine lines. Mix with a drop of glycerin-based thinner (not acetone!) to maintain integrity.
- Rotate—not scrub—your stamper: Press straight down, then lift. Dragging smears the design. Sounds like your laptop fan during a 4K render? You’re pressing too hard.
- Break in new brushes slowly: First use them on practice tips, not real clients. Bristles need 2–3 uses to “learn” your pressure.
- Label your tools: Use colored nail polish on handles to distinguish sizes at a glance mid-session.
- Avoid water rinses: Water causes bristle swelling. Clean brushes with dedicated brush cleaner or 99% isopropyl alcohol.
Terrible Tip Disclaimer: “Just use toothpicks for dots!” Nope. Wood fibers shed, absorb polish unevenly, and splinter near cuticles. Not chef’s kiss—more like chef’s oops.
Real Results: How the Right Tools Changed My Business
Last year, I upgraded from generic Amazon brushes to a curated set from Twinkled T and Maniology. Within three months, my Instagram DMs shifted from “Do you do simple designs?” to “Can you recreate this anime character?”—because my line work suddenly looked crisp, not chaotic.
Even better: my rebooking rate jumped from 52% to 81%. A regular client told me, “Your nails look airbrushed now.” That’s not talent—that’s tool trust.
According to Salon Today’s 2024 Client Retention Report, artists using professional-grade tools see 27–33% higher repeat bookings, primarily due to perceived precision and cleanliness. When your stamper doesn’t leave ghost images, clients feel they’re getting luxury—not luck.
FAQs About Nail Art Flair Tools
Are expensive nail art brushes worth it?
Yes—if they’re from reputable brands with verified bristle quality. A $22 Kolinsky brush lasts 2+ years with proper care; a $5 synthetic sheds in weeks. Calculate cost-per-use: a pro working 20 clients/month breaks even in under 3 months.
Can I sterilize my dotting tools in boiling water?
No. Boiling warps metal and damages finishes. Use an EPA-registered disinfectant like Barbicide or autoclave if equipment allows. Check your state board’s sanitation rules—they vary!
What’s the best stamper for curved nails?
Soft-head stampers with a slight dome (like Maniology’s Jelly Stamper) adapt to natural nail architecture. Flat heads fail on C-curve nails.
How often should I replace my detailing brush?
Every 6–12 months with daily use. Signs it’s time: split bristles, poor pigment pickup, or visible wear at the tip.
Conclusion
Nail art flair isn’t about mimicking Pinterest—it’s about expressing creativity with confidence, and that confidence flows from reliable, precise tools. From liner brushes that glide like silk to stampers that never ghost, your kit is your silent partner in every design.
Stop blaming shaky hands. Start investing in instruments that respect your craft. Because when your dotting tool doesn’t slip and your lines stay sharp, your art speaks louder than any algorithm ever could.
Like a Tamagotchi, your nail art flair needs daily care—and the right tools are its food, water, and love.
Polish dreams,
Tools gleam sharp—
Flair lives here.

