Meta Description: Discover the secrets of using pro nail art stencils to create stunning nail designs. From choosing the right tools to expert tips, we’ve got you covered.
Table of Contents
- Introduction
- Why Nail Art Stencils Matter
- Step-by-Step Guide to Using Pro Nail Art Stencils
- Tips and Best Practices for Pro Results
- Real-Life Examples and Case Studies
- Frequently Asked Questions
- Conclusion
Introduction
Ever struggled to create that perfect, intricate nail design but ended up with a hot mess? Trust me, I’ve been there. Whether you’re a seasoned nail artist or just starting out, mastering the use of pro nail art stencils can be a game-changer. In this post, you’ll learn how to choose the right stencil, apply it like a pro, and get some tips and best practices to elevate your nail art game. Let’s dive in!
Key Takeaways
- Understand the importance of nail art stencils in creating professional-looking designs.
- Follow a step-by-step guide to applying and using pro nail art stencils effectively.
- Get insider tips and best practices to achieve stunning results.
- See real-life examples and case studies to inspire your own creations.
- Find answers to common questions about nail art stencils.
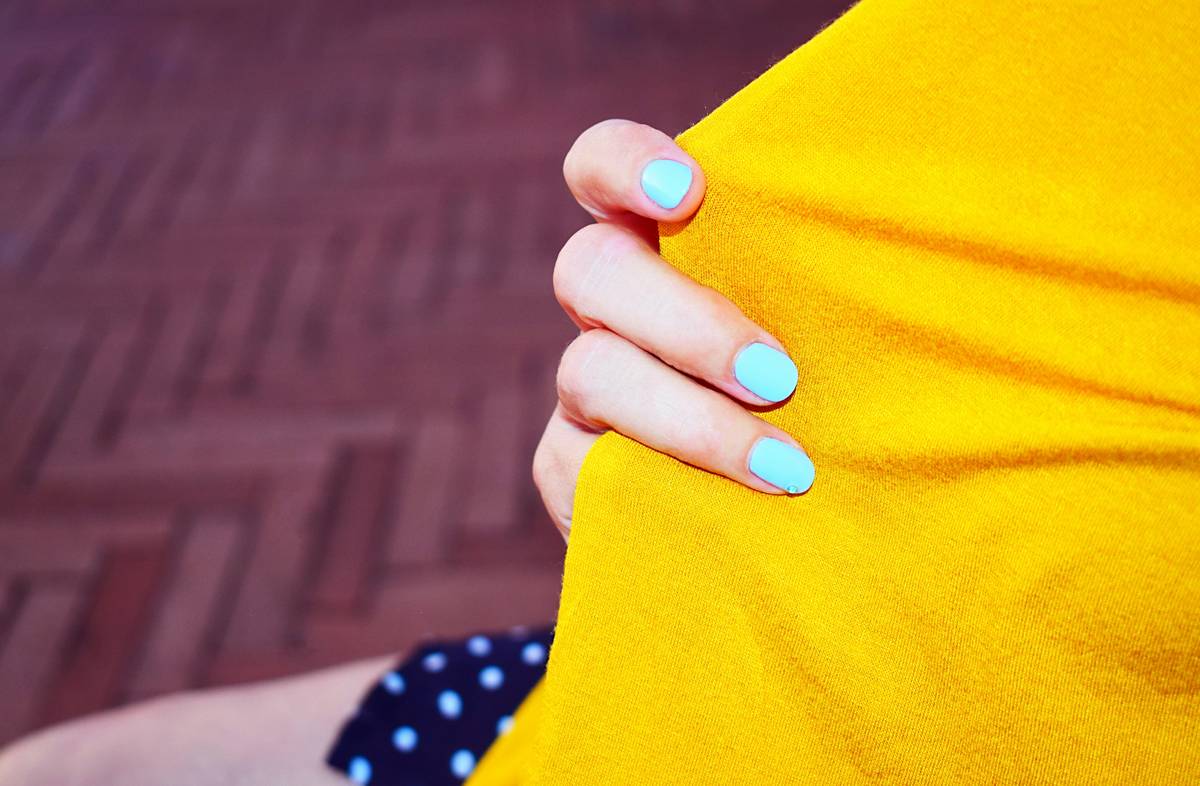
Why Nail Art Stencils Matter
Nail art is not just about adding a splash of color; it’s an expression of creativity and individuality. But let’s face it, not everyone has the steady hand or the time to create those intricate designs. That’s where pro nail art stencils come in. These handy tools allow even the most novice nail artists to achieve professional-looking results with minimal effort.
Confessional Fail: I once tried to freehand a geometric design on my nails and ended up looking like a toddler with a permanent marker. Not exactly the look I was going for—RIP engagement.
The Importance of Precision
Using stencils ensures that your lines are clean and precise. This is especially important for complex designs that require symmetry and detail. Plus, stencils save you time and frustration, making the whole process more enjoyable.
Step-by-Step Guide to Using Pro Nail Art Stencils
Let’s break down the process into easy-to-follow steps. Remember, practice makes perfect, so don’t be too hard on yourself if it doesn’t turn out perfectly on the first try.
Choosing the Right Stencil
Pick a stencil that matches your skill level and the design you want to create. For beginners, start with simple patterns and work your way up to more intricate designs.
Preparing Your Nails
Make sure your nails are clean and dry before applying the stencil. A good base coat will also help the design stay in place.
Applying the Stencil
Carefully place the stencil on your nail, making sure it’s smooth and aligned. Press it gently to ensure there are no air bubbles.
Adding the Design
Use a nail polish of your choice to fill in the stencil. Apply thin, even layers to avoid smudging.
Removing the Stencil
Once the polish is dry, carefully peel off the stencil. If any polish has seeped under the stencil, use a small brush dipped in nail polish remover to clean it up.
Tips and Best Practices for Pro Results
Here are some tips to help you achieve the best results with your pro nail art stencil:
- Work in a well-lit area to see what you’re doing.
- Use a good quality nail polish that dries quickly and evenly.
- Experiment with different colors and combinations to find your signature style.
- Practice on a surface other than your nails first, like a piece of paper or a plastic sheet.
- Be patient and take your time. Nail art is a skill that takes practice.
Real-Life Examples and Case Studies
Seeing is believing! Here are some real-life examples of stunning nail art created using pro nail art stencils.
These designs were created by experienced nail artists who started with simple stencils and gradually moved to more complex patterns. With a little practice and patience, you can achieve similar results.
Frequently Asked Questions
Q: Can I reuse a nail art stencil?
A: Generally, yes, but make sure to clean it thoroughly after each use and store it in a safe place to avoid damage.
Q: What should I do if the stencil doesn’t stick properly?
A: Make sure your nails are clean and dry. You can also use a small amount of adhesive to help the stencil stick better.
Q: How can I make the design last longer?
A: Use a good quality top coat to seal the design. This will help it last longer and prevent chipping.
Conclusion
Mastering the use of pro nail art stencils is a fantastic way to level up your nail art skills. By following the steps and tips outlined in this guide, you can create stunning, professional-looking designs that will have everyone asking, “Did you do that yourself?”
Optimist You:* ‘Now go out there and create some nail magic!’
Grumpy You: ‘Ugh, fine—but only if coffee’s involved.’*
Remember, practice makes perfect, and with a bit of patience and the right tools, you can create nail art that turns heads. Happy designing!
Intricate designs,
Like a garden on your nails,
Beauty blooms, refined.

