Ever tried creating a stunning floral design on your nails, only to have it turn into an abstract blob because of the wrong nail art brush? Yeah, me too. It’s frustrating when you’re pumped to create beauty but your tools just won’t cooperate. That’s why I’m here today—to help you find (and master) the perfect nail art brush that works as hard as you do.
In this article, we’ll cover everything you need to know about selecting and using nail art brushes effectively for flawless designs. You’ll learn:
- How to pick the right type of nail art brush;
- A step-by-step guide to mastering essential strokes;
- Tips and tricks from professional nail artists; and
- Bonus case studies to inspire your next manicure masterpiece!
Table of Contents
- Key Takeaways
- Why the Right Nail Art Brush Matters
- Choosing Your Perfect Nail Art Brush
- Mastering Essential Techniques with a Nail Art Brush
- Pro Tips for Flawless Nail Artistry
- Case Studies: From Beginner Blunders to Pro Designs
- FAQs About Nail Art Brushes
- Conclusion
Key Takeaways
- Different types of nail art brushes serve specific purposes—thin liners for intricate details, flat brushes for broader coverage, and dotting tools for accents.
- High-quality synthetic bristles give better control than cheap natural fibers that fray easily.
- Cleaning and caring for your nail art brush ensures longevity and performance.
- Practice foundational strokes like lines, curves, and dots before attempting advanced designs.
Why the Right Nail Art Brush Matters
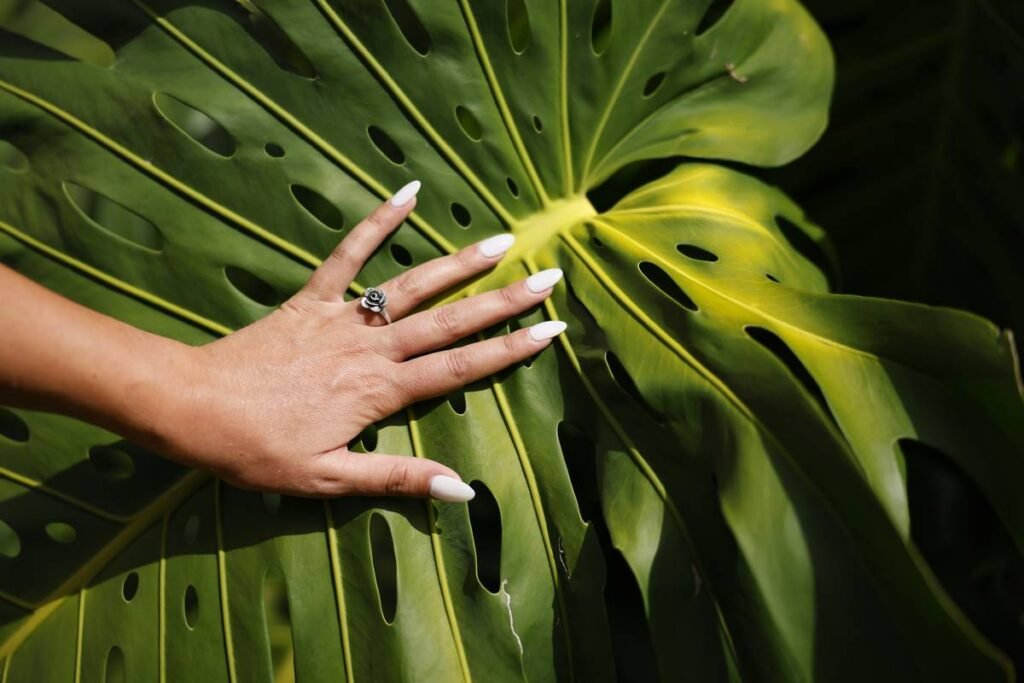
Picture this: You’ve spent hours scrolling through Pinterest, bookmarking dreamy nail designs featuring delicate florals, geometric patterns, and galaxy-inspired vibes. Excited, you grab some polish and what you assume is “just fine” — only to end up with chunky blobs instead of crisp lines. Sound familiar?
This exact scenario taught me one thing: A quality nail art brush makes all the difference. If your brush can’t hold enough product or has uneven bristles, no amount of Instagram tutorials will save your manicure. Investing in the correct tools not only saves time but also prevents nail art disasters that lead to frustration—and possibly chipped polish tears.
Choosing Your Perfect Nail Art Brush
“Optimist You:” ‘Ooh, shiny new brushes! Let’s go full Martha Stewart.’
“Grumpy You:” ‘Ugh, there are *so* many options… Can’t someone just tell me which ones work?!’
Fret not—here’s your simplified breakdown:
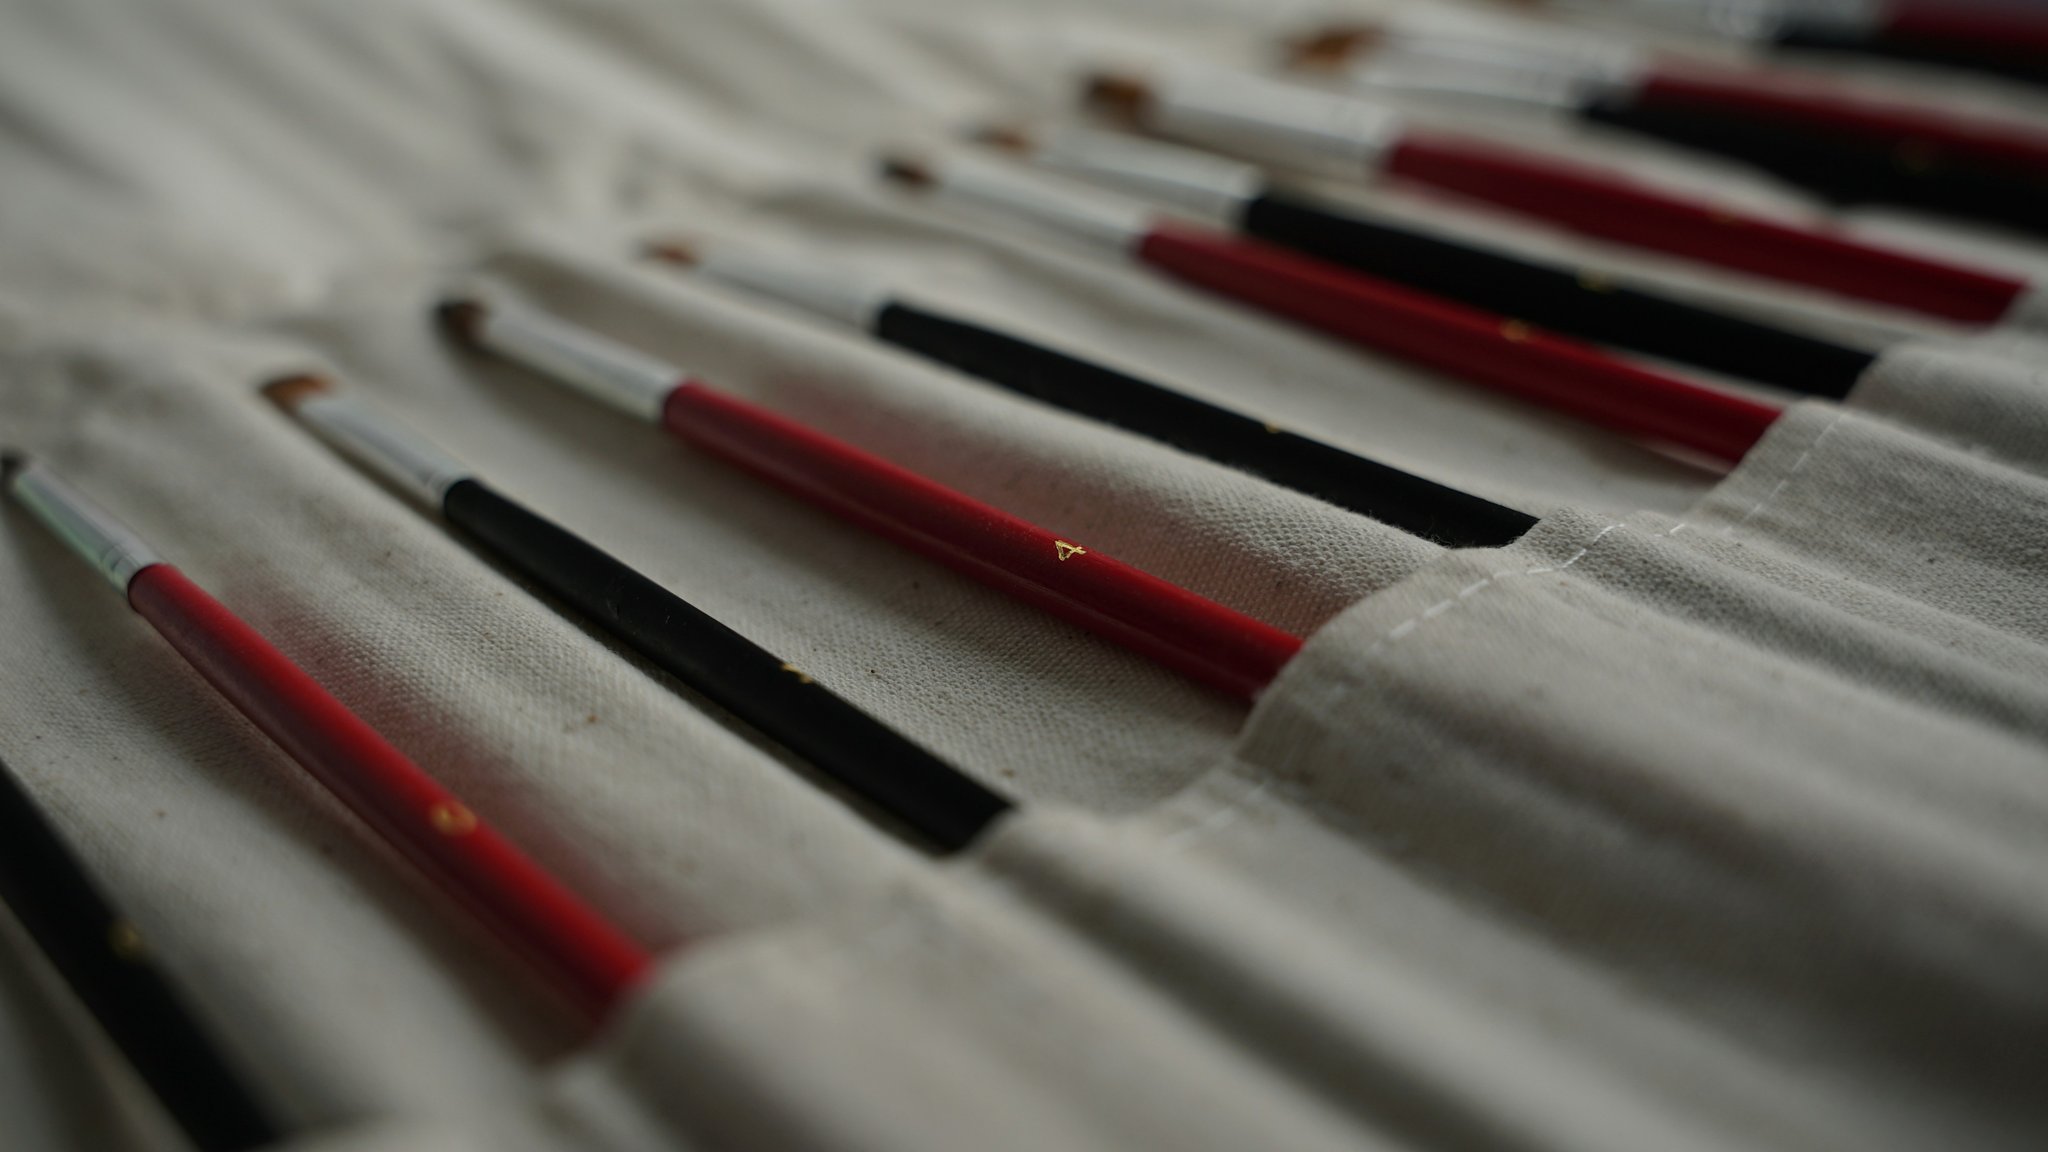
Step 1: Liner Brushes for Precision
A fine-tip liner brush is non-negotiable if you want sharp edges and thin lines. Look for one with long handles for better precision while painting delicate lacework or cursive writing. Example brands include OPI Precision Flat Brush.
Step 2: Dotting Tools for Accents
When adding small embellishments like polka dots or daisies, a dotting tool set becomes indispensable. These rounded ends allow even pressure distribution without overloading polish onto your nails.
Step 3: Fan Brushes for Textured Effects
For those marbled looks or soft gradients, fan brushes disperse color smoothly across surfaces. Experimentation leads to discovery, folks!
Mastering Essential Techniques with a Nail Art Brush
Basic Stroke Mastery
- Hold your brush at a slight angle for maximum control.
- Start light-handed and gradually increase pressure for thicker lines.
- Use quick, short movements for steady results.
Making Waves & Swirls
Practice S-curves by lightly dragging your liner brush back and forth along imaginary waveforms. Patience = perfection here, trust me.
Pro Tips for Flawless Nail Artistry
Tip #1: Invest in Quality Cleaner
Nail polish remover may seem convenient, but acetone-based formulas dry out synthetic bristles faster than Ross could say “We were on a break.” Opt for specialized brush cleaners designed specifically for nail art supplies.
Tip #2: Avoid This Terrible Tip
Don’t use old makeup brushes repurposed for nail art. Trust me—I tried it once thinking I was saving money. Spoiler alert: They spread clumps everywhere due to inconsistent fiber lengths. Lesson learned.
Tip #3: Store Properly
Keep brushes upright inside protective cases after cleaning them thoroughly post-session. Not only does proper storage avoid fraying, but it keeps dust away too.
Case Studies: From Beginner Blunders to Pro Designs
Beginner Blunder
Newbie artist Sarah once attempted her first rose design armed solely with a cheap drugstore liner brush. The outcome? Uneven petals resembling more Picasso than Pinterest-worthy roses. After upgrading to higher-grade DuoFiber Liners? Voila—consistency!
Pro Success Story
Seasoned pro Jessica recently nailed (pun intended!) a client request involving intricate henna-inspired motifs thanks entirely to her arsenal of premium tools. Moral of the story: High investment = high reward.
FAQs About Nail Art Brushes
Q: How often should I clean my nail art brush?
A: Clean immediately after each use to prevent residue buildup which affects performance.
Q: What’s the best way to store these brushes long-term?
A: Always keep stored vertically in a cool, dry place far removed from direct sunlight exposure.
Q: Are expensive brushes worth it compared to cheaper alternatives?
A: Yes—if maintained well, pricier options offer smoother application plus longer lifespan versus their budget counterparts.
Conclusion
Selecting and utilizing the optimal nail art brush transforms ordinary manicures into extraordinary masterpieces. Whether you’re dabbling casually or pursuing professionalism within the industry, arming yourself with knowledge empowers creativity significantly.
Remember our golden rules: Prioritize quality over quantity, care diligently for your tools, and never shy away from experimenting fearlessly. Soon enough, others will marvel at how effortlessly chic YOUR nails appear.
Like Claire’s iconic jingle echoed back in the day—“Who, who, who, who, who?” THAT would be YOU rocking those DIY manicures confidently now 😉