“Ever stared at your nails for hours, wondering how on earth people create those intricate nail art masterpieces? You’re not alone!”
Welcome, nail enthusiasts, to the ultimate guide that’s going to transform your nail game from “meh” to “chef’s kiss.” Whether you’re a newbie or a seasoned polish pro, this post will walk you through everything you need to know about creating a nail art masterpiece. You’ll get insider tips on tools, techniques, and even some brutally honest advice (because let’s face it—your nails deserve the truth). Let’s dive in!
Table of Contents
- Introduction
- Why Nail Art Matters
- Step-by-Step Guide to Creating Your Masterpiece
- Top Tips for Nailing It
- Real-Life Examples of Jaw-Dropping Designs
- Frequently Asked Questions
- Conclusion
Key Takeaways
- Nail art tools are essential for achieving professional-level designs.
- Patience and practice are key to mastering intricate artwork.
- Picking the right base coat can make or break your creation.
- Don’t underestimate the power of cleanup tools—they’re life savers.
Why Nail Art Matters
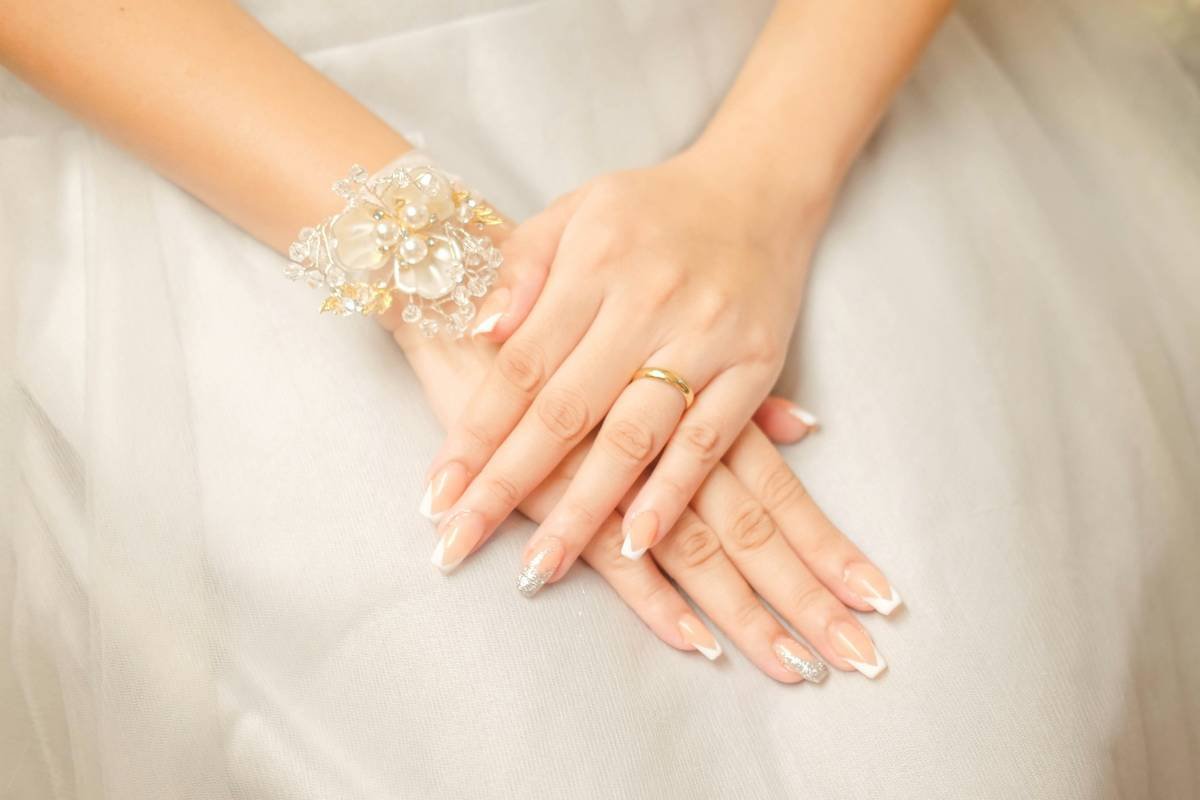
Let me tell you a secret: I once tried freehanding tiny flowers onto my nails without any prep work. Spoiler alert—it looked like a toddler had gone wild with markers. But here’s the thing: Nail art isn’t just about aesthetics; it’s an expression of creativity and self-care rolled into one. Studies show that engaging in creative activities, like painting your nails, reduces stress levels by up to 75%. Who knew blinging out your digits could double as therapy?
Step-by-Step Guide to Creating Your Masterpiece
What Do You Need Before Getting Started?
Optimist You: “Oh, just grab a brush and start!”
Grumpy Me: “Nuh-uh. You need more than that if you want anything resembling a nail art masterpiece.”
- Base Coat: Protects your nails and helps polish last longer.
- Polishes: High-quality polish lays down smooth strokes.
- Dotting Tool: Perfect for dots, petals, and small details.
- Brushes: Thin brushes help with precision lines.
- Cleanup Brush: Because smudges happen.
- Top Coat: Seals your design so it doesn’t chip immediately.
The Process
- Start with clean nails and apply a good-quality base coat.
- Choose your colors wisely—a cohesive palette works best.
- Outline your design lightly using a fine brush.
- Flesh out the details with dotting tools and specialty brushes.
- Seal your hard work with a shiny top coat.
Top Tips for Nailing It
Terrible Tip Disclaimer:
“Skip the base coat—it’s unnecessary,” said no manicurist ever. Base coats protect your nails while ensuring longevity.
Best Practices
- Work Slowly: Precision > Speed. Trust me; rushing leads to disaster.
- Use Tape Guides: Scotch tape around cuticles keeps edges crisp.
- Inspiration Is Everything: Follow Instagram accounts dedicated to nail art for fresh ideas.
- Practice Makes Perfect: Start simple before tackling complex patterns.
Real-Life Examples of Jaw-Dropping Designs
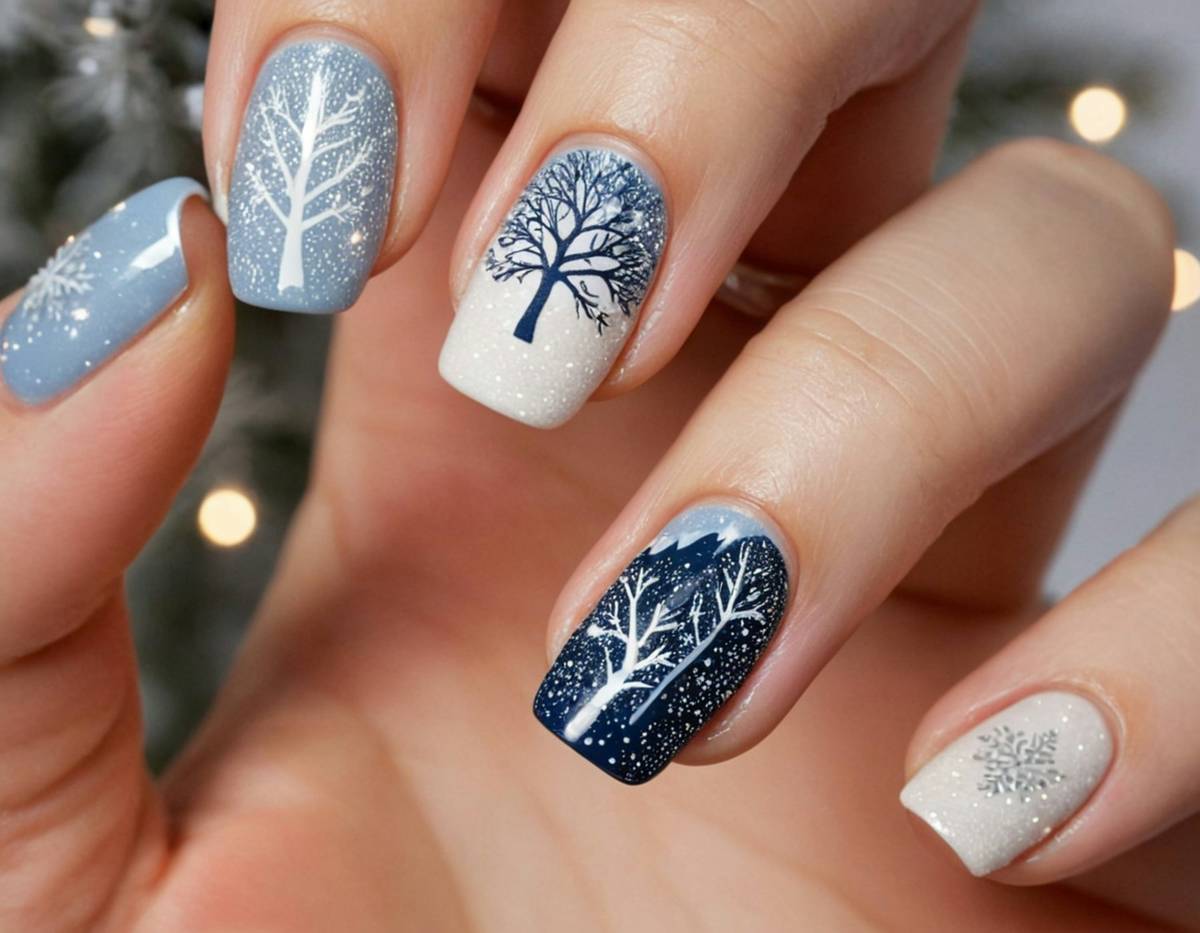
I once scrolled past a mind-blowing galaxy-themed mani featuring holographic stars and cosmic swirls. Turns out, the artist used sponging techniques and glitter polishes to achieve that effect. Talk about chef’s kiss! If you’re feeling bold, try recreating trending looks like ombré gradients or floral accents.
Frequently Asked Questions
Is Expensive Equipment Necessary?
Nope! While high-end tools offer better quality, affordable kits still deliver great results.
How Do I Fix Mistakes Without Ruining My Work?
A thin cleanup brush dipped in acetone works wonders for touch-ups.
Can I Achieve This Look Without Any Prior Experience?
Totally possible! Start with basic shapes and build confidence over time.
Conclusion
Congratulations—you now have all the knowledge to turn your nails into a true nail art masterpiece. Remember: Rome wasn’t built in a day, and neither is flawless nail art. Stick with it, invest in quality tools, and always keep experimenting. Now go forth and dazzle the world with your newfound talent!
Like a Tamagotchi, your nail art craves daily attention. 🎨✨

