“Ever stared at your nails after a DIY manicure, wondering why they looked more ‘Pinterest Fail’ than Pinterest-worthy? Yeah, us too.” Creating the perfect manicure art vibe isn’t just about talent—it’s also about having the right tools. But with countless brushes, dotting tools, and stencils on the market, where do you even start?
In this post, we’ll guide you through everything you need to know about mastering nail art tools so you can achieve professional-level designs from home. We’ll discuss key pain points like tool quality, budget options, and how not to mess up *that one intricate design*. You’ll learn:
- Why investing in premium nail art tools matters.
- A step-by-step toolkit checklist for beginners and pros alike.
- Tips to elevate your nail game (yes, those Instagrammable vibes are totally achievable!).
Table of Contents
- Key Takeaways
- The Real Struggle with Nail Art Tools
- Your Ultimate Manicure Toolkit Guide
- Top Tips for Nail Perfection
- Success Stories: From Disaster to Designer
- FAQs About Achieving the Perfect Manicure Art Vibe
Key Takeaways
- Quality over quantity when it comes to nail art supplies.
- The must-haves include brushes, dotting tools, striping tape, and base/top coats.
- Practice makes progress—not perfection!
What’s the Deal with Nail Art Tools Anyway?
Here’s a confession: I once used my roommate’s toothpick to create floral patterns on my nails. Spoiler alert—it ended in disaster. Not only did my hand cramp worse than during an all-night coding marathon, but I also ruined both her toothpick AND my manicure. Lesson learned: proper tools = non-negotiable if you want that “manicure art vibe.”
Sure, there’s something satisfying about going MacGyver-mode with household items, but let’s be real—nail art requires precision, which these cheap hacks simply don’t offer. Poorly designed tools lead to shaky lines, blotchy polish, and ultimately, frustration. So before you dive headfirst into creating abstract masterpieces, consider upgrading your gear.
Building Your Dream Manicure Toolkit: Step by Step
*Optimist You:* “Okay, what do I actually need?”
*Grumpy You:* “Ugh, fine—but only if coffee’s involved.”
- Detail Brushes: These thin brushes are lifesavers for intricate linework or delicate embellishments. Look for synthetic fibers—they hold their shape better.
- Dotting Tools: Essential for polka dots, hearts, and other symmetrical shapes. Pro tip: Start small and work your way up to larger sizes.
- Striping Tape: Want clean geometric patterns without smudging? This adhesive tape is basically magic.
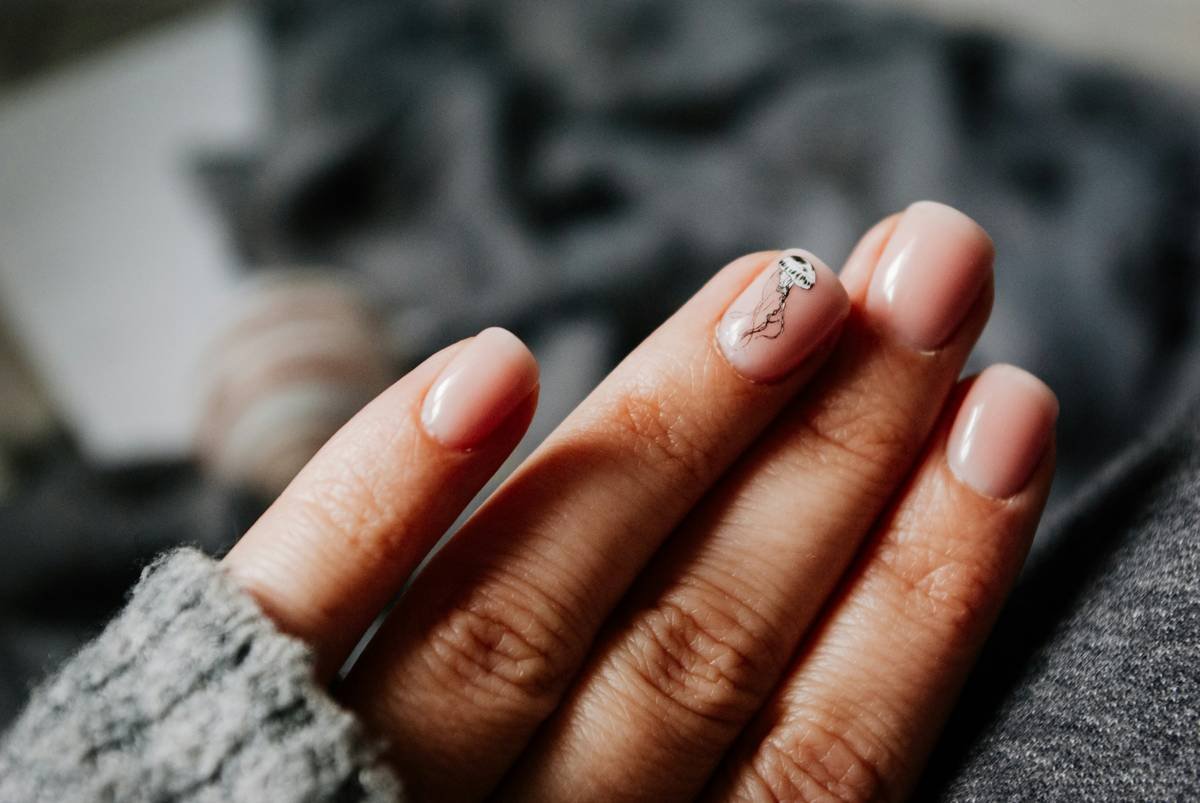
- Rhinestones & Stickers: Elevate your mani instantly with decorative accents. Just make sure they’re flat-back-friendly for durability.
- Clean-Up Brush: Accidents happen. Keep a teeny angled brush dipped in remover nearby for touch-ups.
Pro-Tips for That Flawless Manicure Vibe
- Invest Wisely: Low-quality tools may seem budget-friendly, but trust me—a $3 brush vs. a $15 one makes ALL the difference.
- Stay Hydrated: Yep, hydration counts here too! Dry cuticles = cracked polish nightmares.
- Lighting Matters: Work near natural light or invest in a good lamp—nothing kills creativity faster than poor visibility.
- PRACTICE SLOWLY FIRST: Rushing will result in blobby chaos. Take your time; patience pays off.
- Terrible Tip Alert: DO NOT use old mascara wands as nail art tools unless you want bacterial drama instead of #NailGoals.
Success Stories: Turning Nail Nightmares Into Masterpieces
Meet Sarah. When she started experimenting with nail art, her first attempt resembled a kindergarten fingerpainting session gone rogue. Fast forward six months later—she was featured in a local magazine for her stunning ombre gradients and floral motifs. The secret? She upgraded her tools and followed our step-by-step guide religiously. Moral of the story? Even disasters have potential!
Frequently Asked Questions About the Manicure Art Vibe
Which brush type works best for fine details?
Fine detail brushes with synthetic bristles are top-tier for ultra-sharp linework.
How often should I replace my tools?
Regular cleaning extends lifespan, but replace worn-out brushes every 6–12 months.
Can I achieve professional results at home?
Absolutely—with consistent practice and high-quality tools, salon vibes are within reach!
Conclusion
To truly master the manicure art vibe, remember that it’s less about being artistic Michelangelo and more about equipping yourself with the right supplies. Arm yourself with reliable tools, keep practicing, and never underestimate the power of good lighting. Soon enough, you’ll go from frustrated newbie to confident creator—just don’t forget your coffee along the way.
Final words: Like finding Waldo in a crowded mall, nailing the perfect design takes focus, patience—and yes, occasionally squinting really hard. ✨💅
Random Haiku Moment:
Bubbles pop softly
Polish dries under warm air
Nails whisper style

