Ever spent hours painstakingly placing tiny nail rhinestones or decals, only for them to fall off within minutes? Yeah, us too. If you’ve ever felt like your nail art dreams were slipping through your fingers—literally—you’re not alone. Enter the unsung hero of the nail art world: nail art adhesive. In this guide, you’ll learn everything from what it is to how to use it like a pro, plus our favorite tools and tips to take your designs from meh to mesmerizing.
Table of Contents
- Introduction
- Why You Need Nail Art Adhesive
- How to Use Nail Art Adhesive Like a Pro
- Tips & Best Practices for Perfect Application
- Real-World Success Stories
- FAQs About Nail Art Adhesive
- Conclusion
Key Takeaways
- Discover why nail art adhesive is essential for long-lasting designs.
- Learn step-by-step instructions on applying adhesive for rhinestones, gems, and more.
- Get expert tips on avoiding common pitfalls (like sticky messes).
- Explore real-world examples of stunning designs enhanced by nail art adhesive.
- Find answers to frequently asked questions about adhesives.
Why You Need Nail Art Adhesive
Nail art is an incredible way to express creativity, but let’s talk about the elephant in the room: NOTHING is worse than spending hours creating intricate designs, only for them to crumble faster than your post-workout motivation. Trust me—I once tried using clear glue because I was “sure it would work,” only to end up with crusty glue chunks under my nails that took DAYS to scrub off. It wasn’t cute.
That’s where nail art adhesive comes in. Specifically designed for delicate embellishments, these products provide just enough stick without turning into a goopy nightmare. They can make or break your manicure game—and trust me, you don’t want to skimp here.
How to Use Nail Art Adhesive Like a Pro
Alright, let’s get down to business. Here’s how you can master the art of using nail art adhesive:
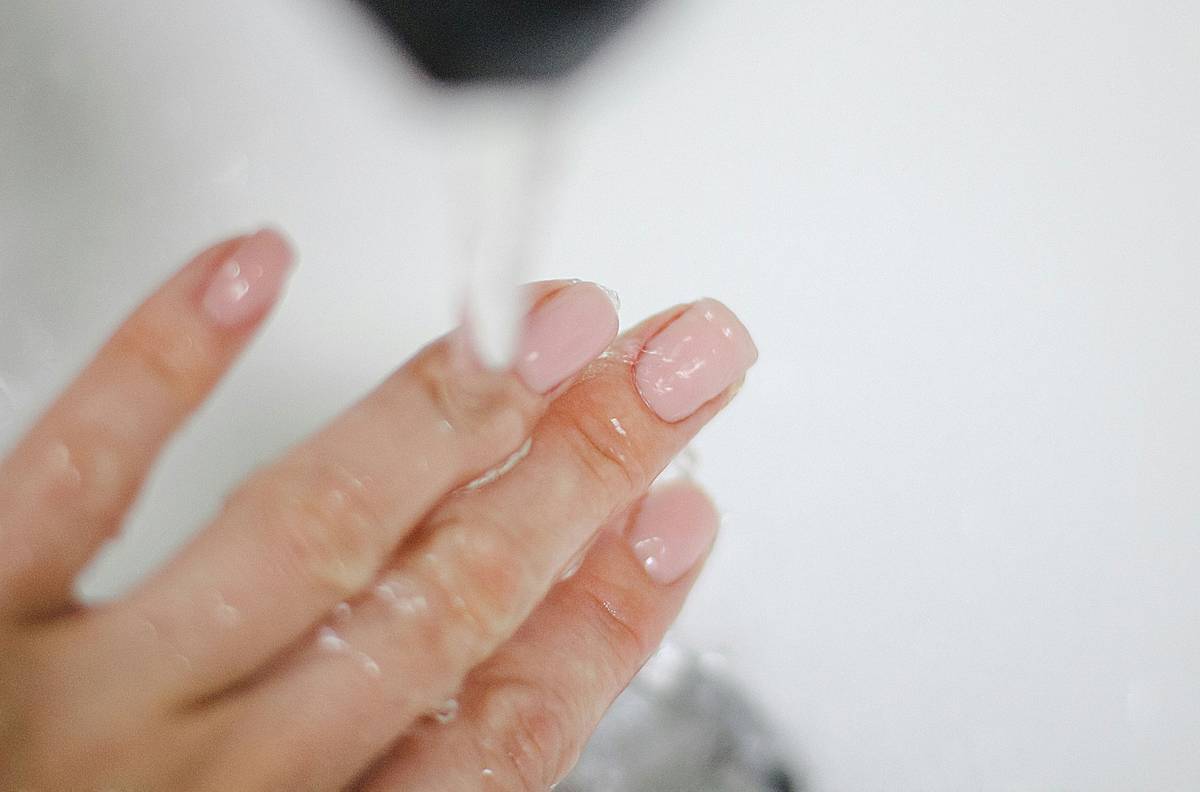
Step 1: Prep Your Nails
Before diving in, start with clean, dry nails. Any oil or residue will cause your adhesive to lose its grip. File and shape your nails as needed, then apply a base coat to create the perfect canvas.
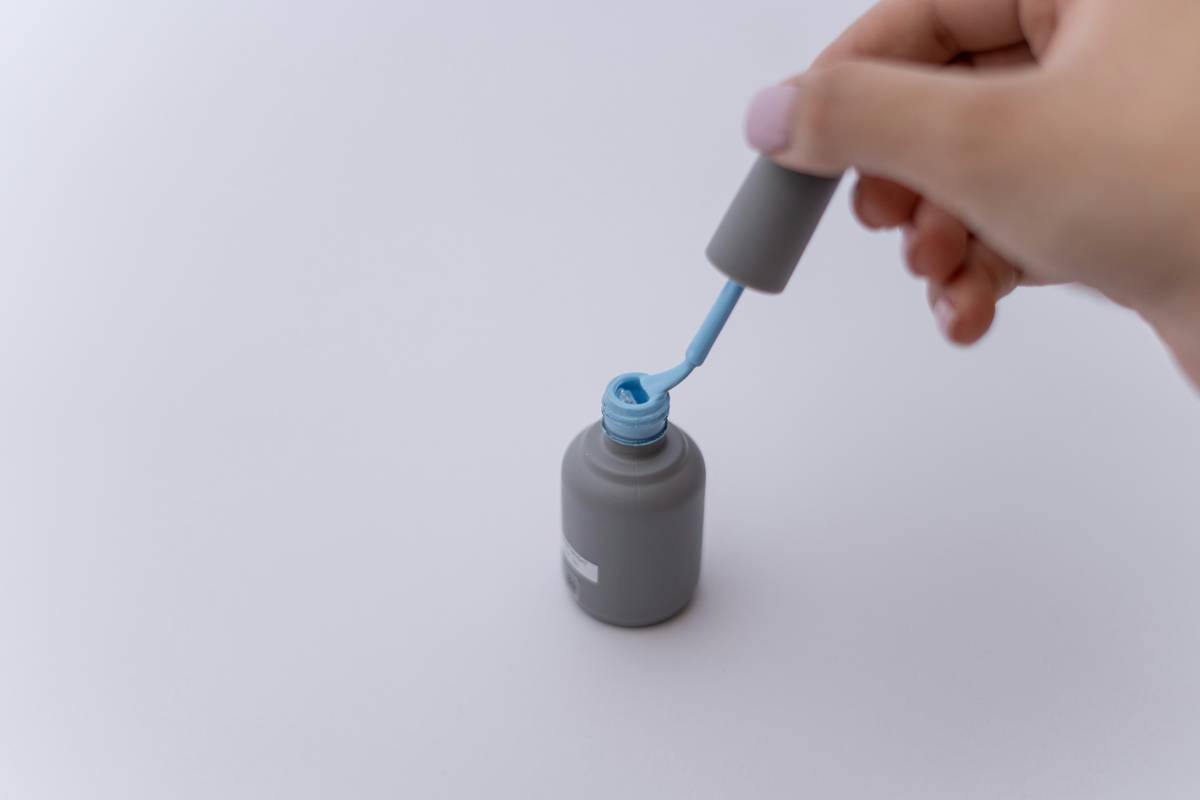
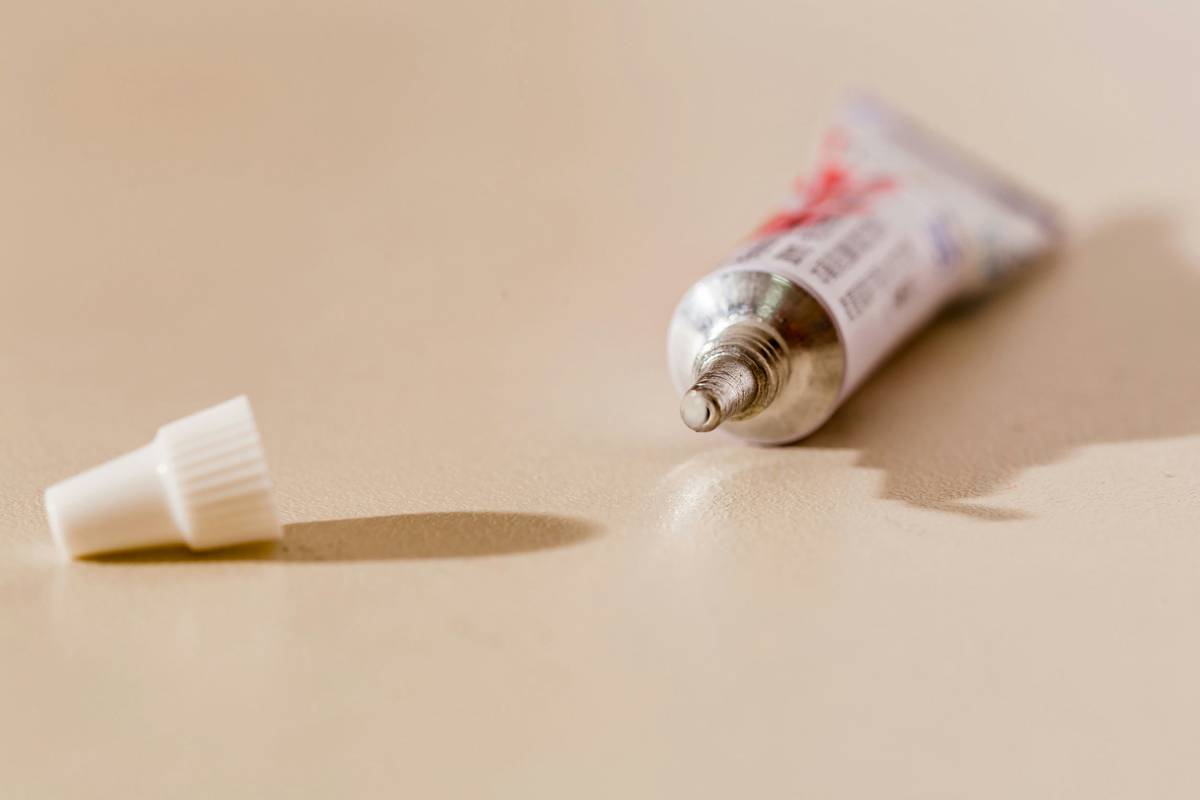
Step 2: Choose the Right Type of Adhesive
Not all nail art adhesives are created equal. Some are gel-based, while others come in liquid form. For beginners, we recommend starting with a pen-style applicator—it’s easier to control and less likely to overflow.
Step 3: Apply Sparingly
Dip the brush lightly into the adhesive product and dab it gently onto the area you plan to decorate. Remember, LESS IS MORE. Too much sticky stuff = one big glitter disaster waiting to happen.
Step 4: Place Your Embellishments
Quickly position your rhinestones, charms, or decals before the adhesive dries. Use tweezers for precision—they’re practically life-changing when working with small pieces.
Step 5: Seal the Deal
Once everything’s in place, finish with a topcoat to lock your design in place. This adds shine AND durability so your masterpiece stays intact longer.
Tips & Best Practices for Perfect Application
- Keep Cotton Swabs Handy: Accidental smudges? No problem. Dip a swab in nail polish remover to fix errors instantly.
- Avoid Overloading: Too much adhesive looks messy and takes forever to dry. Precision > coverage.
- Invest in Quality Tweezers: Cheap ones will have you dropping gems faster than you can say “sparkle.”
- Pet Peeve Alert: Stop shaking those liquid adhesives like they owe you money! Shaking introduces air bubbles, which ruin consistency. Instead, gently roll the bottle between your palms.
- Terrible Tip Disclaimer: Never substitute superglue for nail art adhesive. Yes, someone actually tried this. Result? Hospital trip + permanently damaged nail bed. Don’t be that person.
Real-World Success Stories
Let’s take inspiration from @NailArtJunkie101, who went viral after posting her galaxy-themed manicure featuring holographic stars secured with nail art adhesive. Or consider @RhinestoneQueen_, whose crystal-encrusted claws stayed intact through FIVE full days of vacation thanks to proper sealing techniques.
FAQs About Nail Art Adhesive
Can I Use Regular Glue Instead?
Nope! Regular glue isn’t safe for your nails and often dries too rigid, leading to cracks or breaks. Stick to products specifically formulated for nail art.
How Long Does Nail Art Adhesive Last?
With proper care (cue the topcoat!), most designs last anywhere from 7–10 days.
What If My Adhesive Gets Too Thick?
Add a drop of acetone or rubbing alcohol to thin it out slightly. But do NOT overdo it—it could affect performance.
Conclusion
If there’s one thing every aspiring nail artist needs in their toolkit, it’s reliable nail art adhesive. From prep to finish, mastering this tool opens up endless creative possibilities. So grab your tweezers, pick up some shiny embellishments, and start creating magic!
Oh, and remember… practice makes perfect. Even Van Gogh had to paint Sunflowers a few times before he got it right. Now go forth and sparkle responsibly, my friend.
“Like a Tamagotchi, your nail art needs love + daily care.”

