“Ever tried creating intricate nail art designs with a toothpick? Yeah, it’s as frustrating as trying to text with mittens on.”
If you’ve ever stared at your nails after an unsuccessful DIY design attempt and muttered, “This is NOT Pinterest,” then this post is for you. Today, we’re diving deep into how a professional nail dotting tool can transform your manicure game from sad blobs to salon-level masterpieces. We’ll cover everything from why these tools are non-negotiables in your kit to step-by-step guides on using them like a pro.
Table of Contents
- Key Takeaways
- Why Professional Nail Dotting Tools Matter
- Step-by-Step Guide to Using Your Tool
- Tips & Best Practices for Stunning Designs
- Examples That Inspire
- Frequently Asked Questions About Nail Dotting Tools
- Conclusion
Key Takeaways
- A professional nail dotting tool offers unmatched precision compared to makeshift alternatives.
- Investing in quality tools saves time, reduces frustration, and elevates your artistry.
- With practice, even beginners can achieve stunning designs using simple techniques.
- Don’t fall for cheap imitations; opt for durable tools designed by industry experts.
- We debunk myths about overcomplicating nail art and reveal easy hacks anyone can use.
Why Professional Nail Dotting Tools Matter
Let me paint you a picture—or rather, let me *dot* one. Imagine spending hours painstakingly hand-painting tiny flowers onto your nails… only for every petal to look more like a wobbly amoeba than delicate blossoms. Sounds familiar?
I once attempted French tips using a pen cap (yes, I was desperate). The result? A chaotic mess that made my fingers resemble abstract art gone wrong. Not cute.
The truth is, nail art isn’t just about creativity—it’s also about having the right tools. A professional nail dotting tool provides:
- Precision: Thin, tapered ends allow you to create fine details without smudging.
- Versatility: Different-sized dots cater to various design needs, from small polka dots to bold patterns.
- Durability: High-quality materials ensure long-lasting performance—no snapping mid-manicure.
This investment is truly chef’s kiss for leveling up your at-home nail art game.
Optimist You: “I’ll finally get those flawless Instagram-worthy nails!”
Grumpy You: “Ugh, fine—but only if there’s wine nearby.”
Step-by-Step Guide to Using Your Professional Nail Dotting Tool
Step 1: Prep Your Canvas
Start with a clean base coat. This ensures smooth application and prevents polish from chipping prematurely.
Step 2: Pick Your Color Palette
Choose complementary shades for your design. Pro tip: Stick to two or three colors max for a polished look.
Step 3: Dip, Dot, Repeat
Dip the tip of your professional nail dotting tool into the polish and gently press down onto the nail. Practice controlling pressure to adjust dot size.
Step 4: Add Finishing Touches
Use a thin brush or smaller end of the tool for detailing. Seal everything with a topcoat to lock in your hard work!
(Pro Rant: If someone tells you freehanding glitter gradients with a safety pin is ‘easier,’ feel free to laugh loudly.)
Tips & Best Practices for Stunning Designs
- Work Slowly: Precision takes patience. Don’t rush, or you might end up with wonky lines.
- Keep It Clean: Wipe off excess polish frequently to avoid clumps.
- Experiment Freely: Try combining colors, shapes, and textures to discover unique styles.
- Invest Wisely: Cheaper tools may seem tempting, but they often lack durability and precision.
- (And here’s the terrible tip you shouldn’t follow…) TERRIBLE TIP: Never try sharpening the end of a broken bobby pin and call it a dotting tool. It’s jagged, unsafe, and frankly embarrassing.
Examples That Inspire
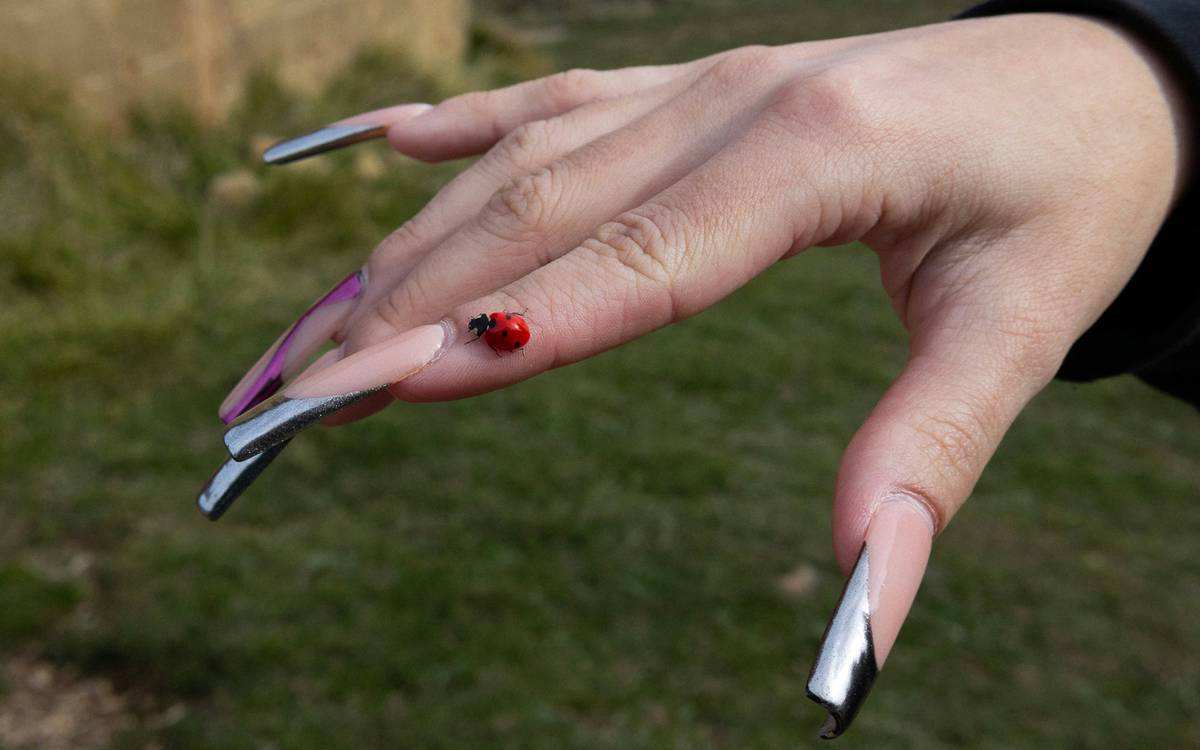
Want proof of what a professional nail dotting tool can do? Check out these before-and-after transformations:
| Before | After |
|---|---|
 |
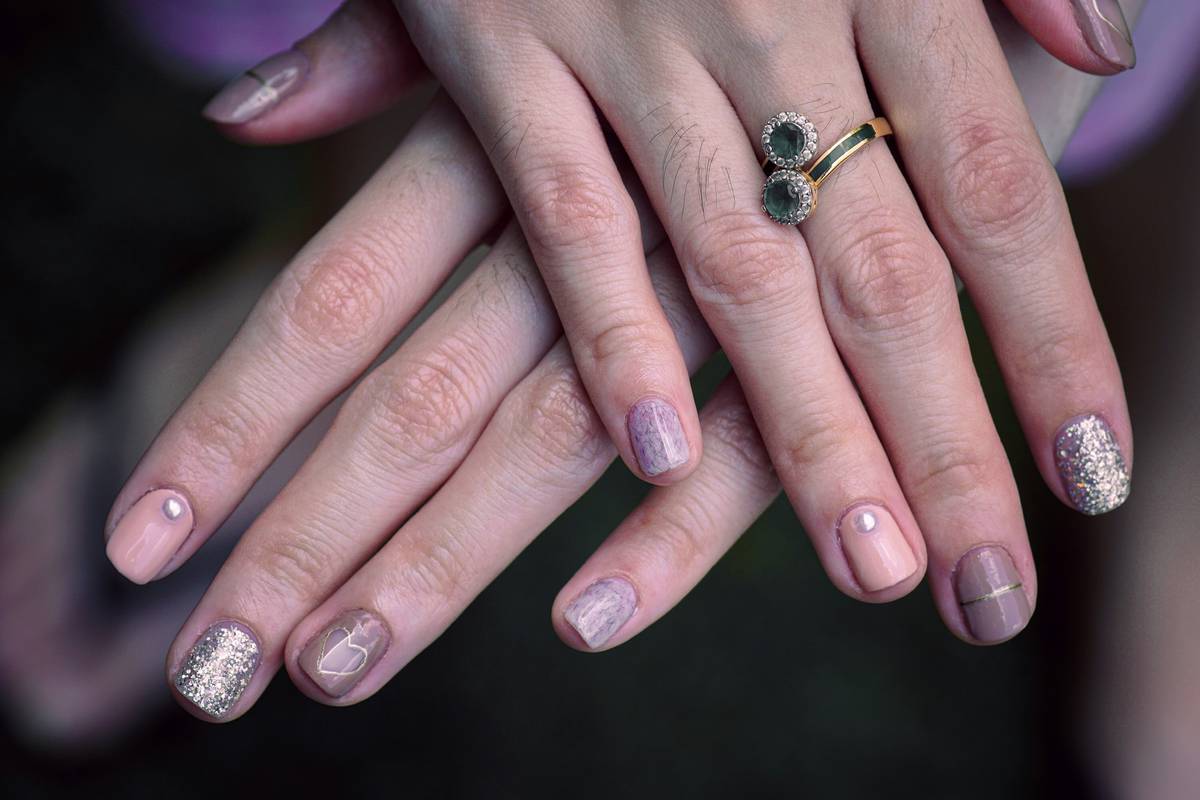 |
Notice how much depth and character those precise dots add? Suddenly, plain nails feel magical!
Frequently Asked Questions About Nail Dotting Tools
Q: Can I use household items instead of buying a professional nail dotting tool?
While you could technically make do with toothpicks or skewers, nothing beats the ergonomic comfort and precision offered by a specialized tool. Plus, who has time to MacGyver their beauty routine?
Q: How many sizes should my nail dotting tool include?
Most professionals recommend a set with 3–5 different sizes. This range allows flexibility for all types of designs.
Q: Are expensive brands worth it?
Not necessarily. While super-cheap tools risk breaking easily, mid-range options often provide excellent value without breaking the bank.
Conclusion
Whether you’re a beginner dreaming of Pinterest-perfect nails or a seasoned artist seeking precision, a professional nail dotting tool belongs in your arsenal. By investing in quality tools and mastering basic techniques, you’ll unlock endless creative possibilities.
Remember, Rome wasn’t built in a day, and neither is flawless nail art. Start small, stay patient, and celebrate each victory along the way. And hey, treat yourself to some wine while practicing—it makes mistakes taste better.
Like a Tamagotchi, your nail art skills need daily care. So grab that dotting tool, fire up your imagination, and watch your fingertips come alive.

