
Ever stared at your nails, dreaming of turning them into tiny masterpieces but feeling overwhelmed by where to start? Yeah, we’ve all been there. Whether you’re a nail art newbie or a seasoned pro, nailing that perfect creative nail theme can feel like trying to solve a Rubik’s Cube blindfolded.
In this guide, we’ll dive deep into everything you need to know about creating jaw-dropping nail designs—from choosing the right tools to avoiding rookie mistakes (trust me, I once ruined an entire set because I skipped prepping my nails). By the end of this post, you’ll be armed with actionable tips, tool recommendations, and creative ideas to take your nail game from “meh” to “marvelous.” So grab your coffee (or wine—no judgment here!) and let’s get started!
Table of Contents
- Why Is Nailing a Creative Nail Theme So Hard?
- Step-by-Step Guide to Creating Stunning Nail Art
- Top Tips for Choosing and Using Nail Art Tools
- Real-Life Inspiration: Amazing Examples of Creative Nail Themes
- Frequently Asked Questions About Nail Art Tools
Key Takeaways
- Finding the right tools is half the battle when it comes to executing a creative nail theme.
- Preparation and planning are non-negotiable if you want salon-worthy results.
- You don’t need a degree in art to create stunning designs—practice makes progress!
Why Is Nailing a Creative Nail Theme So Hard?
Grumpy Optimist You: “It’s just paint on nails—it shouldn’t be rocket science!”
Actual Reality You: “Yeah… until you smudge the design three times and ruin your cuticles.”
Creating a creative nail theme isn’t as simple as slapping some polish on and calling it a day. It requires patience, practice, and—most importantly—the right tools. Here’s why it’s trickier than it looks:
- Tool Overload: With hundreds of brushes, dotting tools, and stencils out there, it’s easy to get lost in the options.
- Time Constraints: Who has hours to sit still while their nails dry? Not us multitasking queens.
- Mistakes Happen: One wrong stroke can turn your dream design into a nightmare. (Confession: My first attempt at gradients looked more like a toddler finger-painting session.)
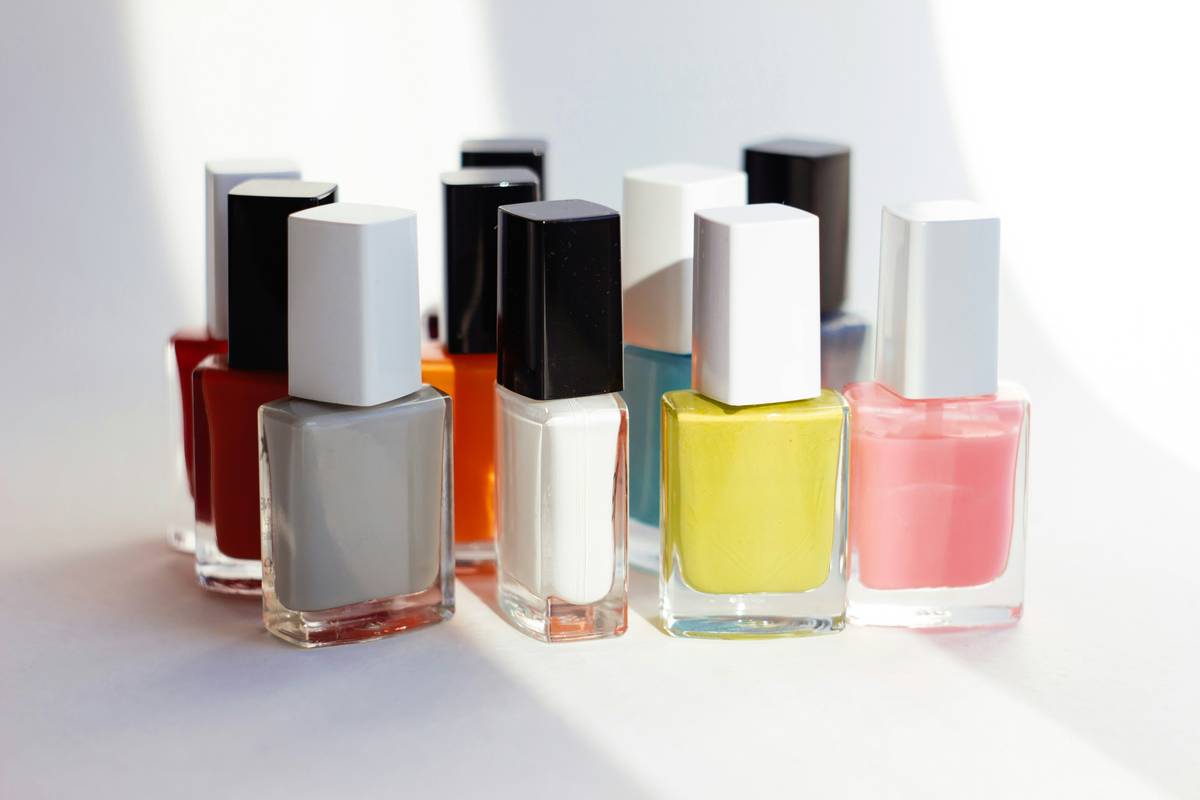
Image 1: A collection of popular nail art tools every enthusiast should consider.
Step-by-Step Guide to Creating Stunning Nail Art
Step 1: Prep Like a Pro
Before you even think about colors, prep your nails. File, buff, clean, and moisturize. Skipping this step is like skipping sunscreen before tanning—it always ends badly.
Step 2: Choose Your Creative Nail Theme
What vibe are you going for? Minimalist chic? Retro vibes? Or maybe something wild like galaxy swirls? Decide early so you can gather the right tools and polishes.
Step 3: Invest in Quality Tools
Your tools make or break your design. Some must-haves include:
- Striping Brushes: Perfect for intricate lines.
- Dotting Tools: Ideal for polka dots and small details.
- Rhinestones & Stickers: Instant glam without the fuss.
Pro Tip: Avoid cheap brushes—they shed like cats during allergy season.
Step 4: Practice Makes Progress
Don’t expect perfection on your first try. Start simple, then level up. Trust me, Rome wasn’t built in a day, and neither were flawless floral patterns.
Top Tips for Choosing and Using Nail Art Tools
If you’re ready to invest in your nail art arsenal, here’s what you need to know:
- Start Small: You don’t need every tool under the sun. Focus on versatile basics like a fine brush and a dotting tool.
- Clean As You Go: Keeping your tools clean prevents streaky disasters.
- Quality Over Quantity: A $5 brush might save cash now, but it won’t last long. Spend wisely.
Real-Life Inspiration: Amazing Examples of Creative Nail Themes
Sometimes seeing is believing. Check out these killer examples:
- Glow-in-the-Dark Designs: Perfect for Halloween parties or summer festivals.
- Watercolor Effects: Use a sponge dabbing technique to mimic soft watercolor strokes.
- Seasonal Themes: Think snowflakes in winter or cherry blossoms in spring.
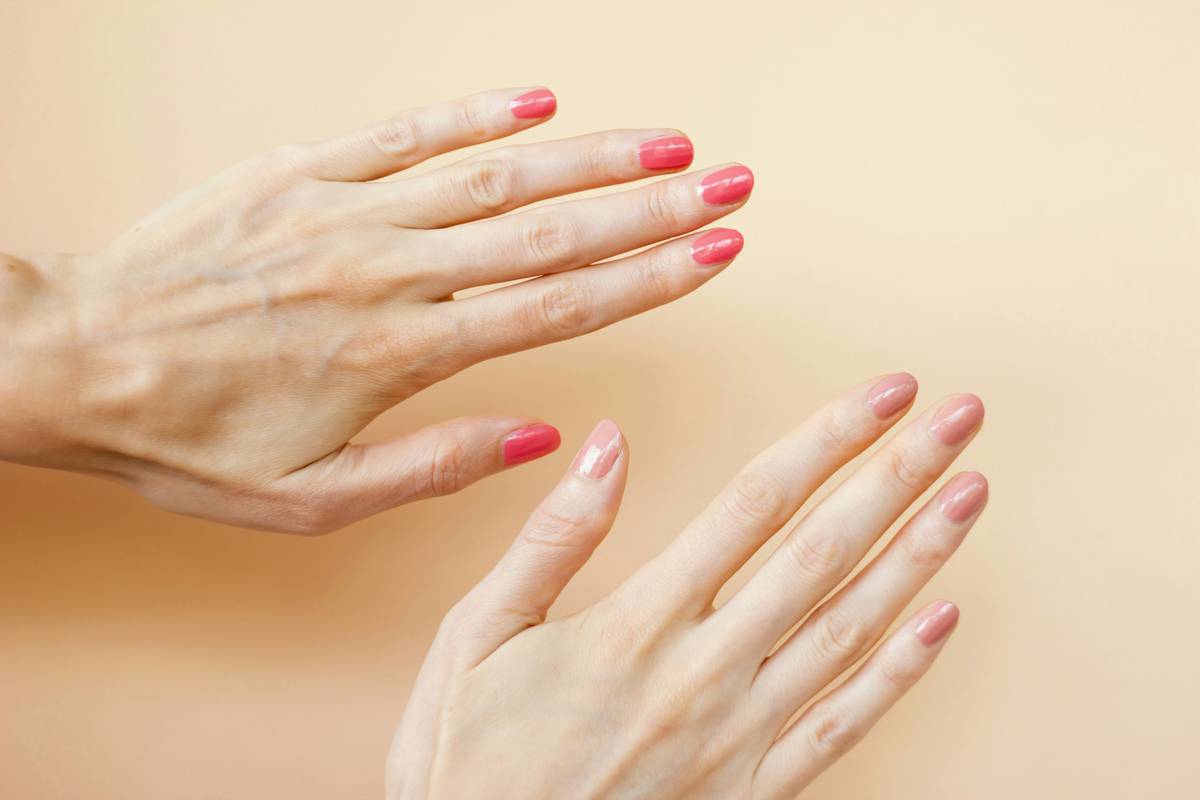
Image 2: Watercolor-themed nails created using sponges and light pastel polishes.
Frequently Asked Questions About Nail Art Tools
Q: What’s the best beginner-friendly tool for nail art?
A: Dotting tools! They’re affordable, easy to use, and versatile enough for multiple designs.
Q: Can I do nail art without professional training?
A: Absolutely! YouTube tutorials and online guides will have you leveling up in no time.
Q: Should I buy premade stickers instead of doing hand-painted designs?
A: Premade stickers are great for quick fixes, but they lack the personal touch of handmade art. Plus, practicing improves your skills over time.
Conclusion
Nailing a creative nail theme may seem daunting, but with the right mindset—and the right tools—it’s totally achievable. Remember, every Picasso started somewhere, and so can you. Keep experimenting, stay patient, and most importantly, enjoy the process!
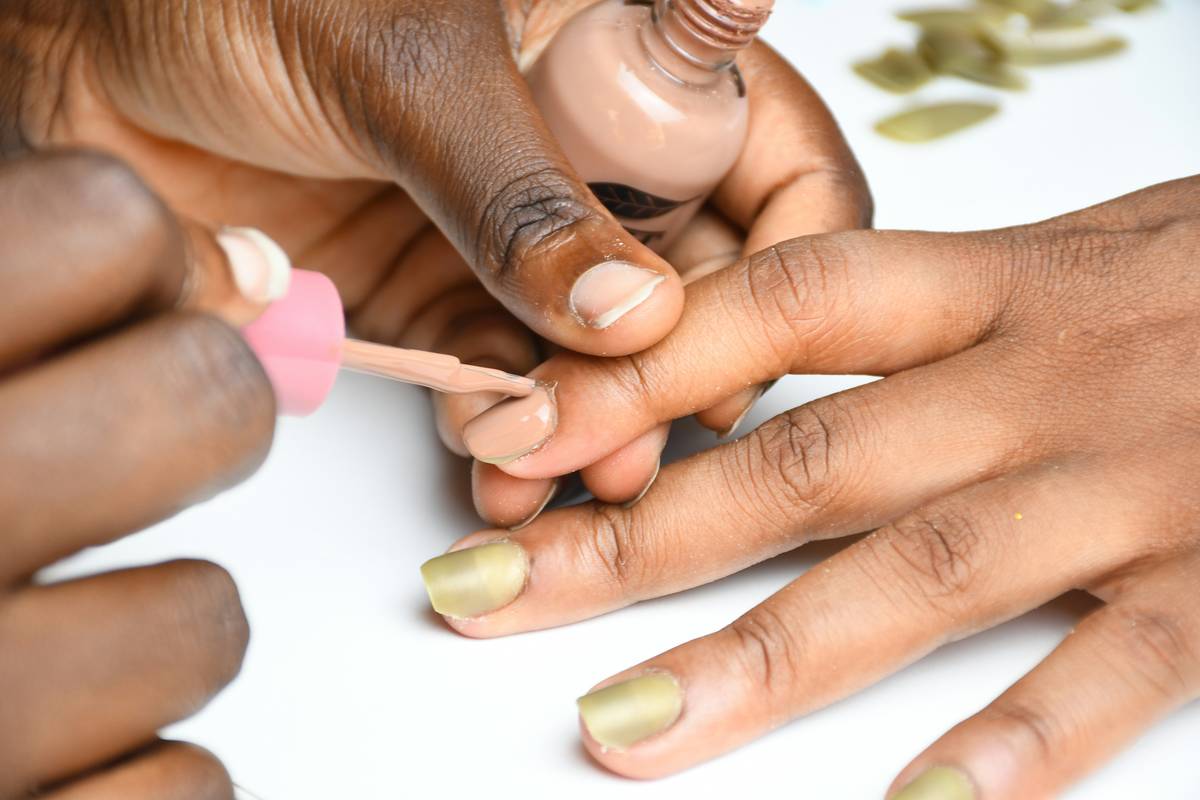
Image 3: A galaxy-themed manicure showcasing creativity and precision.
Like finding Waldo in a sea of stripes, mastering nail art takes focus and fun. Now go forth and dazzle the world one manicure at a time!
P.S. Like a Tamagotchi, your nails need TLC daily.

