
Ever spent hours painstakingly applying nail art gems, only to have them pop off before you even leave the house? Yeah, us too.
Nail art gems are the glittering stars of any manicure—adding sparkle, dimension, and that “did she just walk out of a salon?” wow factor. But let’s be real: mastering this trend can feel more like assembling IKEA furniture than crafting beauty. Whether you’re an amateur DIY-er or a seasoned pro, navigating the world of nail art gem tools and techniques is no small feat.
In this guide, we’ll walk you through everything from the must-have tools for effortless application to insider tips for making your designs last longer (and look better). Spoiler alert: there’s also a rant about cheap glue and some brutal honesty about shortcuts you should *never* take.
Table of Contents
- Why Nail Art Gems Are Worth the Hype
- The Essential Tools Every Gem Lover Needs
- Step-by-Step Guide to Applying Nail Art Gems
- Pro Tips for Flawless Nail Art Gem Designs
- Examples of Jaw-Dropping Nail Art Gem Looks
- Frequently Asked Questions About Nail Art Gems
Key Takeaways
- Nail art gems elevate any manicure with minimal effort.
- Investing in quality tools makes all the difference.
- Avoid shortcuts like skipping base coats—they cost you in the long run.
- Practice and patience are key, but mistakes happen to everyone.
Why Nail Art Gems Are Worth the Hype
If you’ve scrolled through Instagram lately, chances are you’ve seen dazzling nails covered in tiny rhinestones, pearls, and sequins. These aren’t just random decorations—they’re carefully curated pieces of art designed to make your digits stand out.
“Optimist You:* ‘This design will stop traffic!’
Grumpy You: ‘Ugh, fine—but only if I don’t smudge it first.'”*
But why exactly are nail art gems so popular? For starters, they offer unparalleled versatility. Want something subtle? Add a few strategically placed stones. Craving boldness? Go full-on crystal extravaganza. Plus, unlike intricate hand-painted designs, gems require zero artistic talent—you’re simply placing pre-made bling where it looks good.
The Essential Tools Every Gem Lover Needs
Before diving into your next gemstone masterpiece, ensure you’re equipped with the right gear. Here’s what you absolutely need:
1. Dotting Tool
The unsung hero of nail art, a dotting tool helps pick up and place gems with precision. Look for one with dual ends—a fine tip for small stones and a larger end for clusters.
2. Strong Adhesive
Skip the drugstore glues that dry too fast or lose their stickiness after 20 minutes. Invest in professional-grade nail glue or gel topcoats specifically formulated for holding embellishments.
3. Gem Picker-Uppers
Think tweezers, wax picks, or silicone tools. Each has its pros and cons; experiment to find what works best for your grip style.
Step-by-Step Guide to Applying Nail Art Gems
- Prep Your Canvas: Clean and shape your nails, then apply a base coat to protect against staining.
- Choose Your Design: Sketch ideas on paper or use inspiration photos as a roadmap.
- Apply Polish/Base: Paint your desired polish color or layer a sticky gel topcoat where gems will go.
- Pick & Place: Use your preferred picker-upper to position gems neatly onto wet polish or adhesive.
- Seal the Deal: Finish with a flexible topcoat to lock everything in place without dulling the shine.
Note: Never skip sealing your work—it’s the difference between Insta-worthy nails and gems falling off mid-dinner date!
Pro Tips for Flawless Nail Art Gem Designs
Here’s how to avoid common pitfalls while upgrading your game:
- Use Less Than You Think: Overloading nails with gems often looks cluttered. Start small and build symmetry gradually.
- Match Stones to Occasions: Subtle pearls suit office settings, while bold metallics scream party-ready glam.
- Clean As You Go: Mistakes happen. Keep cotton swabs dipped in remover nearby for quick fixes.
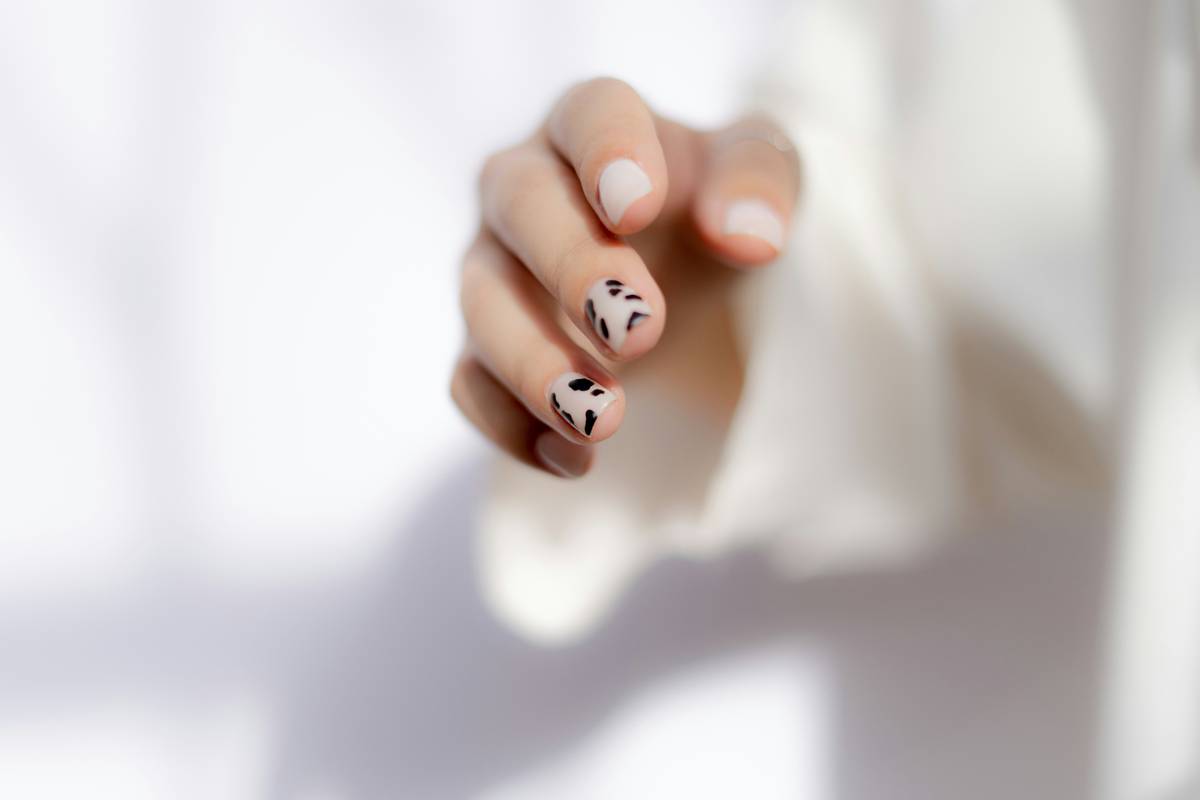
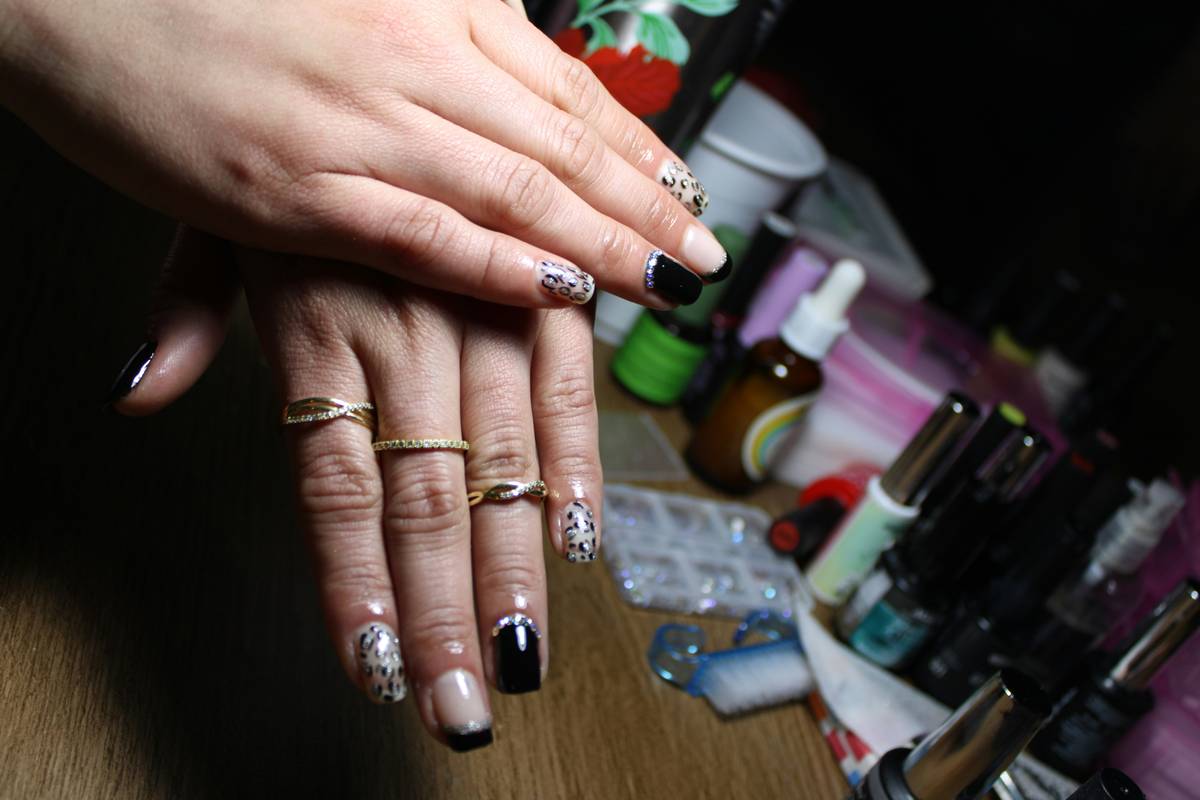
Examples of Jaw-Dropping Nail Art Gem Looks
Check out these stunning examples for inspo:
- A gradient ombre effect featuring multicolored gems fading from dark to light.
- An accent nail showcasing a cluster of pearlescent stones at the cuticle.
- A minimalist French tip upgraded with dainty silver studs along the edge.
Frequently Asked Questions About Nail Art Gems
How do I make my nail art gems stay on longer?
Use high-quality adhesives and always seal with a flexible topcoat. Avoid soaking hands in water immediately post-application.
Can I remove gems without ruining my polish?
Yes! Soak nails in warm, soapy water to loosen the adhesive, then gently scrape off gems with a wooden stick.
What’s the worst mistake beginners make?
Rushing the process. Patience ensures cleaner lines and fewer mishaps.
Conclusion
Nail art gems might seem intimidating at first glance, but armed with the right tools and knowledge, anyone can rock them like a pro. Remember: practice leads to perfection, and sometimes failing gloriously teaches more than acing it every time.
Now go forth and dazzle—your nails deserve it!
Sidebar haiku moment:
Gems glimmer softly,
Nails whisper tales untold—
Shine bright, stay steady.

