
“Ever stared at a Pinterest-worthy nail art design, only to realize your DIY attempt looks like a toddler’s finger painting? Yeah, we’ve all been there.”
If you’re serious about leveling up your nail game, then mastering the art of nail art charm is non-negotiable. Whether you’re aiming for intricate floral designs or minimalist geometric patterns, having the right tools can make or break your masterpiece.
In this post, we’ll walk you through everything you need to know about nail art tools—starting with the basics and diving deep into expert-level tips (including my infamous “hot-glue disaster”). You’ll also discover:
- The must-have tools every nail artist needs.
- A step-by-step guide to creating stunning nail art charms.
- Bonus pro tips for avoiding rookie mistakes.
Table of Contents
- Introduction
- Key Takeaways
- Why Nail Art Tools Matter
- Step-by-Step Guide to Nail Art Tools Mastery
- Pro Tips for Using Nail Art Tools Effectively
- Inspiring Nail Art Charm Examples
- FAQs About Nail Art Charms
- Conclusion
Key Takeaways
- Nail art tools are foundational for achieving professional results.
- Start with beginner-friendly tools before investing in advanced kits.
- Practice and patience will elevate your skills faster than chasing trends.
Why Nail Art Tools Matter
“Optimist You:* ‘Anyone can do nail art if they just try hard enough!'”
“Grumpy You:* ‘Yeah, unless you don’t have the right tools.'”*
If you’ve ever tried freehanding tiny details with a regular brush, you know what I mean. My personal fail? Attempting an intricate lace pattern with nothing but a toothpick. Spoiler alert: It looked more like abstract art after an earthquake.
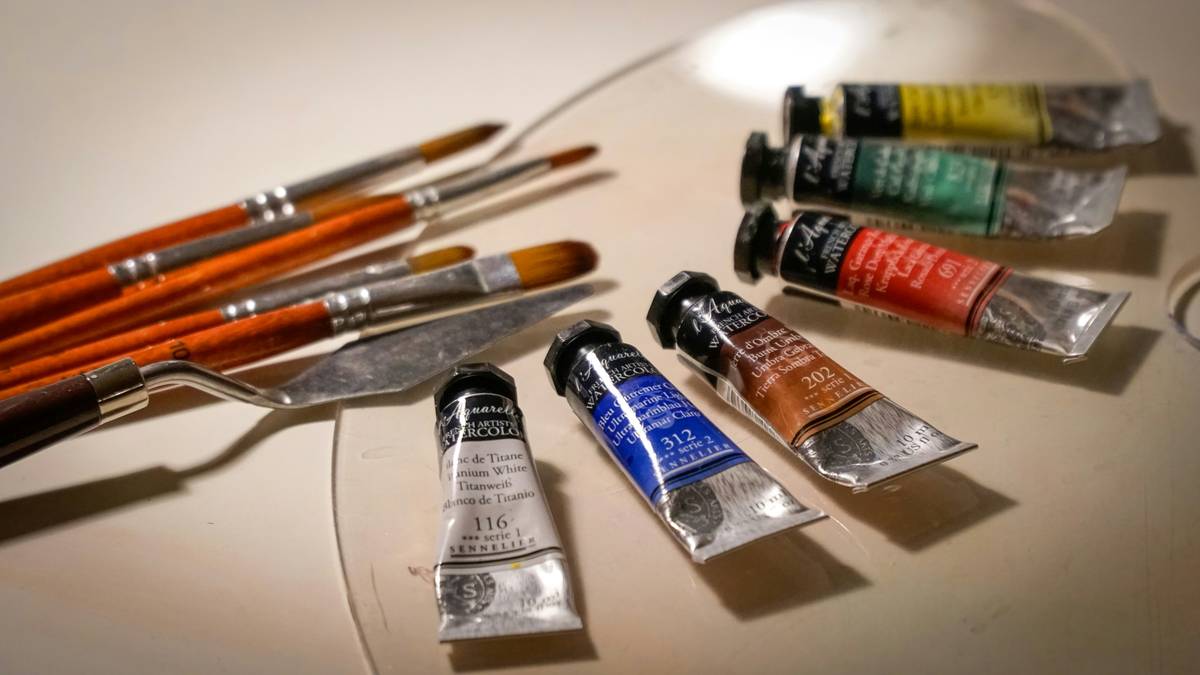
The truth is, nail art requires precision—and that starts with quality tools. From dotting pens to stamping plates, each tool has its unique purpose. For example:
- Fine brushes: Perfect for hand-painted swirls and lines.
- Dotting tools: Ideal for polka dots, stars, and other small accents.
- Stamping kits: A lifesaver when replicating complex designs quickly.
Step-by-Step Guide to Nail Art Tools Mastery
Step 1: Assemble Your Starter Kit
Beginner kits often include basic essentials like brushes, dotting tools, and polish strippers. Don’t be tempted to splurge on high-end products immediately; start simple and scale as your confidence grows.
Step 2: Practice Basic Techniques
Master foundational techniques like stripes, dots, and French tips before moving on to complex designs. Pro Tip? Use tape strips to create clean edges while practicing straight lines.
Step 3: Experiment with Advanced Tools
When ready, explore tools like airbrush machines or magnetic polish for gradient effects. These aren’t necessities but can add wow-factor to your designs.
Pro Tips for Using Nail Art Tools Effectively
- Tip #1: Clean your brushes thoroughly after use to maintain their shape and longevity. Sounds obvious, but laziness kills more nail careers than bad paint choices.
- Tip #2: Invest in a sturdy rotating lamp—it’s a total back-saver during extended sessions. Trust me, hunching over your nails for hours feels like being trapped in an ergonomic nightmare.
- Terrible Tip Disclaimer: Never try to speed-dry polish under direct sunlight. Learned this the hard way when one of my clients ended up with smudged, sun-melted glitter chaos.
Inspiring Nail Art Charm Examples

Check out these real-world examples from top nail artists who’ve elevated their craft using proper tools:
- Ashley B., whose galaxy-themed manicure went viral thanks to precise stenciling tools.
- Jessica L., whose botanical motifs showcase how blending sponges bring life to layered colors.
FAQs About Nail Art Charms
Q: Do I really need special tools to do nail art?
Absolutely not mandatory—but insanely helpful. Imagine sculpting clay without a knife vs. with one. Same principle here!
Q: Where can I buy affordable yet reliable nail art tools?
Amazon, Etsy, and even local beauty supply stores offer budget-friendly options. Look for reviews and ratings to avoid duds.
Q: How long does it take to get good at nail art?
From weeks to months, depending on practice frequency and willingness to experiment. Patience is key; think slow-cooked chili, not instant noodles.
Conclusion
Mastering nail art charm isn’t about perfection—it’s about progress. With the right tools, consistent effort, and creativity, anyone can transform their nails into works of art. So grab your kit, channel your inner Picasso, and let those fingers shine!
*And remember, like a Tamagotchi, your nail art journey needs daily TLC.* 🌟

