
Ever stared at your nails, dreamt of a Pinterest-worthy design, and ended up with something that looks like a toddler’s art project? You’re not alone. We’ve all been there—armed with ambitions of intricate nail art designs but missing the right tools (and patience). Spoiler alert: it’s not just about talent; it’s about having the perfect set of creative nail look tools in your arsenal.
In this guide, we’ll break down:
- The essential nail care mistakes holding you back from nailing that creative nail look.
- A step-by-step guide to choosing the best tools for any nail art style.
- Tips & tricks to transform your manicure game (without losing your mind).
- Real-life success stories from nail enthusiasts who mastered their craft.
Table of Contents
- Key Takeaways
- Why Your Nail Art Fails
- Step-by-Step Guide to Picking Nail Art Tools
- Pro Tips for Mastering Creative Nail Looks
- Examples of Stunning Creations You Can Achieve
- FAQs About Creative Nail Looks
Key Takeaways
- Invest in quality tools: Cheap brushes may cost more in frustration later.
- Detailed planning beats impulsive creativity when designing nails.
- Patience is key; practice makes progress!
- Maintenance matters—don’t skip prepping your nails before painting.
Why Your Nail Art Fails
Here’s the hard truth: It’s rarely your lack of skill—it’s often bad tool choices. I once tried doing a galaxy-themed design using an old toothpick because I thought “how different could this be?” Well, let me tell you—it looked less “galactic” and more “accidental ink spill.” Lesson learned!
Sounds like every frustrated nail artist out there nodding along, right? To avoid these pitfalls:
- Use thin, precise brushes for fine details instead of makeshift tools.
- Don’t skimp on high-quality dotting pens for perfect polish dots.
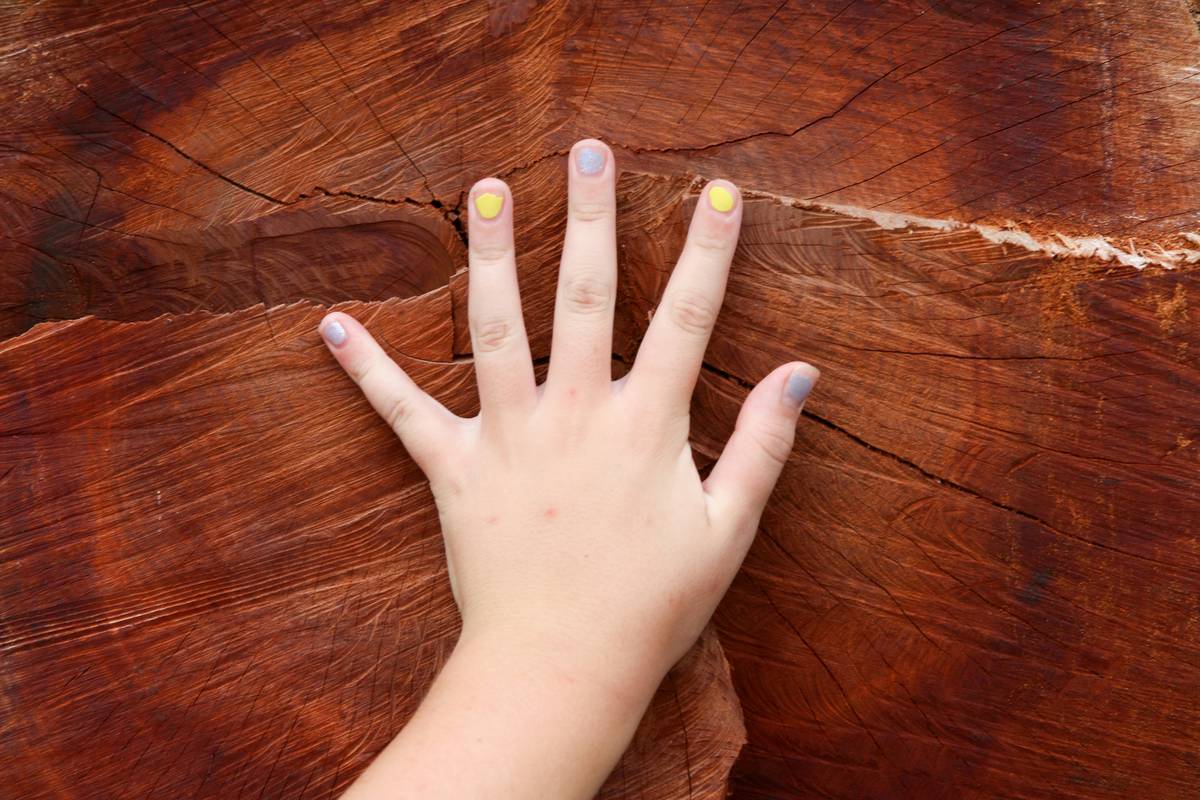
- Always start with clean, smooth nails as your canvas.
Step-by-Step Guide to Picking Nail Art Tools
Optimist You: “Oh wow, I can totally ace this DIY mani!”
Grumpy You: “Ugh, only if someone handed me the correct tools first.”
We hear you—so here’s how to pick the right ones:
Step 1: Nail Prep Essentials
- Buffer Block: Smoothens ridges so polish adheres better.
- Cuticle Pusher: Keeps cuticles neat for flawless application.
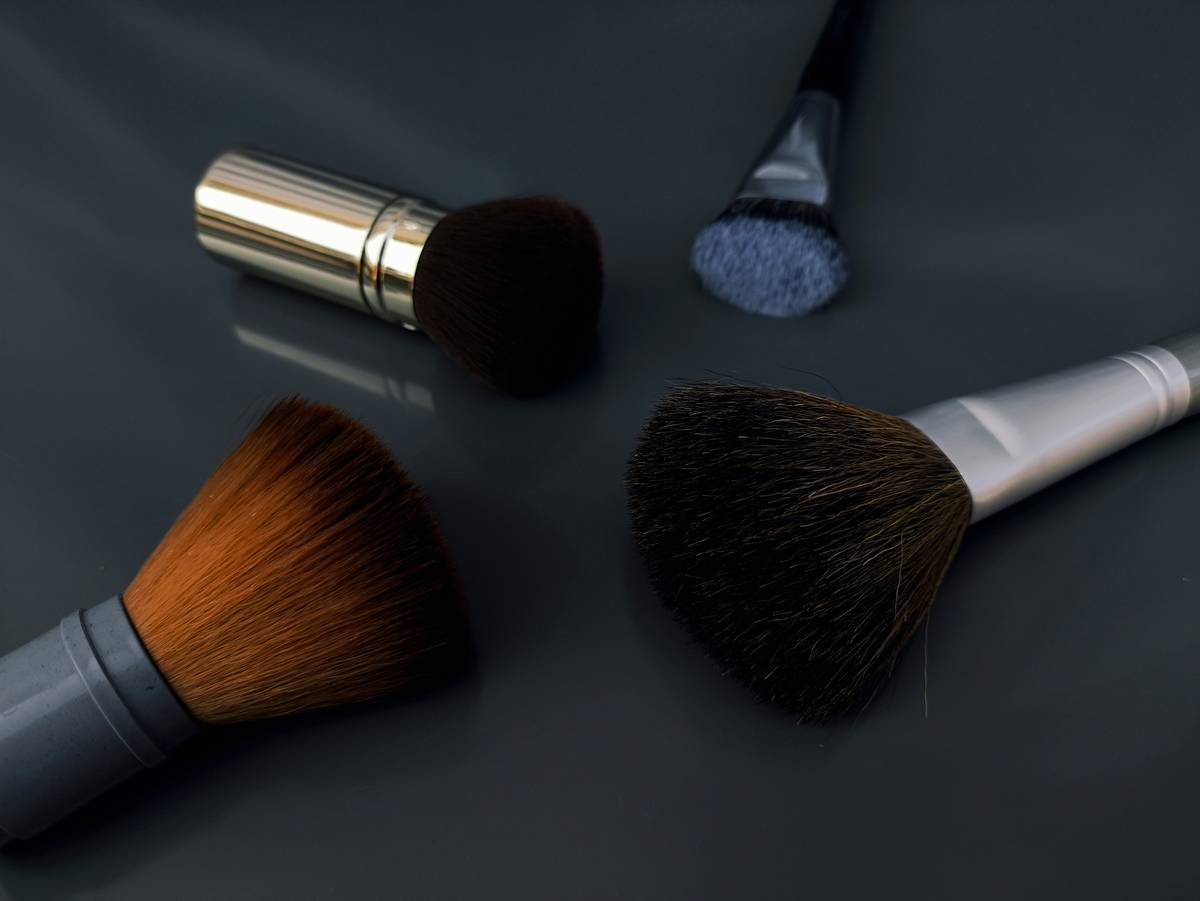
Step 2: Brushes for Detail Work
- Go for synthetic bristle brushes—they hold up well under polish pressure.
- Choose angled liners for geometric patterns.
Step 3: Dotting Tools & Stamping Plates
- A multi-head dotter gives flexibility for various sizes of dots.
- Pre-designed stamping plates save time while adding complexity.
Step 4: Polishes That Pop
- Pick quick-dry formulas to avoid accidental smudging.
- Gel polish stays put longer but requires UV lamps for curing.
Pro Tips for Mastering Creative Nail Looks
- Plan First: Sketch your idea beforehand or use templates.
- Thin Layers Win: Apply multiple thin layers instead of one thick coat.
- Seal It Right: Finish with a topcoat to lock everything in place.
- (Terrible Tip) Try This at Home Alone…with No Backup Plan: Just kidding. Never try new techniques solo unless you have remover handy!
Rant Alert:
I swear, nothing ruins my zen faster than seeing people ignore base coats. It’s not optional—it’s ESSENTIAL. Base coats prevent staining and make colors pop. So please, stop skipping them. If you won’t listen to me, maybe think of your poor future nails sobbing into cotton pads soaked in acetone…
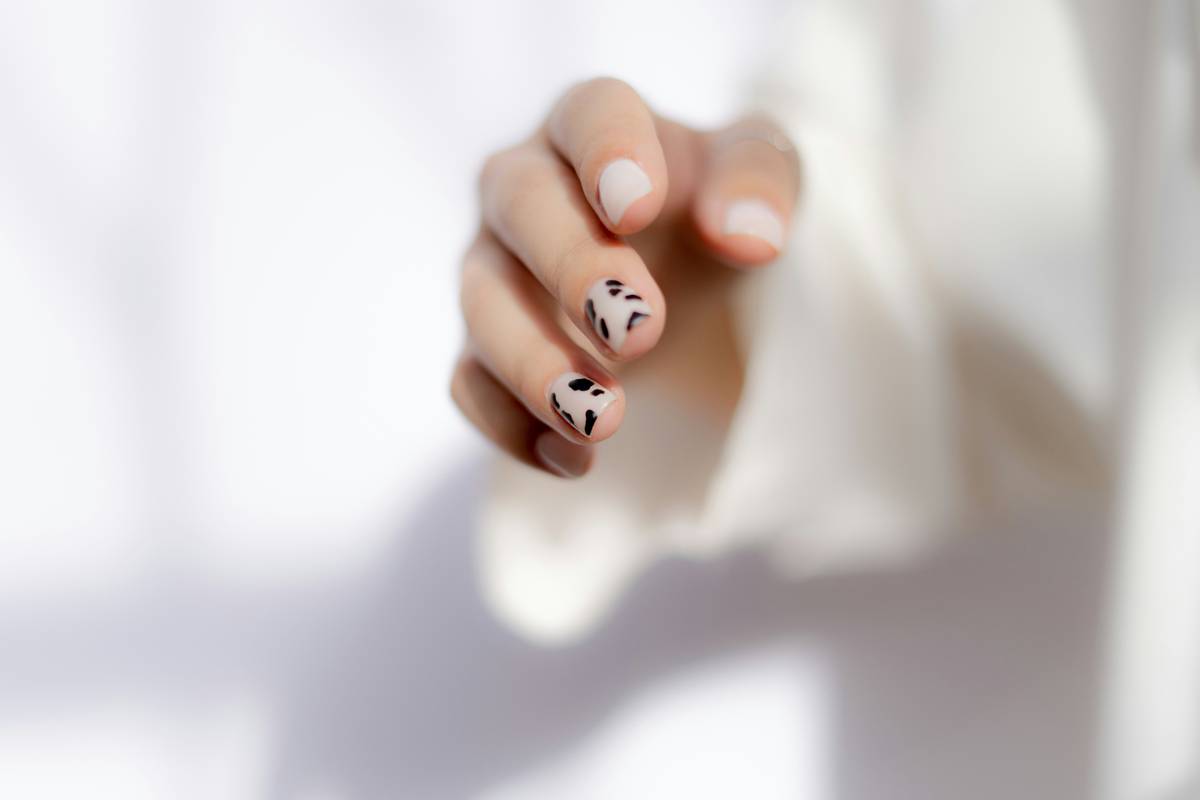
Examples of Stunning Creations You Can Achieve
Meet Sarah (@NailArtQueen23), who transformed her love for nail art into a booming Instagram side hustle. Her secret? Starting small with affordable kits and building confidence over time. Below are some killer examples:
FAQs About Creative Nail Looks
Q: What’s the most versatile nail tool beginners should buy?
A: A dual-ended dotting tool is excellent for creating dots, daisies, and even filling in gaps.
Q: Can I achieve professional results without gel polish?
A: Absolutely! Regular polish works wonders too—with enough sealing and layering.
Q: How long does learning advanced nail art take?
A: Depends on practice frequency, but noticeable improvements happen within weeks—not months.
Conclusion
Creating a stunning creative nail look isn’t reserved for professionals anymore. Armed with the right tools and insider tips from this post, you’ll soon dazzle everyone around you. Remember: prep thoroughly, invest wisely in durable supplies, and keep calm during messy moments (it happens to all of us).
And hey, if all else fails…
Messy strokes fade away,
Nails grow back stronger still,
Keep practicing daily.
Like Tamagotchis, your inner nail artist thrives with consistent care. Happy polishing!

