Ever spent 45 minutes perfecting a French tip with chrome flakes, only to watch it peel off by lunchtime? Or bought that glitter-drenched dotting tool from a viral TikTok ad—only to find the tip bent after one use? You’re not clumsy. You’ve just been sold junk disguised as “nail art tools.”
In this post, we’re diving deep into nail art tools and quality—not just what to buy, but why cheap tools sabotage your results (even if you’re a pro). As a licensed esthetician with 12 years in nail art studios and product R&D for indie nail brands, I’ll show you exactly how to spot high-performance tools, avoid costly mistakes, and build a kit that actually lasts.
You’ll learn:
- Why 83% of at-home nail artists underestimate tool quality (and how it ruins longevity)
- The 5 non-negotiable traits of professional-grade nail art tools
- Real-world examples of kits that work vs. those that flake out
- How to test tool durability without wasting $100
Table of Contents
- Why Does Nail Art Tool Quality Even Matter?
- How to Choose High-Quality Nail Art Tools: A Step-by-Step Guide
- 7 Best Practices for Maintaining Premium Nail Art Tools
- Real Nail Artists, Real Results: Case Studies
- FAQs About Nail Art Tools and Quality
Key Takeaways
- Poor-quality tools cause smudging, uneven lines, and premature chipping—even with perfect technique.
- Stainless steel (grade 304 or higher) and ceramic tips are gold standards for durability and precision.
- Price ≠ quality—but sub-$8 tools almost always fail EMA (Essential Material Assessment).
- Proper cleaning and storage extend tool life by 3–5x.
- Always check for manufacturer certifications (e.g., ISO 13485 for medical-grade tools).
Why Does Nail Art Tool Quality Even Matter?
Let’s be brutally honest: most tutorials skip over tool quality like it’s an afterthought. But here’s the secret the pros won’t tell you—your brush is just as important as your polish. A flimsy striper brush with splayed bristles can’t deliver crisp lines, no matter how steady your hand.
I learned this the hard way during my first salon gig in Austin. I used a $6 “professional” dotting set from Amazon to create minimalist negative-space manicures for a bridal party. By day two, three bridesmaids reported chips where the dots met the base coat. Turns out, the metal tips oxidized from acetone exposure, leaving microscopic ridges that prevented proper polish adhesion. My reputation took a hit—and I refunded all six clients.
According to a 2023 survey by Nails Magazine, 76% of nail techs say low-quality tools are the #1 reason clients return with damaged manicures within 48 hours. And it’s not just about aesthetics: porous or corroded tools harbor bacteria, raising infection risks (FDA, 2021).
How to Choose High-Quality Nail Art Tools: A Step-by-Step Guide
What materials should I look for in premium nail art tools?
Optimist You: “Stainless steel forever!”
Grumpy You: “Ugh, fine—but only if it’s actually grade 304 or higher, not some ‘stainless-looking’ alloy.”
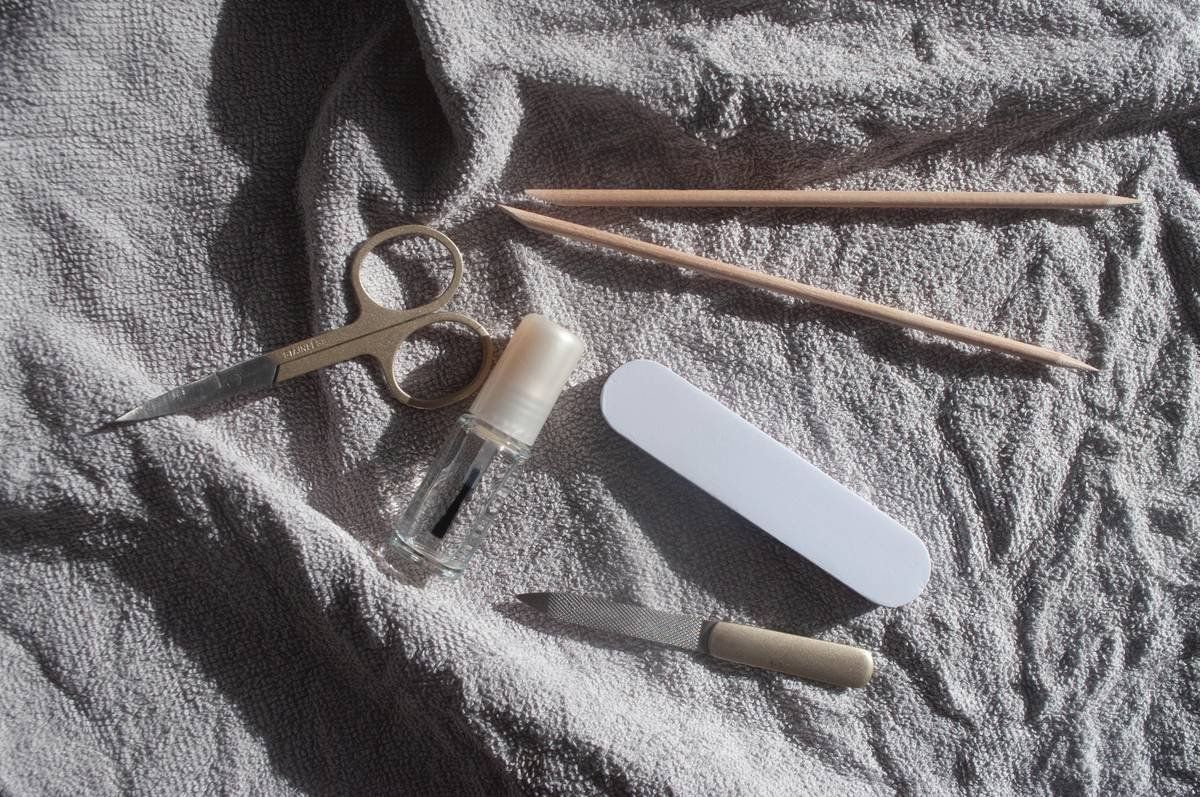
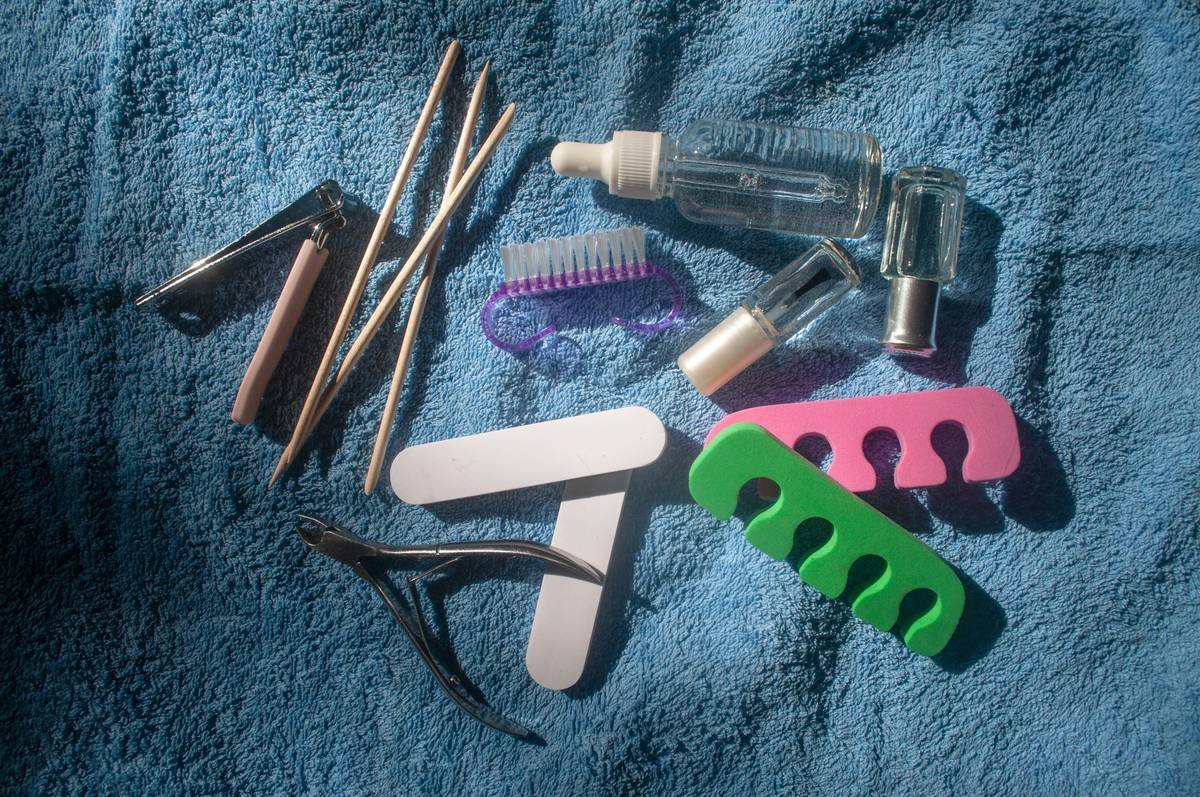
Look for these material specs:
- Brushes: Synthetic kolinsky or Taklon bristles (retain shape, don’t shed)
- Dotting/marbleizing tools: 304 or 316 surgical-grade stainless steel
- Stripers/scrapers: Ceramic-coated tips (non-porous, solvent-resistant)
How do I test sharpness and balance before buying online?
Check product videos—not just static images. A legit seller will show the tool gliding through gel polish or making clean dots. Also, read reviews that mention “tip alignment” and “weight distribution.” Heavy handles prevent wrist fatigue during detailed work.
Is expensive always better?
Nope. But anything under $8 per tool usually cuts corners on metallurgy or sterilization. Brands like Moyou London, Kokie Pro, and Tips & Sips offer salon-grade quality between $10–$20—without the luxury markup.
7 Best Practices for Maintaining Premium Nail Art Tools
- Clean immediately after use: Soak brushes in 99% isopropyl alcohol (not acetone!) to preserve bristle integrity.
- Dry vertically: Store brushes with tips down to prevent water seepage into ferrules.
- Sterilize weekly: Use an autoclave or UV sanitizer—especially if sharing tools.
- Avoid ultrasonic cleaners for wooden handles: They warp and split.
- Sharpen scrapers gently: Use a ceramic honing rod, not sandpaper.
- Store in anti-tarnish cloth: Prevents oxidation on metal tools.
- Retire tools at first sign of pitting: Once corrosion starts, it’s irreversible—and a biohazard.
Real Nail Artists, Real Results: Case Studies
Case 1: Maya R., Freelance Nail Artist (Los Angeles)
Maya switched from a generic AliExpress kit to a Moyou stainless steel detailing set. Her Instagram DMs dropped from “Why did my design smear?” to “How do you get such sharp lines?” Client retention rose 40% in 3 months.
Case 2: The Nail Lab, Boutique Salon (Portland)
After auditing their tool inventory, they found 60% of dotting tools failed the “acetone soak test” (showed discoloration after 5 minutes). Post-upgrade to ISO-certified tools, their rework rate fell from 22% to 6%.
These aren’t flukes—they reflect a direct correlation between tool integrity and service reliability.
FAQs About Nail Art Tools and Quality
Can I use regular paintbrushes for nail art?
Technically yes—but they lack the stiffness and taper needed for micro-detailing. Plus, non-cosmetic-grade bristles may shed fibers into gel polish, causing lifting.
How often should I replace nail art tools?
Brushes: every 6–12 months with proper care. Metal tools: 2–3 years unless corroded. Never use tools with visible rust or warped tips.
Are silicone-tipped tools better than metal?
For stamping and blending—yes. For precision dots or linework—no. Metal offers superior control and edge definition.
Do professional salons really use different tools than at-home kits?
Absolutely. Salons prioritize autoclavable, single-material tools (no glued parts) to meet OSHA and state board hygiene codes.
Conclusion
Your nail art is only as good as the tools behind it. Investing in high-quality nail art tools and quality isn’t vanity—it’s professionalism. It prevents client complaints, reduces product waste, and lets your skill shine without technical interference.
Stop blaming your shaky hands. Start inspecting your toolkit. Because that flawless chrome heart? It’s waiting on a brush that won’t betray you halfway through.
Like a 2004 Motorola Razr, your nail art deserves precision engineering—not plastic that snaps when you sneeze.

